
If there’s one kitchen skill that transforms ordinary dishes into extraordinary ones, it’s learning how to caramelize onions. Slowly cooked until golden, jammy, and sweet, caramelized onions are pure magic — the kind of flavor that makes burgers irresistible, soups rich, and pasta unforgettable. The best part? They’re made with just onions, butter (or oil), and a little patience.
Step 1: Choose the Right Onions
You can caramelize any onion, but some varieties bring out more sweetness and depth than others. Here’s how to choose:
- Yellow onions: The classic choice — perfectly balanced between sweet and savory.
- White onions: Milder and great for lighter dishes.
- Red onions: Add a beautiful color and slightly tangy finish.
- Sweet onions (like Vidalia or Walla Walla): Naturally sugary, perfect if you love extra sweetness.
For a big batch, use 3–4 large onions — they shrink dramatically during cooking.
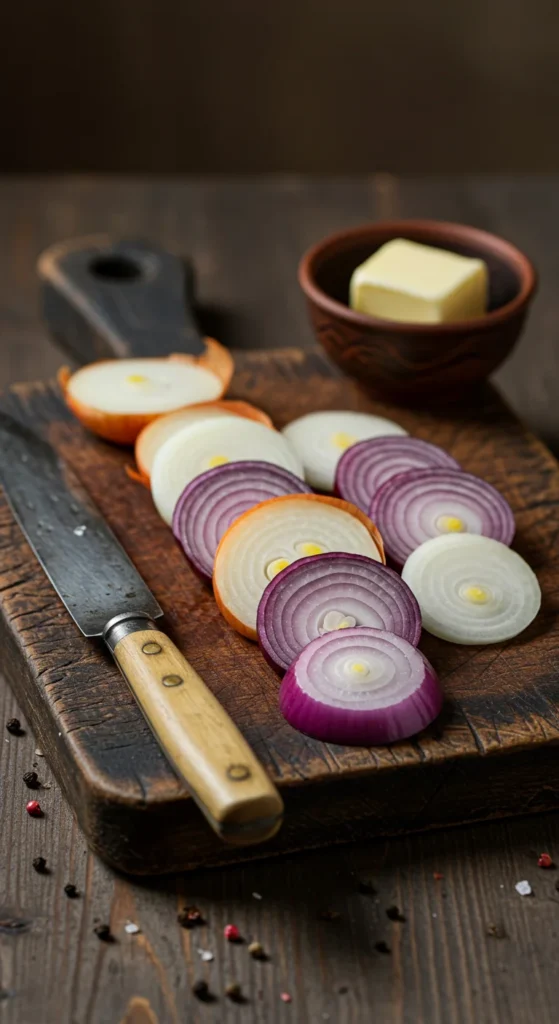
Step 2: Slice Them Evenly
Consistency is key. Uneven slices lead to uneven cooking — some will burn while others stay raw.
- Cut off both ends of each onion, peel off the outer skin, and slice pole to pole (top to root).
- Aim for ¼-inch thick slices — thin enough to soften easily but thick enough to hold shape during the long cook.
If you have a mandoline, it makes this step quick and uniform, but a sharp knife works perfectly fine.
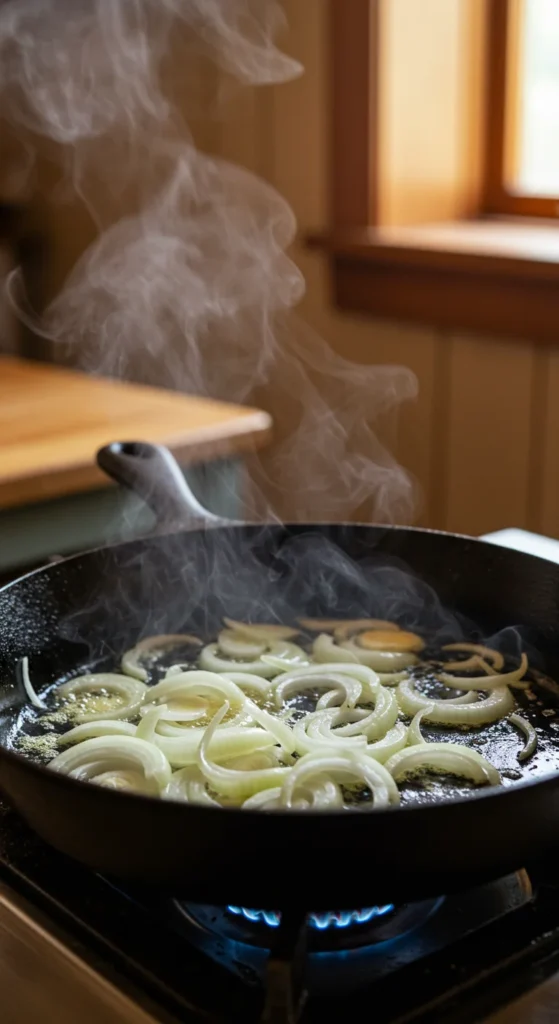
Step 3: Start Slow with Fat and Heat
Caramelizing onions is all about low and slow. Resist the urge to rush.
- Heat 2 tablespoons of butter (or olive oil for a dairy-free option) in a large, heavy-bottomed skillet over medium-low heat.
- Add your sliced onions and toss to coat them evenly in the fat.
- Sprinkle with a pinch of salt — this helps draw out moisture and kickstarts the caramelization process.
Pro tip: A wide pan gives the onions more surface area to cook evenly. Avoid crowding — if the onions are piled too high, they’ll steam instead of caramelize.
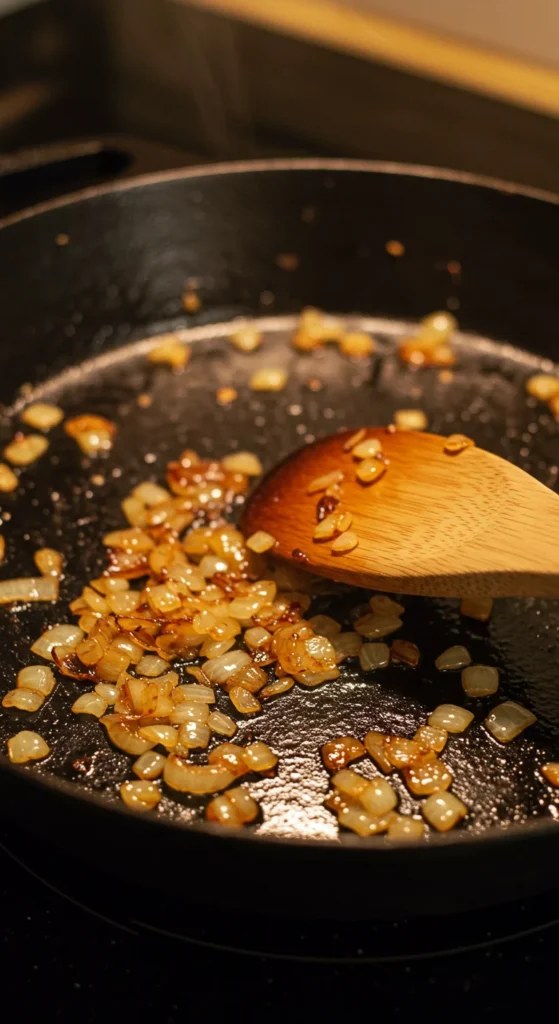
Step 4: Stir, Scrape, and Be Patient
This is where the transformation happens — and where most people give up too soon.
- For the first 10–15 minutes, the onions will soften and turn translucent.
- Around the 20–30 minute mark, they’ll start to take on a golden hue.
- By 40–50 minutes, they’ll be a deep amber color with an irresistible sweet aroma.
Stir every 5 minutes or so, scraping up the browned bits from the bottom. If you notice the onions drying out or sticking, add 1 tablespoon of water or broth to deglaze the pan and keep things moving.
Step 5: Balance the Flavor
Just before your onions reach perfection, enhance them with a few optional but powerful upgrades:
- A splash of balsamic vinegar or wine: Adds depth and acidity to balance the sweetness.
- A pinch of sugar: If your onions aren’t naturally sweet, this helps intensify the caramelization.
- A small knob of butter at the end: Adds gloss and richness.
Taste and adjust — your onions should be sweet, savory, and deeply flavorful.
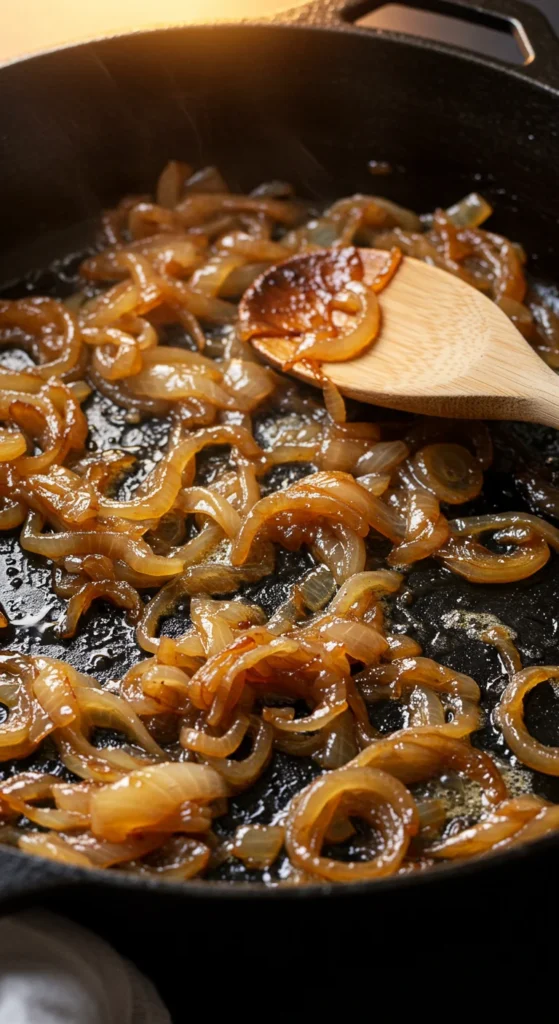
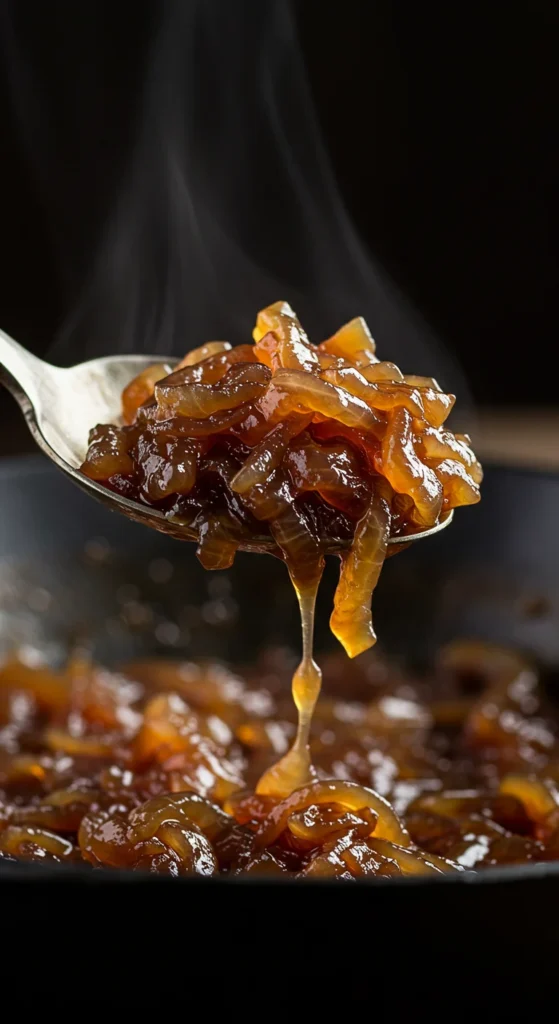
Step 6: Know When They’re Done
Perfectly caramelized onions are:
- Deep golden-brown (not black or burnt)
- Silky and soft
- Sweet and complex in flavor
If they still taste sharp, they need more time. Caramelization is a slow science — once they’re done, they’ll smell nutty, buttery, and irresistible.
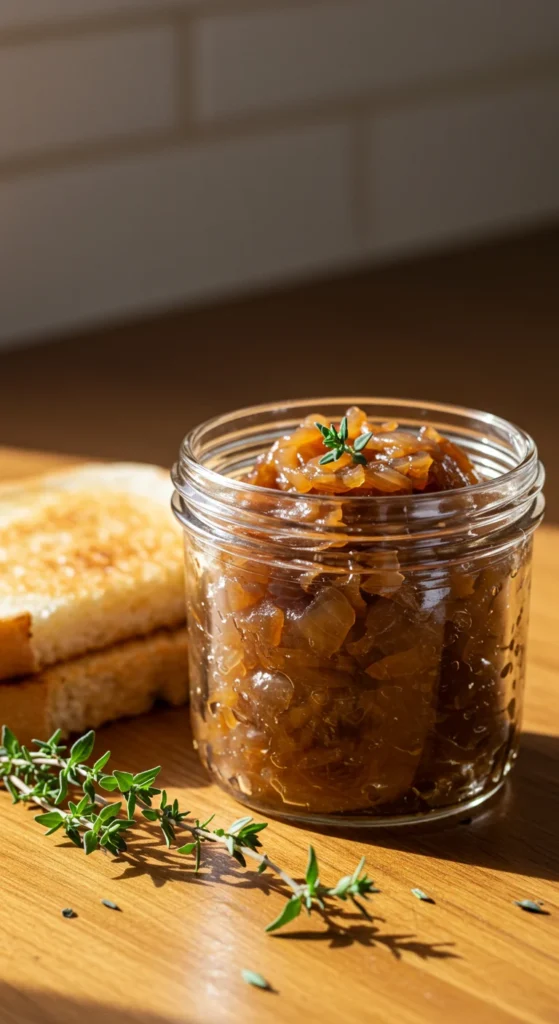
Step 7: Store or Use Immediately
Once your onions are caramelized, they’re ready to elevate almost anything:
- Pile onto burgers, steaks, or grilled cheese.
- Stir into pasta, soups, or risottos.
- Mix into mashed potatoes or omelets for next-level flavor.
If you make extra (and you should), store them in an airtight container:
- In the fridge: Up to 5 days.
- In the freezer: Up to 3 months — freeze in portions for quick flavor boosts anytime.
Final Thoughts
Caramelized onions are proof that simple ingredients can create extraordinary flavor — all you need is time and a little patience. They’re the secret weapon of chefs and home cooks alike, bringing warmth and sweetness to everything they touch.

Leave a Reply