
If you’ve ever thought you needed a fancy ice cream machine to make creamy, dreamy ice cream — think again! You can create delicious homemade ice cream with nothing more than a few simple ingredients, a whisk, and your freezer. No churn, no stress — just pure frozen magic. Whether you love classic vanilla, rich chocolate, or something fruity and fun, this guide will walk you through every step for ice cream that’s soft, smooth, and scoopable every time.
The Secret to No-Churn Ice Cream
The secret behind creamy, no-machine ice cream is all in the base. Instead of relying on churned air, this version uses whipped cream to create that light, fluffy texture.
You only need two main ingredients:
- Sweetened condensed milk – adds sweetness and keeps the texture silky.
- Heavy whipping cream – traps air when whipped, making the ice cream light and creamy.
Everything else — from vanilla extract to chocolate chips — is optional and totally up to your taste.

Step 1: Whip the Cream
Start by chilling your bowl and whisk or hand mixer attachment. Cold tools help the cream whip faster and hold its shape better.
- Pour 2 cups of cold heavy whipping cream into the bowl.
- Whip on medium-high speed until stiff peaks form — meaning the cream stands tall when you lift the whisk.
Don’t overwhip! You want it thick and fluffy, not grainy or buttery.
Tip: If your kitchen is warm, place the bowl over ice while whipping to keep everything cool and stable.
Step 2: Prepare the Sweet Base
In a separate bowl, combine:
- 1 can (14 oz) sweetened condensed milk
- 1 teaspoon vanilla extract (or the flavoring of your choice)
- Optional: a pinch of salt to balance sweetness
Stir until everything is smooth and creamy. This mixture is your flavor foundation — rich, sweet, and ready for custom mix-ins.

Step 3: Combine and Fold
Now it’s time to bring both worlds together — the airy whipped cream and the velvety condensed milk.
- Gently fold one-third of the whipped cream into the condensed milk mixture.
- Continue adding the remaining whipped cream in batches, folding slowly with a spatula.
The key is to keep the mixture light and fluffy. Folding (not stirring) prevents the air from escaping — that’s what makes your ice cream scoopable without churning.
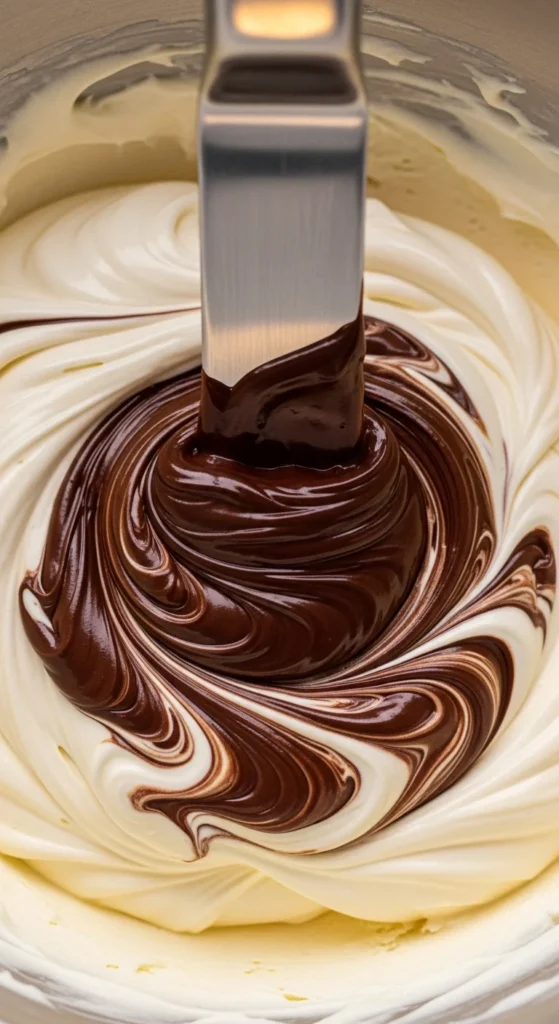
Step 4: Add Your Favorite Flavors
This is where you can get creative! Once your base is ready, swirl in your favorite mix-ins:
- Chocolate Lovers: Melted chocolate, cocoa powder, or chocolate chips
- Fruity Delight: Crushed berries, mango puree, or strawberry sauce
- Cookie Dream: Crumbled Oreos or chocolate chip cookies
- Nutty Twist: Toasted almonds, pistachios, or peanut butter swirls
Simply fold your add-ins into the mixture or swirl them on top with a spoon.
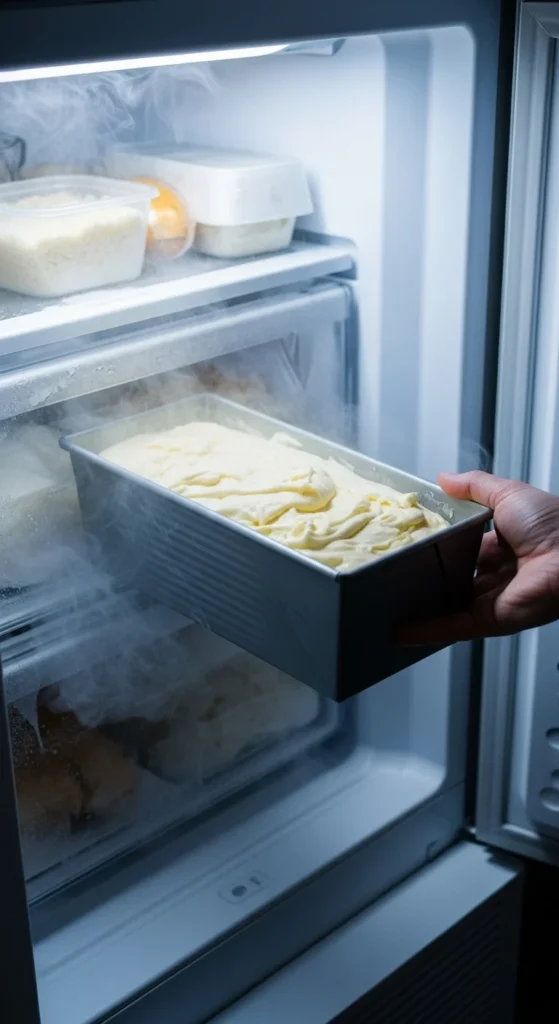
Step 5: Freeze Until Firm
Pour your ice cream mixture into a loaf pan or freezer-safe container. Smooth the top with a spatula, cover it tightly with plastic wrap or a lid, and freeze for at least 6 hours, or overnight for the best texture.
When you’re ready to serve, let it sit at room temperature for 5 minutes to soften slightly before scooping.
Bonus Tip: For extra creaminess, stir the mixture once or twice in the first few hours of freezing — this helps prevent ice crystals from forming.
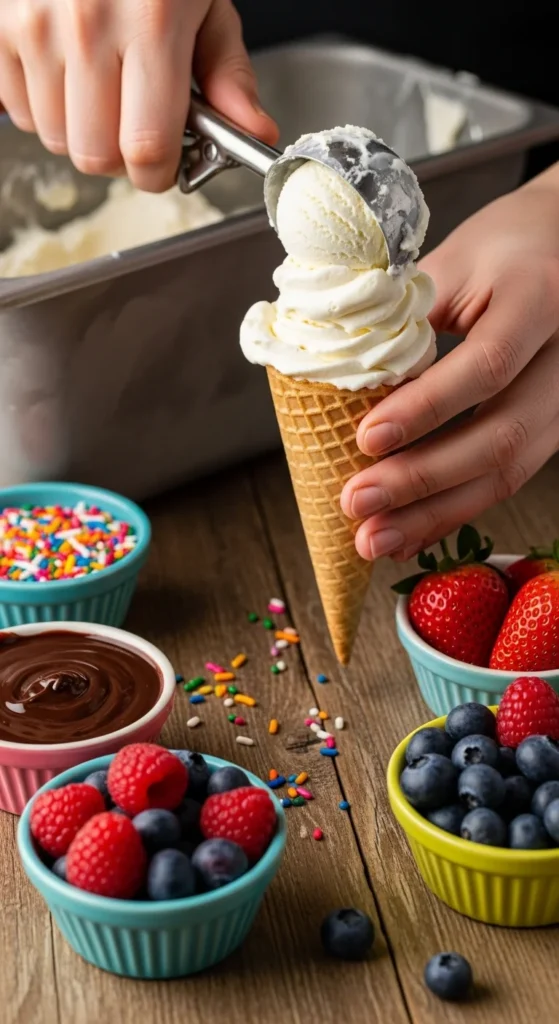
Step 6: Scoop and Enjoy
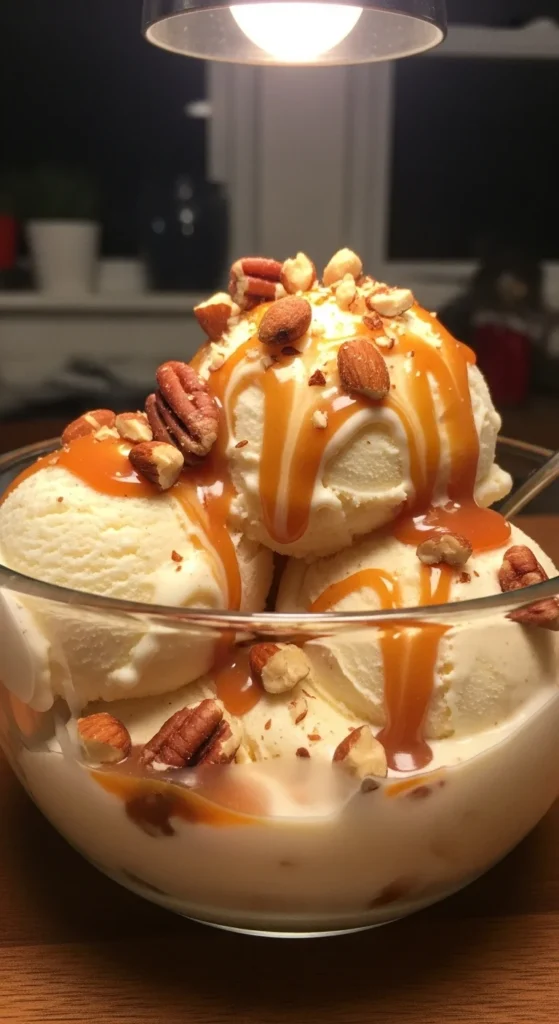
After the wait, it’s time for the fun part — scooping! Dip your ice cream scoop in warm water for smooth, picture-perfect rounds.
Serve in a bowl, on a cone, or with your favorite toppings like:
- Crushed cookies
- Chocolate drizzle
- Fresh fruit
- Whipped cream
Each bite will taste like summer, nostalgia, and homemade happiness all rolled into one.
Pro Tips for Perfect No-Churn Ice Cream
- Use cold ingredients: The colder everything is, the better the texture.
- Avoid overmixing: Gentle folding keeps it airy and light.
- Add texture: Mix-ins like nuts, caramel swirls, or cookie crumbs give every bite a surprise.
- Store smart: Keep the ice cream tightly sealed to avoid freezer burn.
The Takeaway
Homemade ice cream doesn’t need to be complicated. With just a few ingredients and a little patience, you can enjoy a bowl of velvety, melt-in-your-mouth goodness — no machine required. It’s simple, customizable, and endlessly delicious.

Leave a Reply