
Love crispy bacon but hate the greasy stovetop mess? The oven is your secret weapon. Cooking bacon in the oven gives you evenly crispy strips, zero splatter, and no standing over a pan with popping grease. Once you try it, you’ll never go back to frying again.
Why the Oven Method Wins Every Time
Cooking bacon in the oven is hands-down the easiest, cleanest way to get perfect results. Here’s why:
- No splatter: The bacon cooks evenly without grease explosions.
- Less effort: Just lay it out, pop it in, and walk away.
- Easy cleanup: Parchment or foil catches the mess.
- Feeds a crowd: You can cook a full pack at once — no waiting for batches.
Whether you like your bacon chewy or crispy, you can control the doneness with timing. It’s foolproof and efficient — ideal for busy mornings or big brunch spreads.
What You’ll Need
Before you begin, gather your essentials:
- 1 package of bacon (thick or regular cut)
- 1 large rimmed baking sheet
- Parchment paper or aluminum foil
- Optional: A cooling rack that fits inside the sheet for extra crispness
Step 1: Prep the Pan
Start by lining your baking sheet with foil or parchment paper. This keeps the grease from sticking and makes cleanup a breeze.
If you want ultra-crispy bacon, place a cooling rack on top of the lined tray. The bacon cooks as the fat drips below, so it crisps up evenly on both sides.
For chewier bacon, skip the rack and place the slices directly on the parchment — they’ll cook in their own rendered fat for extra flavor.
Pro tip: Use a rimmed baking sheet to catch grease — never a flat one, or you’ll have a smoky oven mess.
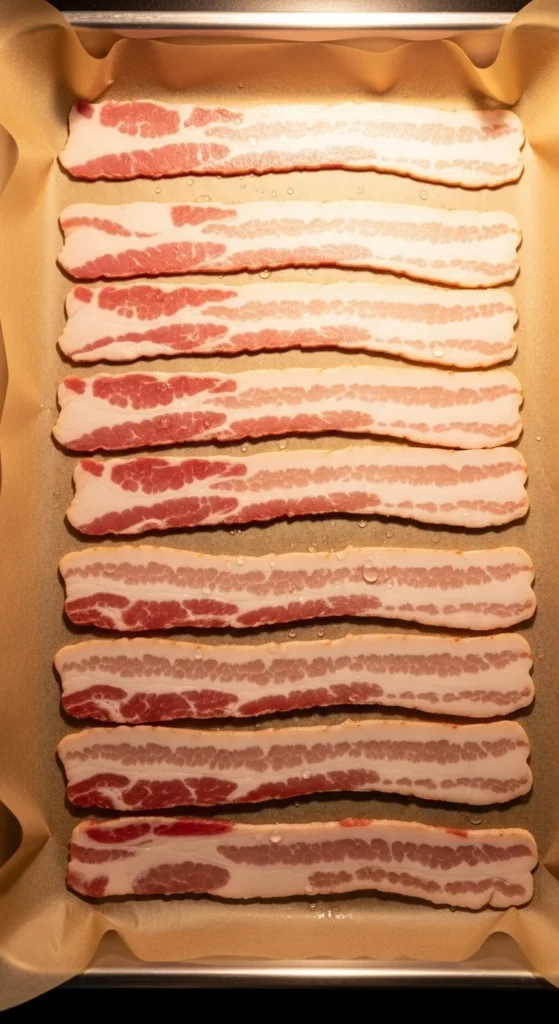
Step 2: Arrange the Bacon
Lay your bacon strips in a single layer. The slices can touch slightly but shouldn’t overlap. Overlapping bacon won’t crisp evenly, so take a moment to space them neatly.
If you’re cooking multiple trays, rotate them halfway through baking for even browning.
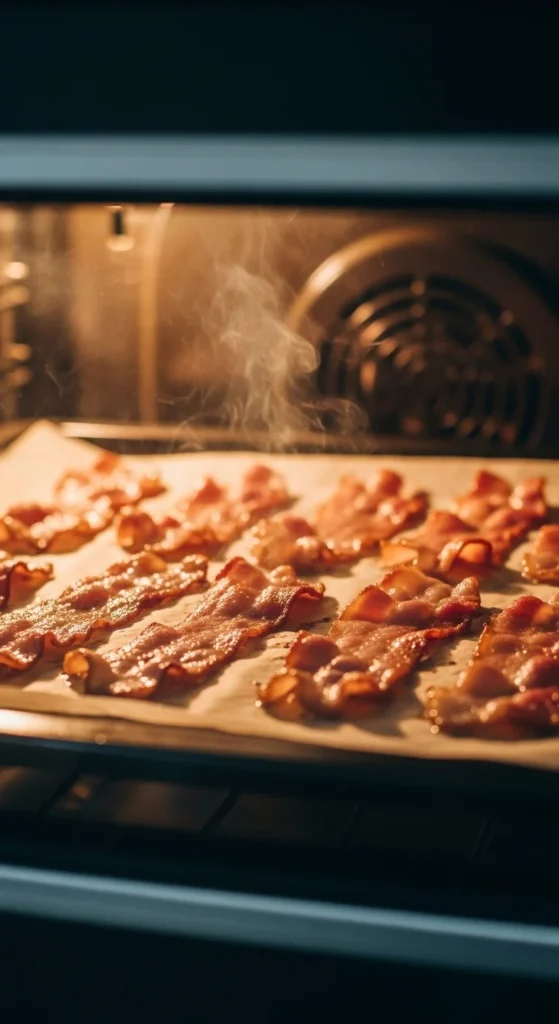
Step 3: Bake to Perfection
Preheat your oven to 400°F (200°C). That’s the sweet spot for crispy, golden bacon without burning.
Place your tray on the middle rack and bake for:
- 15–17 minutes for regular-cut bacon
- 18–22 minutes for thick-cut bacon
Keep an eye on it near the end — bacon can go from perfect to overdone fast.
Optional: For even browning, flip the slices halfway through, though it’s not required if you’re using a rack.
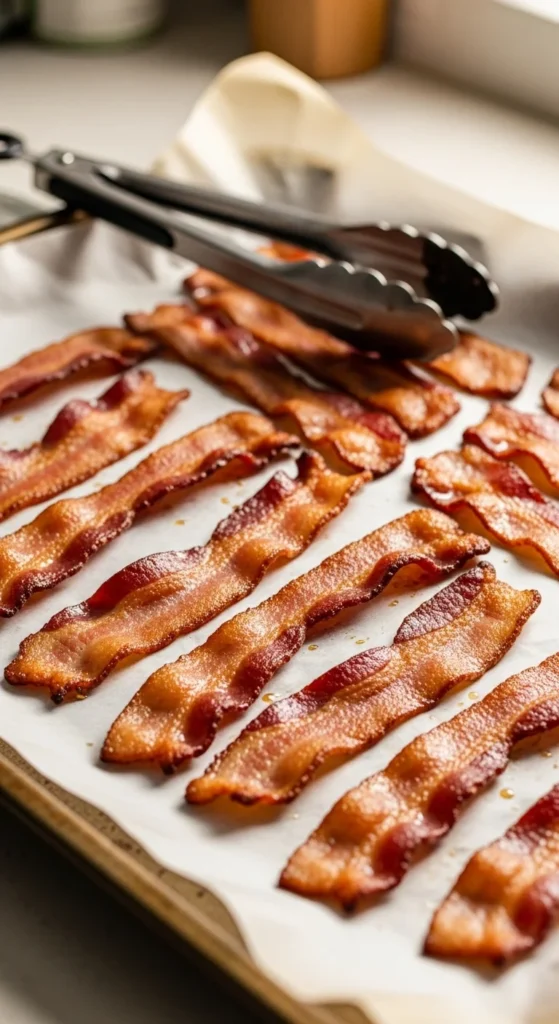
Step 4: Drain the Bacon
Once it’s cooked to your desired crispness, use tongs to transfer the slices to a paper towel–lined plate. This step helps remove any excess grease and keeps your bacon perfectly crunchy.
Let it cool for a minute — it will crisp up even more as it sits.
Save that bacon fat! Pour it into a small jar once cooled — it’s liquid gold for frying eggs, roasting vegetables, or adding flavor to sauces.

Step 5: Easy Cleanup
This might be the best part — toss the parchment or foil, and you’re done. No greasy splatter to scrub off the stovetop, no lingering smoky smell. Just clean counters and perfectly cooked bacon.
If you used a cooling rack, soak it in warm soapy water for a few minutes before rinsing — easy peasy.
Bonus Tip: Batch Cook for the Week
Want bacon ready for breakfasts all week long? Oven cooking makes batch prep easy.
- Cook a full tray.
- Let it cool completely.
- Store in an airtight container in the fridge for up to 5 days.
- Reheat in a skillet or air fryer for 1–2 minutes to bring back the crisp.
Perfect for quick sandwiches, salads, or topping soups.
Final Thoughts
Once you learn how to cook bacon in the oven, you’ll never stand over a splattering skillet again. It’s cleaner, easier, and gives you picture-perfect bacon every single time — whether you’re feeding a crowd or just treating yourself to a lazy Sunday breakfast.


Leave a Reply