
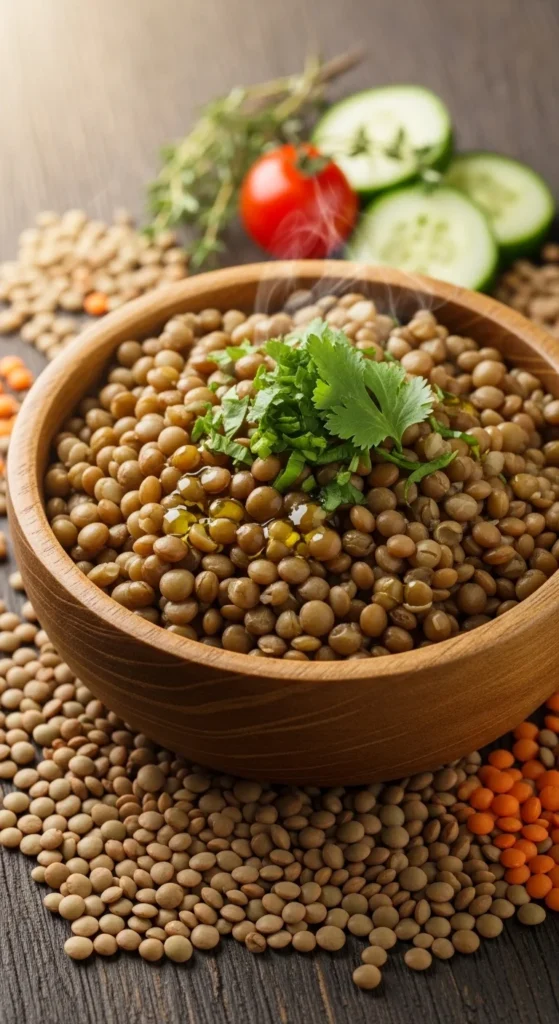
Lentils are the quiet heroes of the pantry — humble, versatile, and packed with nutrition. Whether you’re tossing them into a salad, blending them into soup, or serving them as a cozy side dish, perfectly cooked lentils can elevate any meal. The trick? Getting them tender without turning them into mush.
Why Lentils Deserve a Spot in Your Kitchen
Lentils are tiny but mighty. They’re loaded with protein, fiber, and iron, making them a great plant-based staple. Plus, they’re affordable, shelf-stable, and cook much faster than other legumes — no overnight soaking required!
They also come in several types, each with its own texture and flavor:
- Brown lentils: Mild and earthy — great for soups and stews.
- Green lentils (like French or Puy): Firm and peppery — ideal for salads.
- Red or yellow lentils: Soft and quick-cooking — perfect for curries or purees.
- Black (Beluga) lentils: Small, shiny, and hold their shape beautifully — great for elegant dishes.
Once you understand how to cook each kind, you can use them in almost anything.
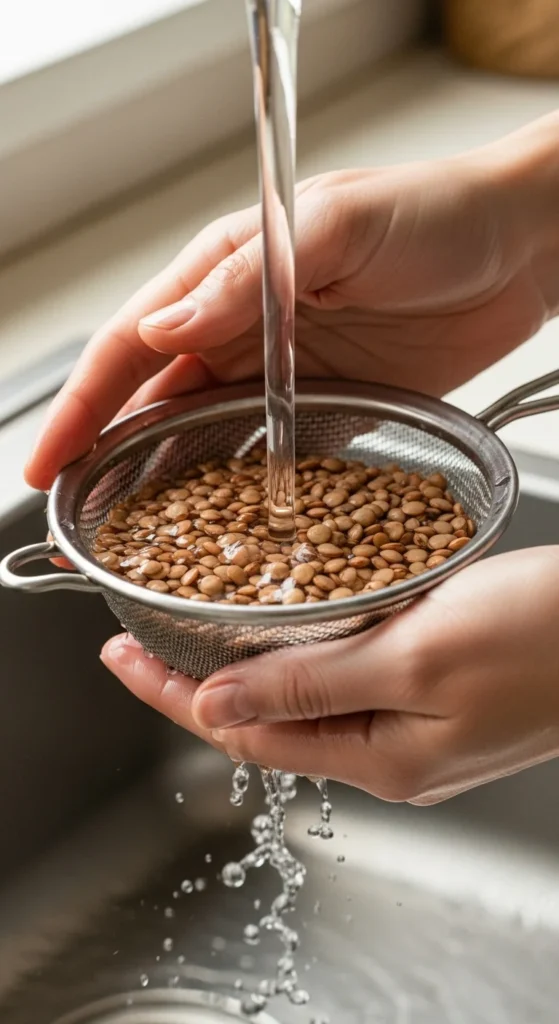
Step 1: Rinse and Sort
Start with a simple but essential step — rinse your lentils under cool water. This removes dust or debris that can linger from processing.
Then, quickly scan through and remove any small stones or damaged lentils. It only takes a minute, but it makes a big difference.
Step 2: Pick Your Ratio
Cooking lentils is easy once you know the golden ratio:
- For firmer lentils (salads or grain bowls): use 1 cup lentils to 2 cups water.
- For softer lentils (soups or purees): use 1 cup lentils to 3 cups water.
You can cook them in water or broth — broth adds extra flavor right from the start. Add a bay leaf, garlic clove, or onion slice to infuse subtle aroma while they simmer.
Tip: Avoid adding salt early on — it can make the skins tough. Salt after cooking instead.
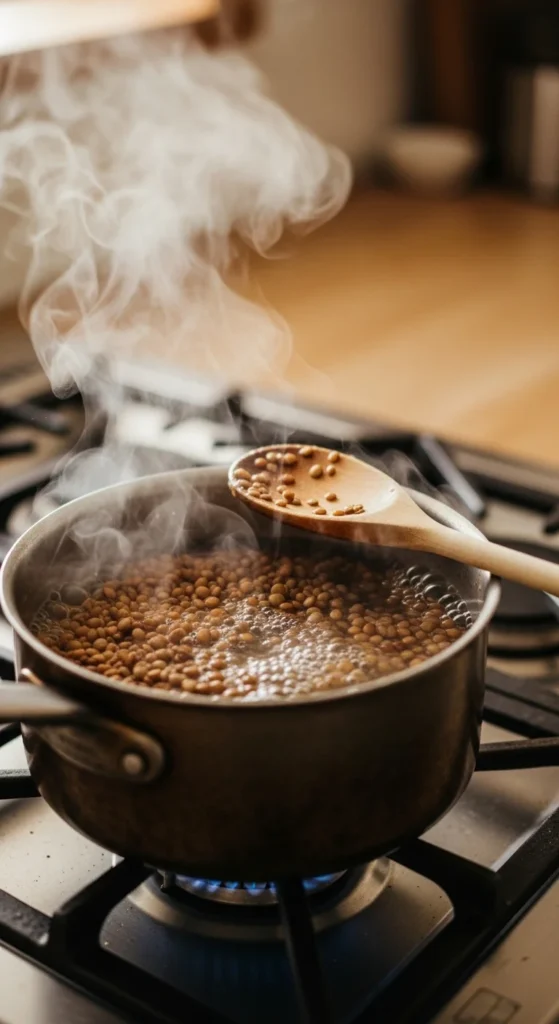
Step 3: Simmer, Don’t Boil
Place your lentils and water (or broth) in a saucepan and bring it to a gentle boil. Once it starts bubbling, reduce to a simmer and let the magic happen.
Cooking times vary slightly depending on the lentil type:
- Brown lentils: 20–25 minutes
- Green lentils: 25–30 minutes
- Red/yellow lentils: 10–15 minutes
- Black (Beluga) lentils: 25 minutes
Stir occasionally and check for doneness. You want them tender but still holding their shape — especially if you’re using them in salads.
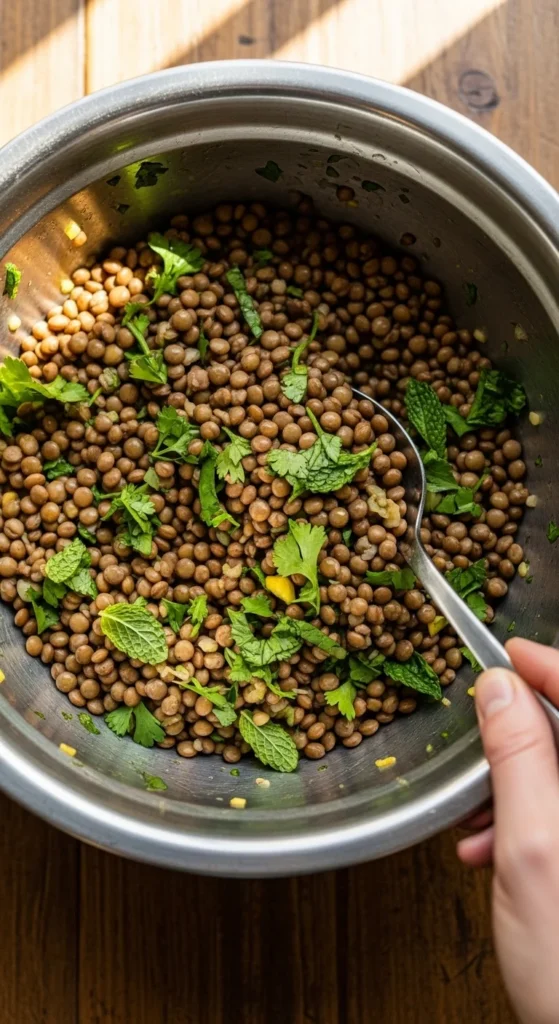
Step 4: Drain and Season
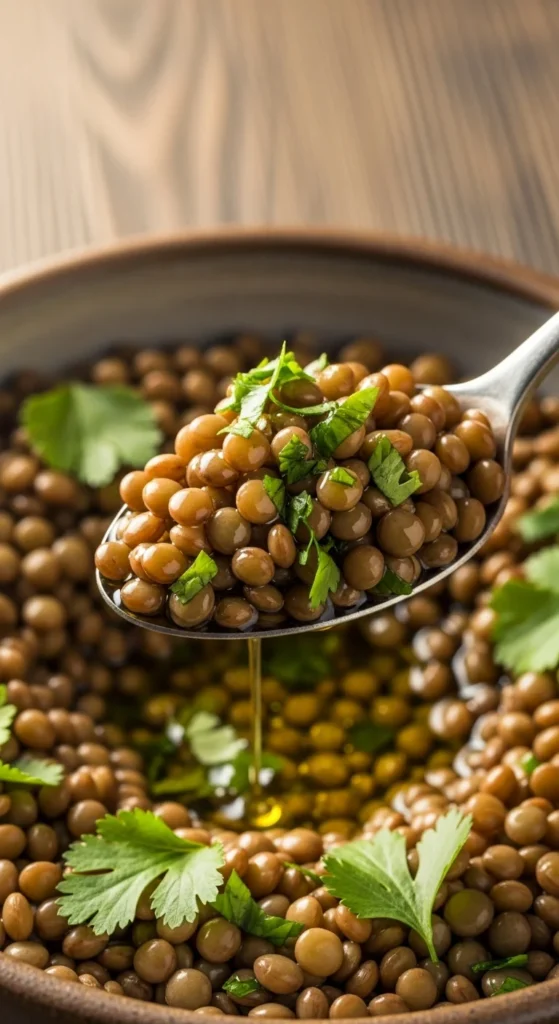
Once your lentils reach the right texture, drain any excess liquid using a fine strainer. Then, season them while they’re still warm — this helps them soak up flavor better.
A simple seasoning combo you can’t go wrong with:
- Olive oil or melted butter
- A squeeze of lemon juice or splash of vinegar
- Salt and black pepper
- Fresh herbs like parsley, thyme, or dill
For a deeper flavor, toss with sautéed garlic or caramelized onions.
Step 5: Use Them Everywhere
Once you’ve got a pot of perfectly cooked lentils, the possibilities are endless. Try these ideas:
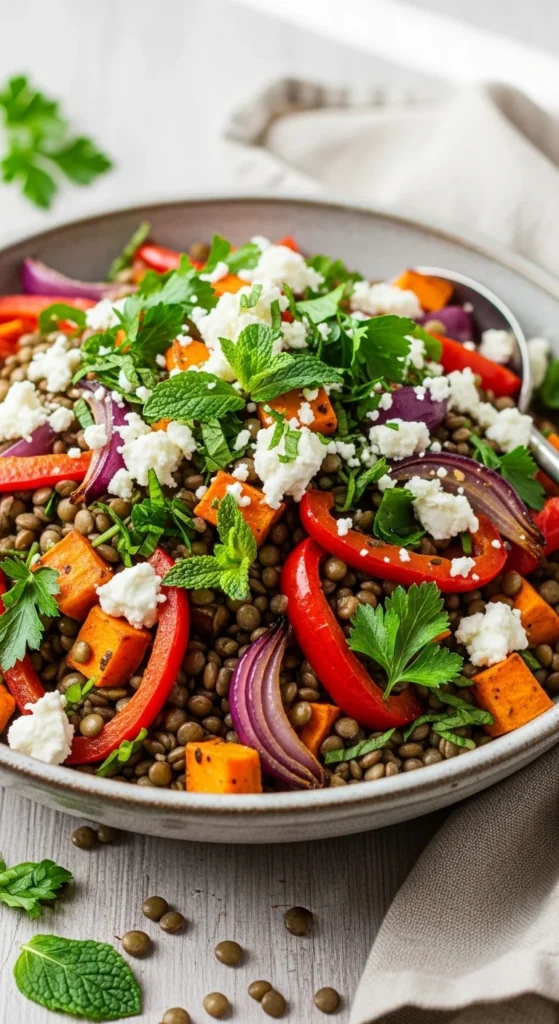
- For salads: Mix with roasted vegetables, feta, and a simple vinaigrette. Green or black lentils work best here.
- For soups: Add to vegetable or chicken broth with carrots, celery, and spices for hearty comfort. Brown or red lentils shine.
- For curries: Simmer red lentils with coconut milk, ginger, and curry paste for an easy, flavorful dish.
- For bowls: Pair with quinoa or rice, roasted veggies, and tahini dressing for a complete meal.
- For wraps: Mash cooked lentils slightly, mix with spices, and use as a filling for tacos or lettuce wraps.
Bonus Tip: Batch Cook & Store
Lentils are perfect for meal prep. Cook once, enjoy all week!
- Refrigerate: Store cooked lentils in an airtight container for up to 5 days.
- Freeze: Portion into freezer bags or containers and freeze for up to 3 months.
- Reheat: Add a splash of broth or water to revive the texture when reheating.
They taste even better the next day after soaking up all the flavors of your seasonings.
Final Thoughts
Cooking lentils is one of those kitchen skills that pays off again and again. Once you know how to get the texture right — tender, flavorful, and never mushy — they become a go-to ingredient for quick, healthy, and delicious meals.

Leave a Reply