
There’s something beautifully simple about a perfectly cooked sunny side up egg — that golden, runny yolk surrounded by delicate, crisp-edged whites. It’s breakfast bliss on a plate, and when done right, it looks like it came straight out of a cozy café. But achieving that perfect balance — firm whites, glossy yolk, and no burnt edges — takes a little finesse.

Why the Perfect Sunny Side Up Egg Matters
Sunny side up eggs are more than just breakfast — they’re an art form. When you master this simple dish, you can elevate everything from avocado toast to fried rice and breakfast sandwiches.
The key is patience. This isn’t a high-heat, rush-to-the-finish dish. Instead, think low and slow — gentle heat, careful timing, and a touch of technique.
Step 1: Gather Your Ingredients
Before you turn on the stove, set yourself up for success. You only need a few ingredients, but each one makes a difference.
You’ll Need:
- Fresh eggs (the fresher, the better — they hold their shape beautifully)
- Butter or oil (butter adds flavor; oil gives crispier edges)
- Salt and pepper (a sprinkle right before serving)
Optional add-ons:
- A pinch of chili flakes or smoked paprika
- A drizzle of olive oil or hot honey for a fancy twist
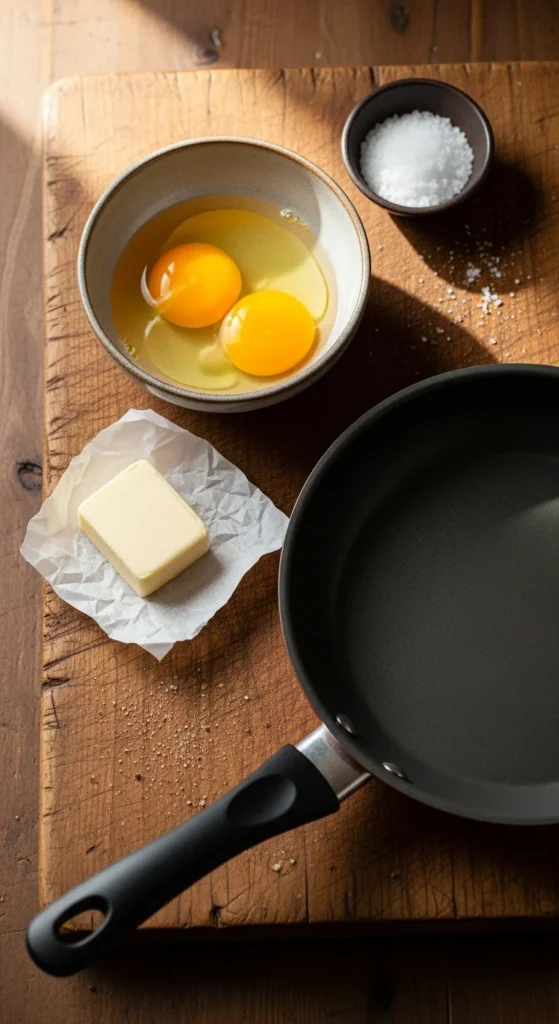
Step 2: Choose the Right Pan and Heat
Your pan makes or breaks the perfect egg.
Best Options:
- Nonstick skillet: Ensures easy flipping (if needed) and smooth edges.
- Cast iron skillet: Great for crispy whites — just make sure it’s well-seasoned.
Heat Level:
Keep the stove on low to medium-low heat. High heat will cause the whites to bubble and burn before the yolk is ready.

Step 3: Add Butter and Crack Carefully
Butter adds flavor and helps the egg cook evenly.
- Add 1 tablespoon of butter to the pan and let it melt slowly until it starts to foam slightly.
- Crack the egg into a small bowl first — this keeps the yolk intact and makes it easier to control.
- Gently slide the egg into the pan, being careful not to break the yolk.
Pro Tip: If you’re frying more than one egg, give them space — crowded eggs steam instead of frying.
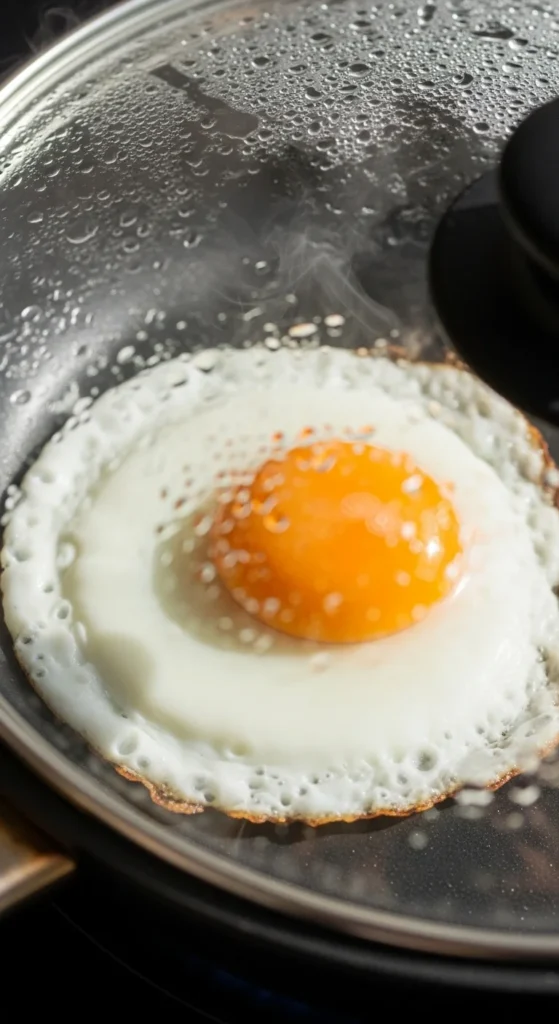
Step 4: Cook Low and Slow
This is where the magic happens.
- Let the egg cook without touching it for 2–3 minutes.
- Watch as the whites turn opaque while the yolk stays bright and glossy.
- For softer whites, tilt the pan occasionally and spoon a little melted butter over the edges.
If you prefer your whites completely set but want to keep that runny yolk, you can cover the pan with a lid for the last 30 seconds. The trapped steam helps the top cook gently without flipping.
Step 5: Season and Serve
Once the whites are set and the yolk is still wobbly, remove the pan from the heat. Use a spatula to carefully transfer your egg to a plate.
Seasoning Ideas:
- Classic: Salt and black pepper
- Fancy: Flaky sea salt and a dash of smoked paprika
- Fresh: Chopped chives or parsley
- Bold: Everything bagel seasoning or chili crisp
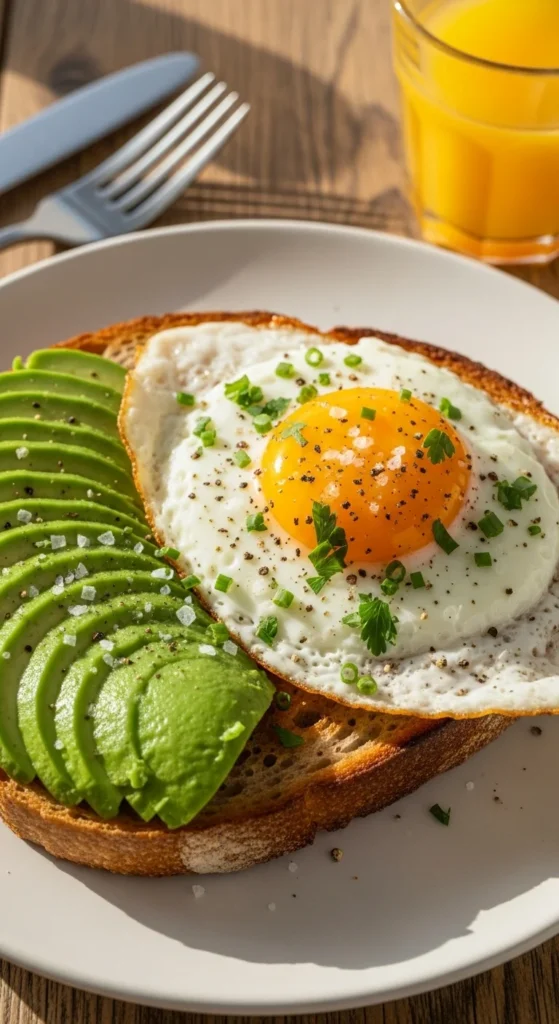
Step 6: Pair It Like a Pro
Sunny side up eggs go with just about everything. Try these pairings for an upgraded breakfast (or lunch!):
- On buttered toast or avocado toast
- Over a bowl of garlic fried rice
- With crispy bacon and hash browns
- On top of ramen or noodles for that silky richness
- As a finishing touch on burgers or grain bowls
A perfectly fried egg adds a touch of luxury to even the simplest meal.
Common Mistakes (and How to Avoid Them)
- Using high heat: This cooks the whites too fast and leaves burnt edges.
- Not preheating the pan: Cold butter and a cold pan can lead to uneven cooking.
- Breaking the yolk: Always crack eggs in a separate bowl to prevent accidents.
- Skipping the lid: For a fully set white top, that quick cover makes all the difference.
Final Thoughts
Cooking the perfect sunny side up egg isn’t about perfection — it’s about patience and care. With gentle heat, fresh eggs, and a little practice, you’ll be plating up picture-perfect eggs every time.

Leave a Reply