
There’s nothing quite like the deep, nutty aroma of freshly toasted almonds or pecans. Toasting brings out their natural oils, intensifies flavor, and adds irresistible crunch — but it’s also ridiculously easy to go from golden perfection to burnt disaster in a matter of seconds. The good news? With a few simple tricks, you can toast nuts perfectly every time — no bitterness, no blackened bits.
Why Toasting Nuts Is Totally Worth It
Raw nuts are fine in a pinch, but toasting transforms them into something special. The heat releases their natural oils, giving them:
- Richer flavor — deep, buttery, and slightly sweet
- Crunchier texture — ideal for salads, baked goods, and snacks
- Enhanced aroma — warm and nutty, like roasted coffee
Toasted nuts make everything better — from banana bread to oatmeal to homemade pesto. Once you taste the difference, you’ll never skip this step again.
Step 1: Choose Your Nuts (and Know Their Type)
Different nuts have different oil contents and sizes, which means their toasting times vary. Here’s a quick cheat sheet:
- Fast-toasting nuts: Pine nuts, sliced almonds (2–4 minutes)
- Medium: Walnuts, pecans, pistachios (5–7 minutes)
- Slower: Whole almonds, hazelnuts, macadamias (8–10 minutes)
If you’re using chopped nuts, they toast faster. Always keep an eye on them — one minute too long can ruin the batch.

Step 2: Pick Your Toasting Method
There are two foolproof ways to toast nuts: in the oven or on the stovetop. Each has its advantages, depending on your time and batch size.
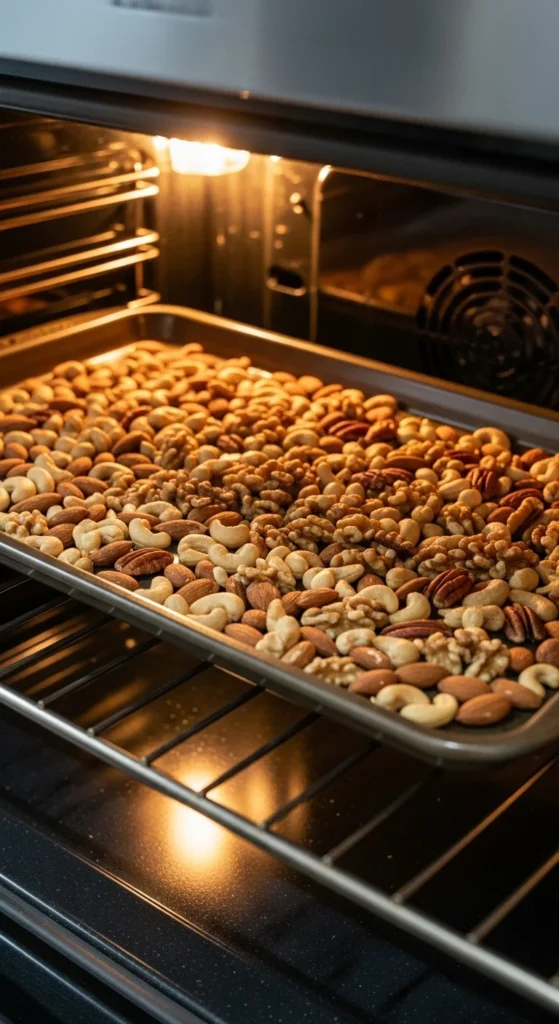
Oven Method (Best for Big Batches)
- Preheat your oven to 350°F (175°C).
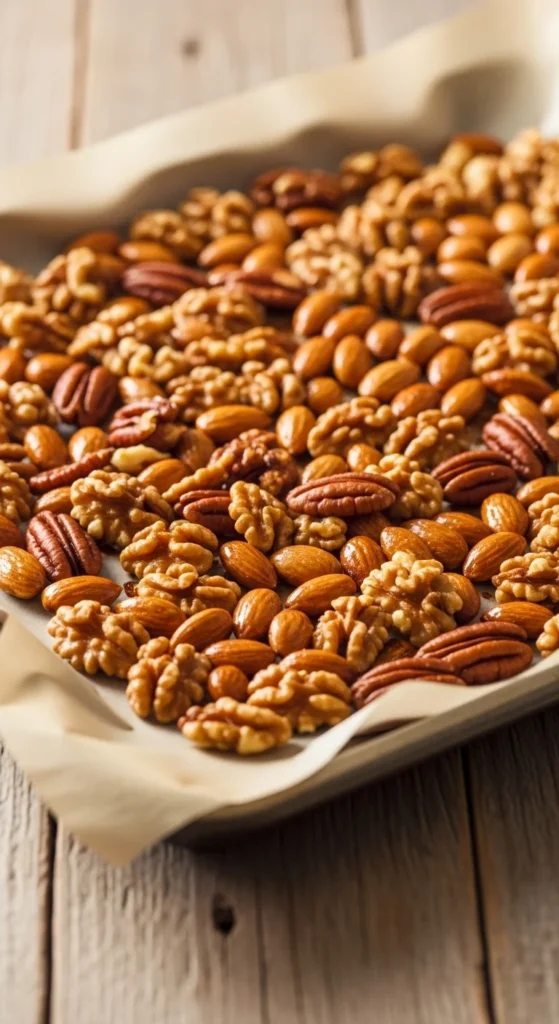
- Spread nuts evenly on a parchment-lined baking sheet — one single layer, no overlap.
- Bake for 5–10 minutes, depending on the type (see list above).
- Shake or stir halfway through to ensure even browning.
- Remove immediately once golden and aromatic.
Pro Tip: They’ll keep toasting slightly from residual heat, so pull them out just before they look “done.”
Stovetop Method (Perfect for Small Batches)
- Heat a dry skillet over medium heat.
- Add the nuts in a single layer.
- Stir or shake the pan constantly for even color.
- Toast for 3–6 minutes, until fragrant and lightly browned.
Pro Tip: Lower the heat if they start browning too quickly. Nuts can go from perfect to burnt in seconds.

Step 3: Cool Them Properly
Once your nuts reach that perfect golden shade, it’s crucial to cool them quickly to stop the cooking process.
- Transfer immediately from the hot pan or baking sheet to a cool plate or parchment paper.
- Spread them out so they cool evenly.
- Don’t cover or pile them — trapped heat equals soggy nuts.
After cooling, store your toasted nuts in an airtight container for up to two weeks at room temperature or two months in the fridge.
Step 4: Troubleshooting Common Toasting Mistakes
Even seasoned cooks slip up sometimes. Here’s how to fix or prevent common issues:
- They burned: Lower the oven rack or reduce the heat by 25°F next time.
- Uneven color: Shake or stir more frequently for consistent results.
- Too dry: Shorten the toasting time or use slightly larger pieces.
- No aroma: You probably under-toasted them — they should smell warm and nutty before you stop.

Step 5: Creative Ways to Use Toasted Nuts
Toasted nuts are like little bursts of flavor — once you start adding them to dishes, you’ll find endless uses. Try them in:
- Salads: Sprinkle on top of greens for extra crunch.
- Breakfast: Add to oatmeal, yogurt, or pancakes.
- Desserts: Mix into brownies, cookies, or banana bread.
- Savory dishes: Use in pasta, pesto, or roasted veggie bowls.
- Snacking: Season with cinnamon, salt, or chili powder for homemade trail mix.
A sprinkle of toasted nuts can turn even a simple bowl of soup into something gourmet.
Pro Tips for Perfectly Toasted Nuts Every Time
- Stay nearby. Nuts burn fast — never walk away while they’re toasting.
- Use your senses. Watch for color, listen for faint crackling, and smell for that warm nutty aroma.
- Batch prep. Toast extra and store for quick weekday meals.
- Experiment with flavor. Try tossing freshly toasted nuts with maple syrup, rosemary, or smoked salt before they cool.
Once you master the basics, you’ll start customizing to suit every recipe or craving.
Final Thoughts
Toasting nuts might seem small, but it’s one of those little kitchen habits that make a big difference. It brings out their best flavor, adds crunch to everything, and makes your cooking taste instantly more professional.
So next time you’re whipping up a salad, granola, or cookie dough — take a few extra minutes to toast your nuts. You’ll never go back to raw again.

Leave a Reply