

There’s something undeniably romantic about a warm croissant. Those delicate, buttery layers that shatter with each bite—crisp on the outside, tender on the inside—are what make them a bakery favorite. But here’s the secret: with a little patience and the right technique, you can make flaky, buttery croissants right in your own kitchen.
They do take time, but every fold and chill is worth it when your kitchen fills with that unmistakable aroma of butter and freshly baked pastry.
What You’ll Need
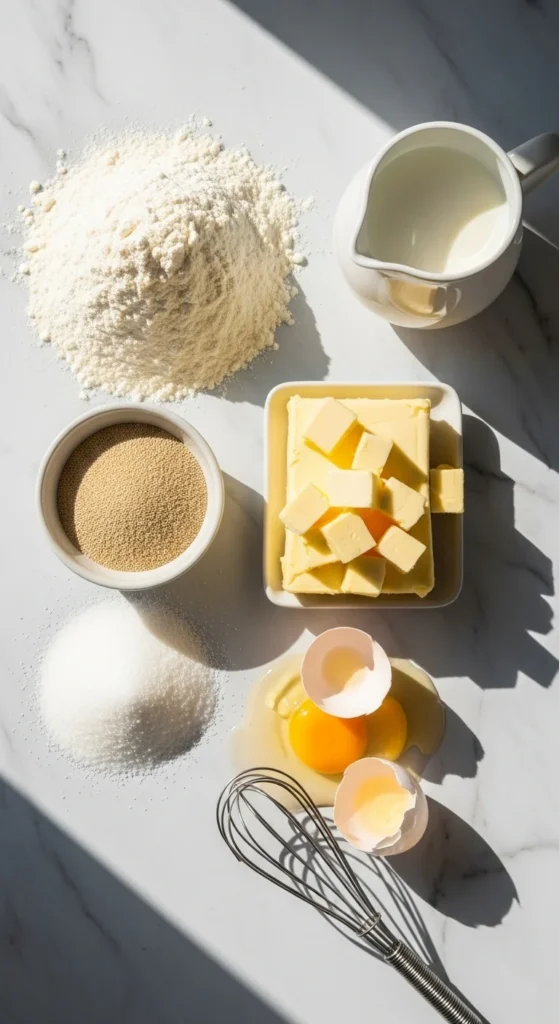
Making croissants is more about technique than equipment, but starting with good ingredients helps immensely.
Ingredients:
- 4 cups all-purpose flour
- ¼ cup sugar
- 1 tablespoon active dry yeast
- 1 ½ teaspoons salt
- 1 ¼ cups warm milk (about 110°F)
- 1 cup (2 sticks) unsalted butter, cold
- 1 egg (for egg wash)
Tools:
- Rolling pin
- Plastic wrap or parchment paper
- Baking sheet
- Pastry brush
Step 1: Make the Dough
Start by mixing the yeast, warm milk, and sugar in a large bowl. Let it sit for about 5 minutes until it becomes foamy—this means your yeast is alive and ready.
Next, stir in the flour and salt until a rough dough forms. Knead gently until smooth—about 5 minutes by hand or 2–3 minutes in a mixer.
Shape the dough into a flat rectangle, wrap it in plastic, and chill it in the fridge for 30 minutes.
This rest period relaxes the gluten, making it easier to roll out later.
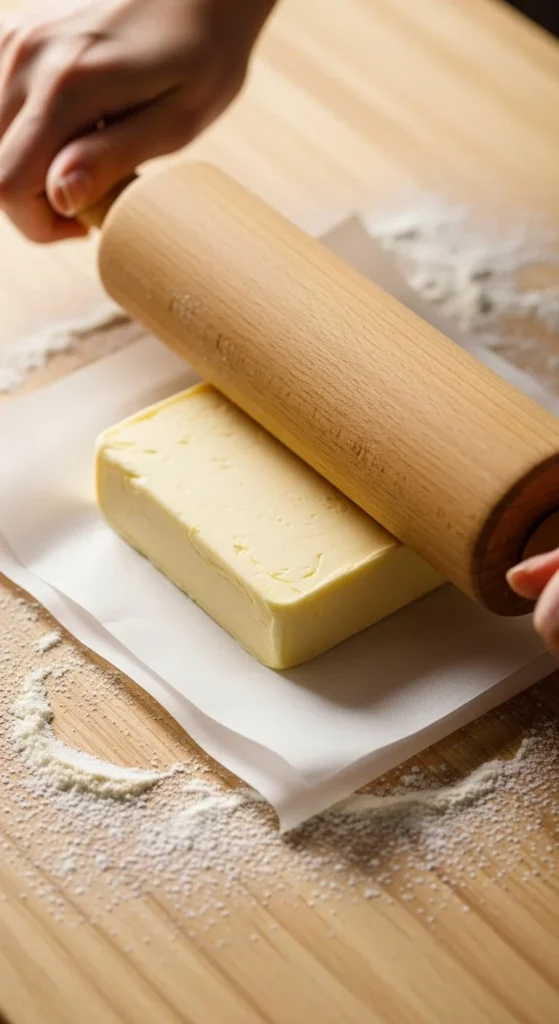
Step 2: Prepare the Butter Block
While the dough chills, prepare the butter layer—this is what creates those famous flaky layers.
Place the cold butter between two sheets of parchment paper. Using your rolling pin, pound and flatten it into a square about 6 inches wide and ½ inch thick.
Keep it cold! If it softens too much, pop it back in the fridge before using.
Step 3: Laminate (Fold the Butter into the Dough)
This is where the magic happens—layer upon layer of buttery goodness.
- Roll the chilled dough into a 10-inch square.
- Place the butter block diagonally in the center, like a diamond.
- Fold the corners of the dough over the butter to seal it inside.
Now roll it gently into a rectangle about 8×16 inches. Fold it into thirds, like a business letter—this is your first fold.
Wrap it up and chill for 30 minutes.
Repeat the rolling and folding two more times, chilling for 30 minutes between each turn. These folds create dozens of thin buttery layers that puff up beautifully when baked.
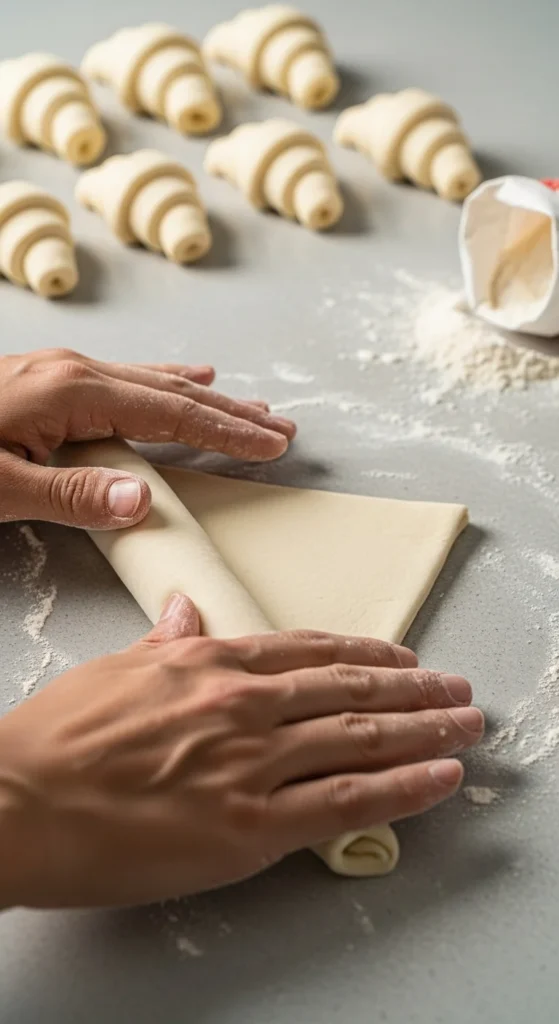
Step 4: Shape the Croissants
Once the final fold is done, roll the dough out into a large ¼-inch-thick rectangle. Trim the edges neatly, then cut long triangles (about 5 inches wide at the base).
Starting from the wide end, roll each triangle tightly toward the tip, creating that classic croissant shape. Curve the ends slightly into a crescent if you like.
Place the shaped croissants on a parchment-lined baking sheet, leaving space between them to rise.
Step 5: Proof and Bake
Cover the croissants loosely with a clean kitchen towel and let them rise at room temperature for 1–2 hours, or until they’re puffy and doubled in size.
When they’re ready, preheat your oven to 400°F (200°C). Brush each croissant with a beaten egg for that signature glossy finish.
Bake for 15–20 minutes, until deep golden brown and beautifully puffed.
Let them cool for a few minutes before biting in—though it’s hard to wait when they smell this good!

Step 6: Flavor and Fill Variations
Once you’ve mastered the base recipe, get creative!
- Chocolate Croissants: Add a few chocolate pieces or a line of chocolate spread before rolling.
- Almond Croissants: Fill with almond cream and sprinkle with sliced almonds before baking.
- Savory Spin: Add ham and cheese inside for an indulgent breakfast version.
You can even freeze unbaked croissants after shaping. Just thaw overnight in the fridge before baking the next morning.
Troubleshooting Tips
- Butter leaking out? Dough got too warm. Keep it chilled between folds.
- Too dense? Didn’t rise enough before baking—let proof longer.
- Not flaky enough? Make sure to complete all three folds.
Croissants are a bit of a project, but they’re as much about the process as the result. Once you master it, you’ll never look at store-bought ones the same way again.
The Takeaway
Making croissants at home is an act of patience, care, and pure butter love. Every fold builds anticipation—and every flaky bite makes it worth it.
So grab that rolling pin, clear a space on your counter, and treat yourself to a batch of fresh, homemade croissants. They’re buttery, golden, and absolutely irresistible.

Leave a Reply