
Boiling eggs might sound like the simplest kitchen task—but anyone who’s ever peeled a stubborn shell or discovered a runny center knows it can be tricky. Whether you love soft, jammy yolks or firm, easy-to-slice hard-boiled eggs, mastering the process is all about timing and a few simple tricks. Let’s walk through the foolproof way to get perfect boiled eggs every single time.
Step 1: Choose the Right Eggs
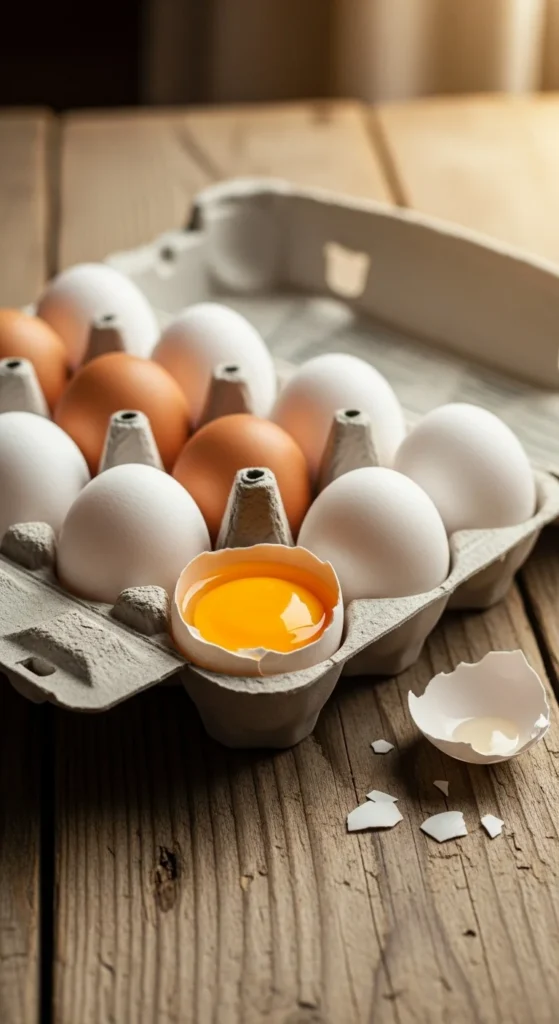
Fresh eggs are great for frying or poaching—but not for boiling. Why? They’re harder to peel. Slightly older eggs (about 7–10 days old) have a bit more air inside the shell, which makes peeling much easier after boiling.
Quick tip:
- If you’re planning to make boiled eggs for meal prep or deviled eggs, buy them a week ahead and keep them refrigerated.
Step 2: Bring Eggs to Room Temperature
Cold eggs dropped straight from the fridge into hot water can crack instantly. To avoid this, let them sit out for about 10–15 minutes before cooking. This simple step helps the shells stay intact and ensures even cooking.
Bonus: If you’re short on time, place the eggs in a bowl of warm (not hot) water for five minutes to bring them to room temp faster.
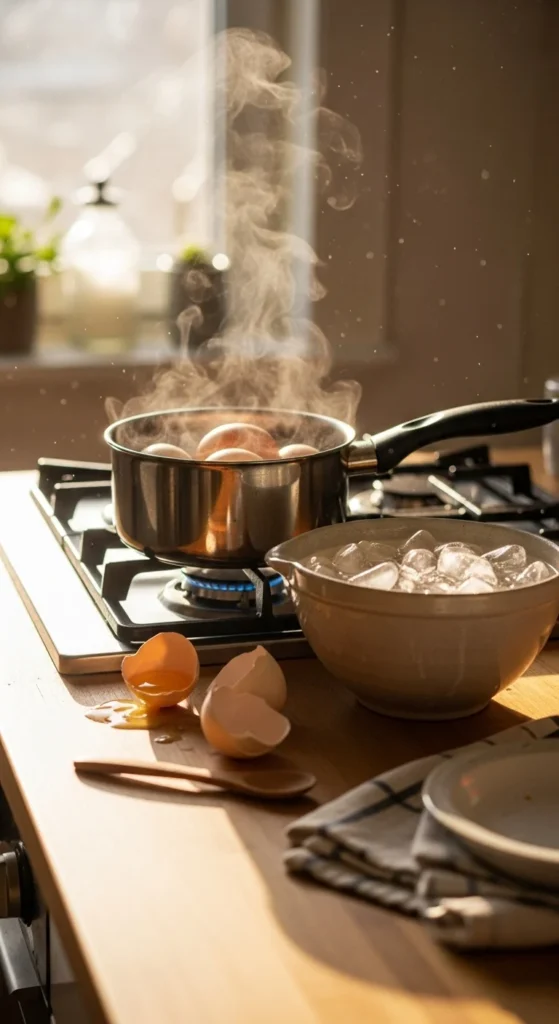
Step 3: Use the Right Amount of Water
Place the eggs in a saucepan and cover them with 1 inch of cold water above the top of the eggs. Using cold water helps everything heat up together, so your eggs cook evenly inside and out.
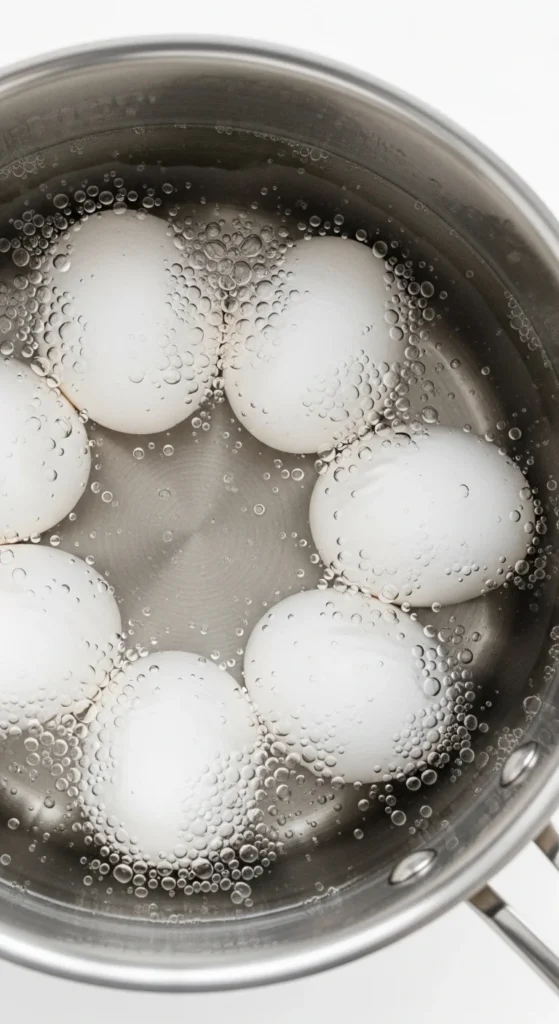
Step 4: Timing Is Everything
Once the water reaches a rolling boil, turn off the heat, cover the pan with a lid, and let the eggs sit in the hot water. The resting time determines how cooked the yolk will be.
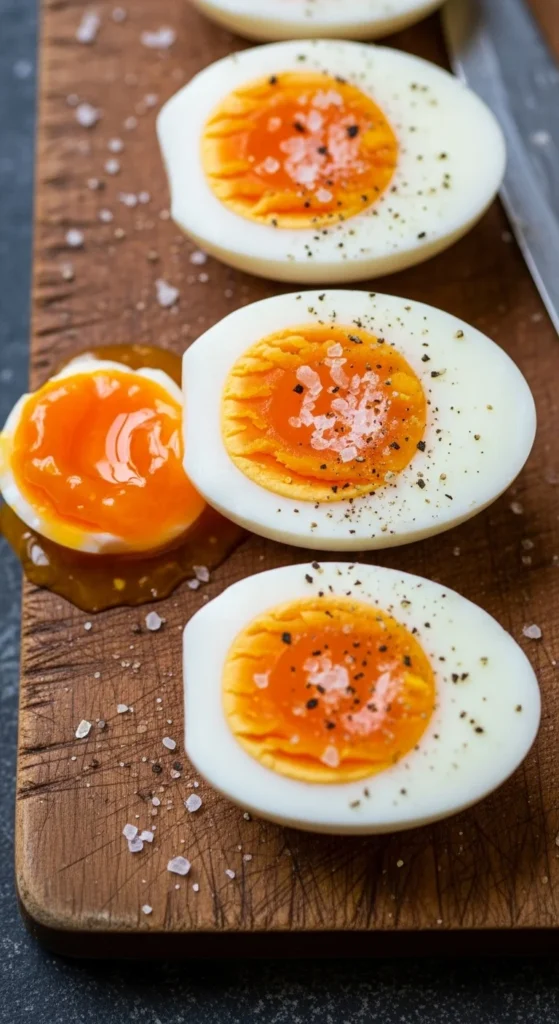
Here’s a quick timing guide:
- 6 minutes: Soft-boiled, slightly runny center (perfect for ramen)
- 8 minutes: Creamy yolk with a jammy texture
- 10 minutes: Fully set yolk, tender and pale yellow
- 12 minutes: Firm hard-boiled egg, great for slicing or salads
Tip: Set a timer! Even one extra minute can change the yolk texture completely.
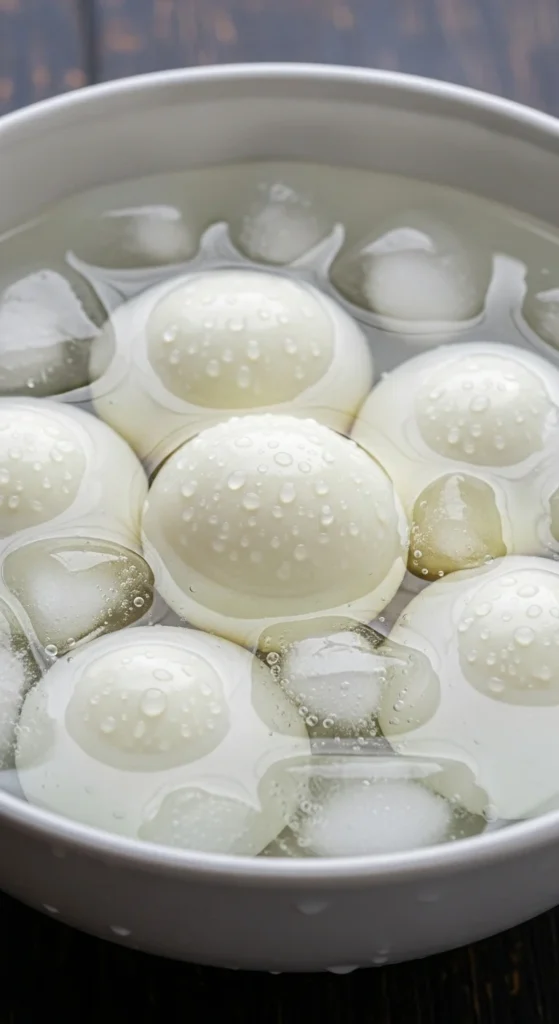
Step 5: Shock Them in Ice Water
When your timer goes off, quickly transfer the eggs to a bowl of ice water. This step stops the cooking process immediately and keeps the yolks bright and tender.
Let them sit in the ice bath for at least 10 minutes. This also makes peeling easier since the cold water causes the egg to contract slightly away from the shell.
Step 6: Peel Like a Pro
Tap the egg gently on the counter to crack it, then roll it lightly to loosen the shell. Start peeling from the wider end (where the air pocket is), and use a bit of running water to help remove stubborn bits of shell.
Pro tip: If you’re peeling a big batch, keep a small bowl of water handy to rinse off any shell fragments.
Step 7: Store or Serve
Once peeled, boiled eggs can be stored in the fridge for up to 5 days. Keep them in an airtight container lined with a paper towel to absorb any extra moisture.
Delicious ways to enjoy your perfect eggs:
- Slice over toast with avocado and sea salt
- Chop into salads or pasta dishes
- Turn into classic deviled eggs
- Sprinkle with chili flakes and olive oil for a quick snack

Final Thoughts
Boiling eggs isn’t just about getting the right texture—it’s about making them look and taste amazing every time. Once you master the timing and cooling tricks, you’ll never have to worry about gray yolks or stuck shells again. Whether you’re prepping snacks for the week or perfecting your brunch spread, these simple steps will guarantee success.

Leave a Reply