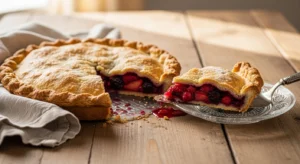
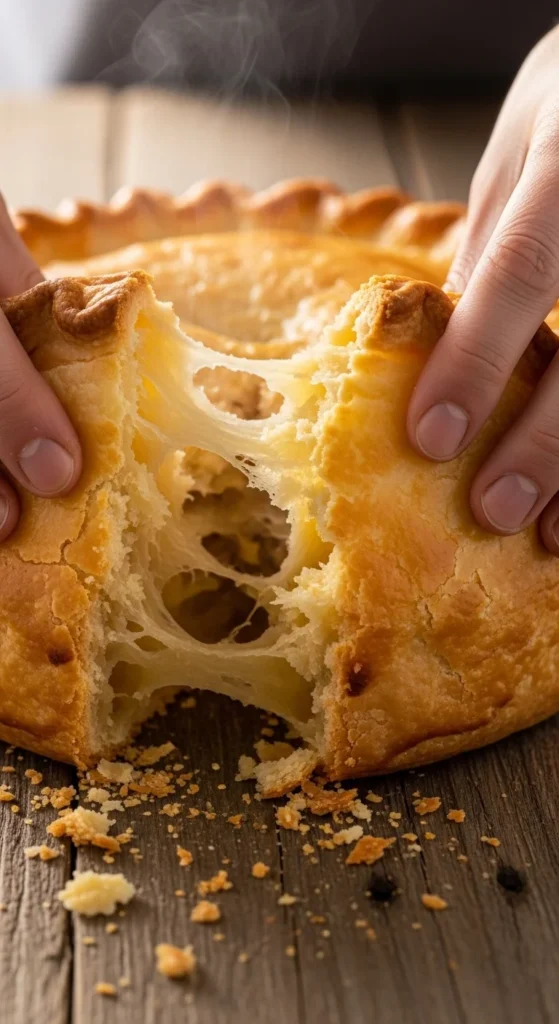
If you’ve ever tasted a truly great pie crust — the kind that shatters into buttery flakes with every bite — you know it’s in a league of its own. An all-butter pie crust delivers unmatched flavor, but it can also feel intimidating. Too tough, too crumbly, too shrunken… sound familiar?
Here’s the truth: once you master a few pro techniques, an all-butter crust becomes completely reliable. This guide walks you through the exact steps to get a rich, tender, flaky crust every single time.
Why Choose All Butter?
Shortening may be easier, but butter wins on flavor — every time.
What makes all-butter crust special:
- 🧈 Deep, rich flavor
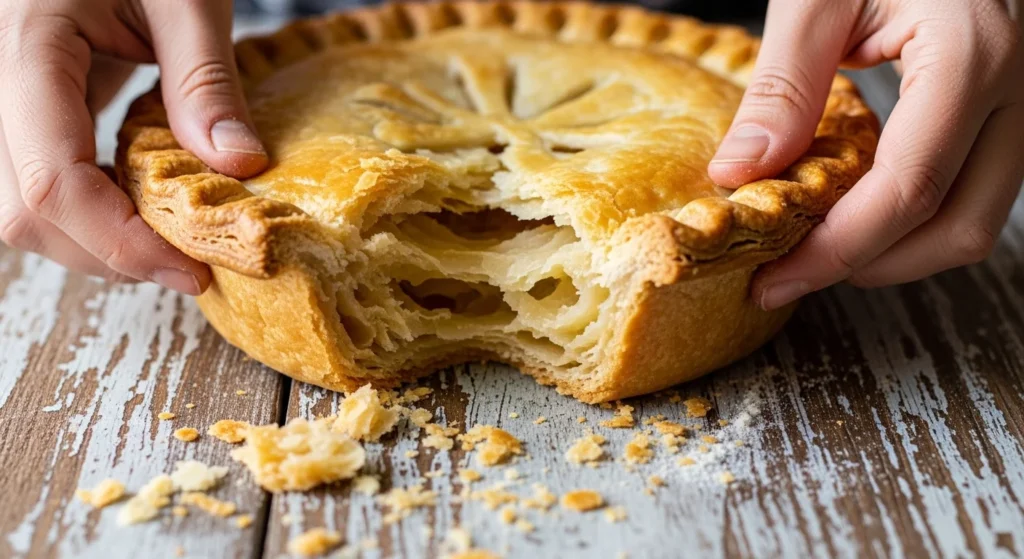
- 🥐 Beautiful flaky layers from steam pockets
- 🌟 Better browning and aroma
- 🧊 Works perfectly when kept cold
The trade-off: butter melts faster than shortening, so temperature control is key. But don’t worry — you’re about to master it.
Step 1: Start With Ultra-Cold Ingredients
Cold butter is the foundation of flaky success.
Basic all-butter crust formula
- 2½ cups (300–320g) all-purpose flour
- 1 cup (226g) unsalted butter, very cold
- ½ tsp salt
- ½ cup ice water (added gradually)
- Optional: 1 tsp vinegar for extra tenderness
Smart prep hacks
- ❄️ Freeze butter before cubing (the Ultra-Cold Start)
- 🧊 Use ice water, not just cold tap water
- 🥄 Chill flour for 10–15 minutes if your kitchen is warm
- 🧈 European-style butter adds richer flavor (optional upgrade)

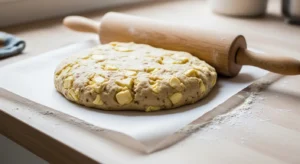
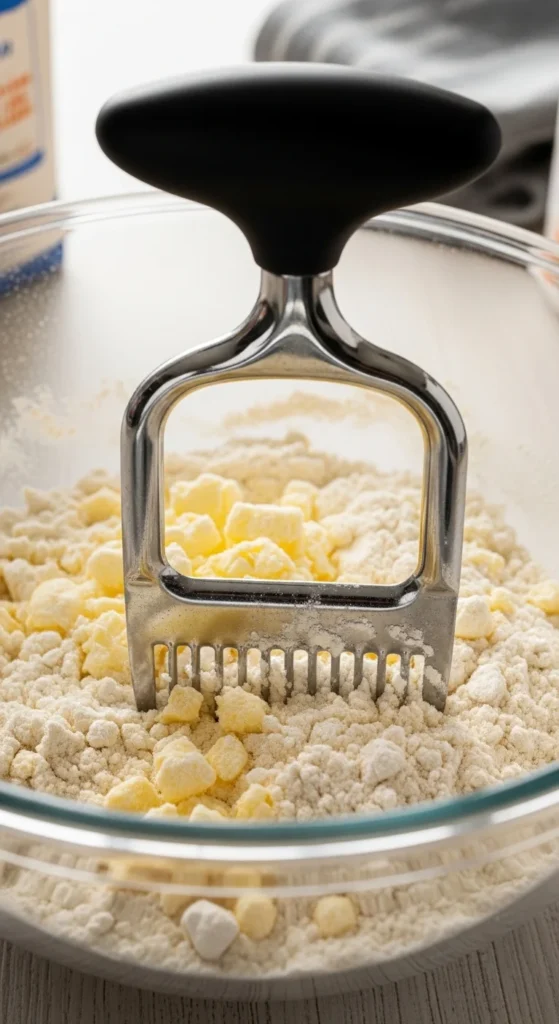
Step 2: Cut Butter Into Pea-Sized Pieces
This is where flaky layers are born.
You want visible butter chunks — not smooth paste.
Best tools (Tool Showdown for Speed)
Pastry cutter (best control)
- Creates perfect pea-sized chunks
- Harder to overwork
- Ideal for beginners
Food processor (fast but risky)
- Pulse briefly only
- Easy to overmix
- Watch texture closely
Fork-toss method (no-tool option)
- Toss butter into flour with forks
- Mimics processor results
- Great backup method
✅ Success checkpoint: mixture should look like coarse crumbs with visible butter flecks.
Step 3: Add Ice Water Gradually (Hydration Mastery)
This is where many crusts go wrong.
Too much water → tough dough
Too little → crumbly mess
Foolproof hydration steps
- Sprinkle ice water 1 tablespoon at a time
- Toss gently with a fork
- Stop when dough forms a shaggy mass that holds when pressed
Vinegar Secret for Melt-in-Mouth Texture
Add 1 teaspoon vinegar to your ice water.
Why it works:
- Helps limit gluten development
- Boosts tenderness
- Adds zero noticeable flavor
💡 This is the alcohol-free alternative to the famous vodka trick.
Step 4: Use the Reverse Creaming Technique (Pro Upgrade)
Want next-level flakiness? Try this advanced method.
Reverse creaming (butter-flour smear)
Instead of only cutting butter into chunks:
- Smear a small portion of butter fully into some flour
- Leave the rest in pea-sized pieces
- Combine both textures
Result:
- Tender base from smeared butter
- Flaky layers from butter chunks
This hybrid texture is a secret used by many pastry pros.
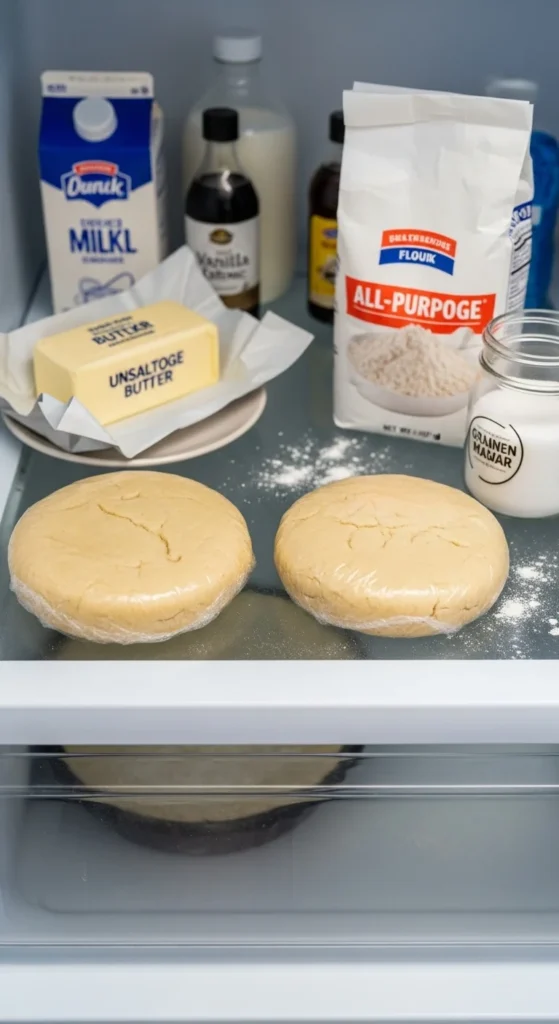
Step 5: Form and Chill the Dough (Make-Ahead Timeline)
Chilling is not optional — it’s structural insurance.
Proper chilling method
- Gather dough with a bench scraper
- Divide into discs
- Double-wrap tightly
- Chill minimum 2 hours
Why chilling matters
- Re-solidifies butter
- Relieves gluten tension
- Prevents shrinkage
- Makes rolling easier
✅ Freezer bonus: discs keep up to 3 months — perfect for holiday stockpiling.
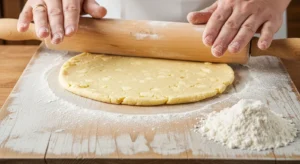
Step 6: Roll to Perfect Thickness
Rolling technique makes or breaks your crust.
Perfect Thickness Demo
- Lightly flour surface
- Roll from center outward
- Rotate dough frequently
- Aim for about 1/8-inch thickness
Dough inspection tips
Look for:
- Visible butter flecks
- Smooth but not sticky surface
- Even thickness
⚠️ If butter starts softening, chill dough for 10 minutes before continuing.
Step 7: Shape, Crimp, and Chill Again
For clean edges that hold their shape:
- Fit dough into pie plate gently
- Trim excess
- Crimp edges after chilling briefly
- Refrigerate 15 minutes before baking
Decorative finishes
- Fork crimp (easy)
- Finger flute (classic)
- Press-and-pinch (rustic)
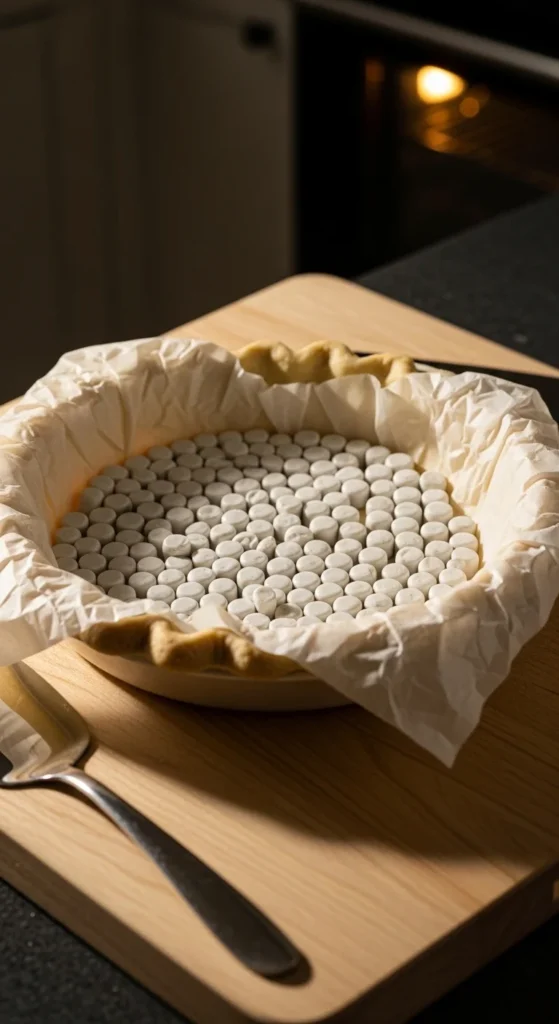
Step 8: Blind Bake for Custard or Cream Pies
If your filling is wet, blind baking is essential.
Custard pie essentials
- Preheat oven to 375°F (190°C)
- Line crust with parchment
- Fill with pie weights
- Bake until edges set
This prevents the dreaded soggy bottom.
Common Mistakes to Avoid
Top 5 beginner pitfalls
❌ Overworking the dough
❌ Letting butter get warm
❌ Adding water too quickly
❌ Skipping the chill time
❌ Rolling too thick or uneven
Optional Flavor Variations
Want to customize your crust?
- 🍰 Powdered sugar — for sweet pies
- 🥚 Egg yolk — adds richness and cohesion
- 🌾 Pastry flour swap — extra tenderness
- 🇮🇪 Ballymaloe creamed method — ultra-tender Irish twist
Final Takeaway
An all-butter pie crust isn’t hard — it’s just precise. Keep everything cold, leave visible butter chunks, hydrate gently, and chill thoroughly. Follow these steps and you’ll get a rich, tender, flaky crust that rivals any bakery.
📌 Save this recipe for later and pin it before your next pie day! 🥧