There’s nothing more disappointing than slicing into a beautiful apple pie… only to find a soggy bottom or a tough, pale crust. The filling might be perfect — tender apples, warm cinnamon, bubbling juices — but the crust is what makes or breaks the pie.
The secret? Cold ingredients, minimal handling, and a few pro-level techniques that guarantee flaky layers and a deeply golden finish.
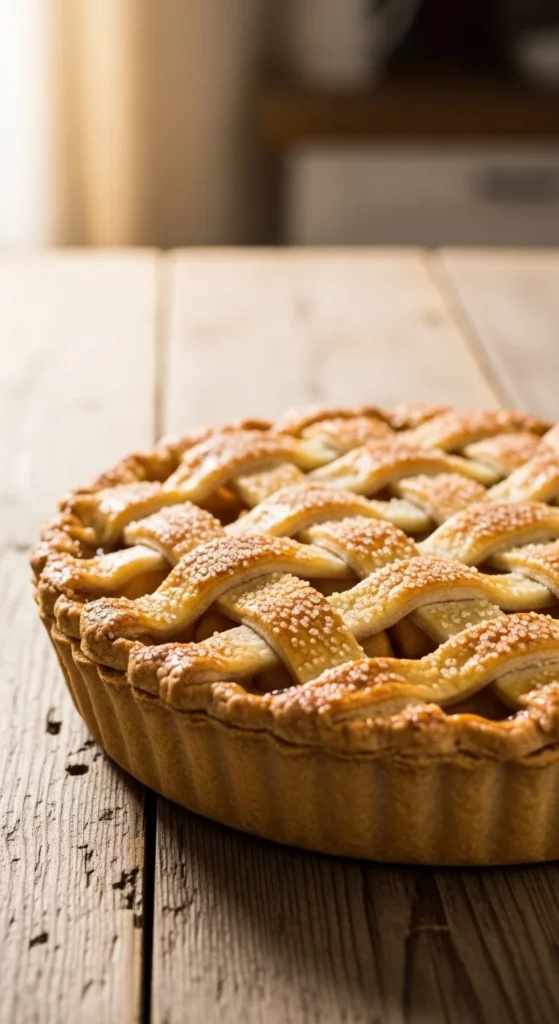
Let’s walk step-by-step through how to make an apple pie crust that’s flaky, tender, and beautifully golden every single time.
Start With Ice-Cold Ingredients
Flaky crusts are built on one rule: keep everything cold.
Why? Because cold butter creates steam pockets as it bakes — and steam equals layers.
What You’ll Need (Double Crust)
- 2 ½ cups all-purpose or pastry flour (8–10% protein preferred)
- 1–2 tablespoons sugar (optional but helps tenderize)
- 1 teaspoon salt
- 1–1¼ cups unsalted butter, ice cold and cubed
- ¼–½ cup ice water (or vodka-water mix)
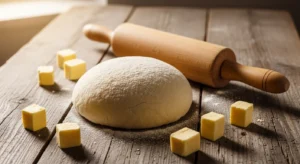
Cut your butter into small cubes and chill it again before using. Even chill your flour and mixing bowl if your kitchen runs warm.
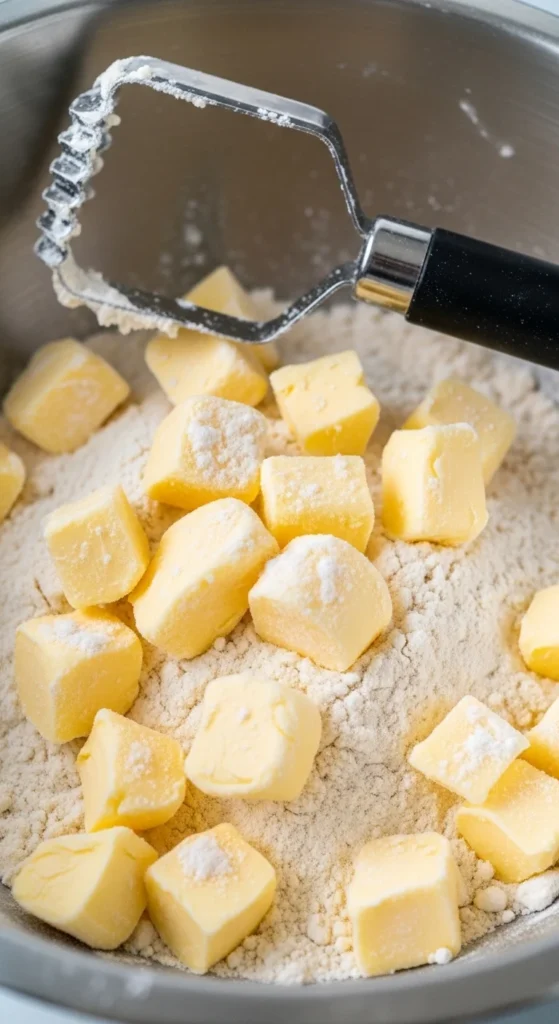
Cut the Butter Properly (Pea-Sized is the Goal)
This step determines your flakiness.
Use a pastry blender or fork to cut the butter into the flour until you see:
- Pea-sized chunks
- Some slightly larger flakes
- A crumbly, uneven texture
Avoid overmixing. You want visible butter pieces — they’ll create those irresistible flaky layers.
Pro tip: If the butter starts softening, pause and refrigerate the mixture for 10 minutes.
Add Liquid Carefully (Less Is More)
Too much water = tough crust.
Start with ¼ cup ice water (or half water, half vodka for extra tenderness). Add it one tablespoon at a time.
Why vodka works:
- Adds moisture
- Evaporates in baking
- Limits gluten development
The dough should look shaggy but hold together when pressed.
Do not knead.
Gently gather it into two discs, wrap tightly, and chill for at least 1–2 hours (up to 48 hours for best flavor and texture).
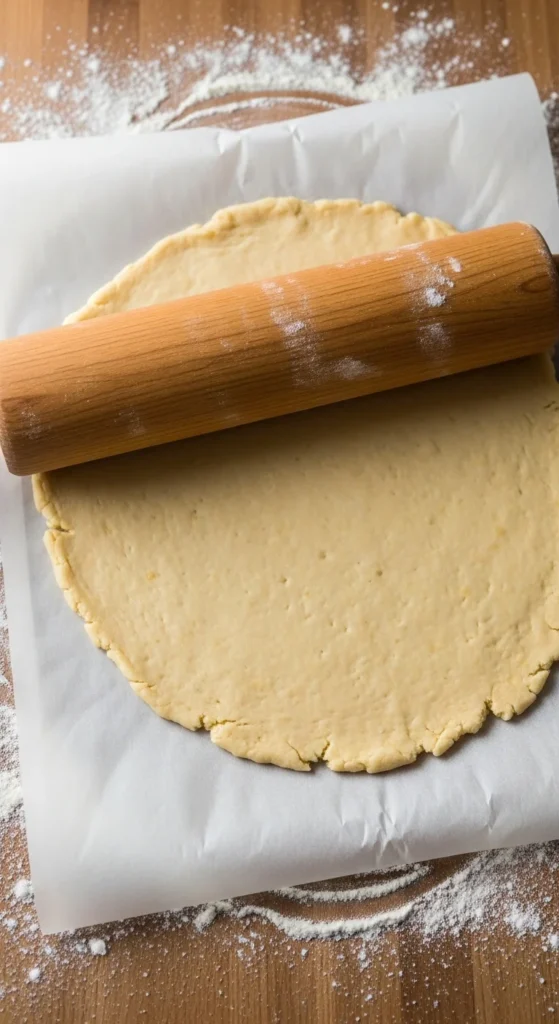
Roll Without Overworking
After chilling, let the dough sit at room temperature for 5 minutes — just enough to prevent cracking.
Roll between parchment paper or lightly floured surfaces until about ⅛ inch thick.
Key tips:
- Roll from the center outward
- Rotate often to prevent sticking
- Keep edges even
Transfer carefully into your pie dish and press gently into corners without stretching.
Stretching causes shrinkage in the oven.
Seal and Crimp Like a Pro
For double crust pies:
- Fill your pie.
- Lay the top crust over.
- Trim excess, leaving about 1 inch.
- Tuck top crust under bottom crust edge.
- Crimp tightly to seal.
Crimping isn’t just decorative — it prevents juices from leaking.
You can:
- Flute with your fingers
- Use a fork for a rustic seal
- Create braided or decorative edges
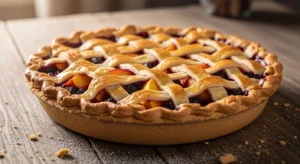
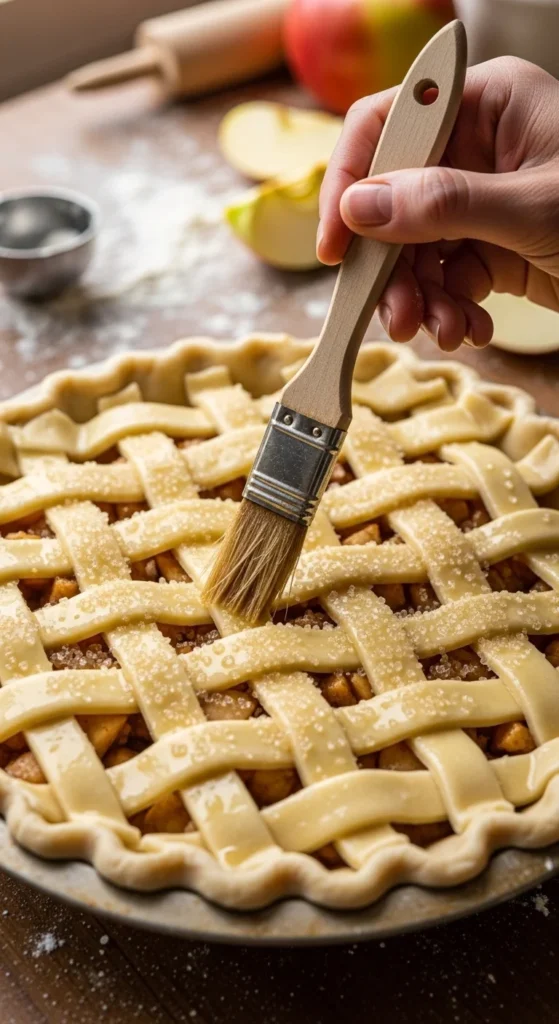
If making a lattice top, weave strips evenly for both beauty and ventilation.
Don’t forget to cut 4–6 slits in a full top crust to release steam.
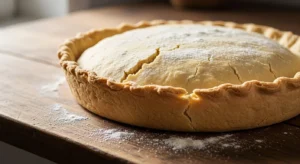
Prevent the Dreaded Soggy Bottom
Nothing ruins a pie faster than a soggy base.
Fix #1: Blind Bake (Par-Bake)
For extra insurance:
- Line bottom crust with parchment
- Fill with pie weights
- Bake 15 minutes at 425°F
- Remove weights and bake 5 more minutes
This sets the base before adding filling.
Fix #2: Pre-Cook the Apples
Cooking apples slightly beforehand reduces excess juices and prevents shrinkage during baking.
Fix #3: Add a Thickener
Use cornstarch or flour in the filling to help control moisture.
Achieve That Perfect Golden Finish
The shine matters.
Egg Wash for Gloss
Whisk:
- 1 egg yolk
- 1 tablespoon cream or milk
Brush lightly over the crust before baking.
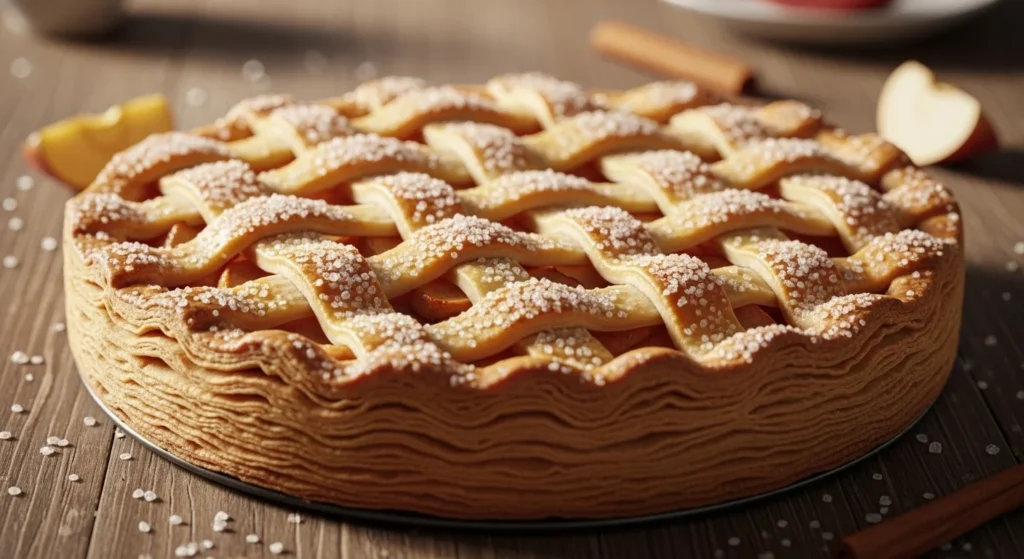
For sparkle and crunch:
- Sprinkle coarse sugar on top
Baking Temperature Trick
Start high:
- 425°F for 15 minutes
Then reduce:
- 350°F for 45–55 minutes
If edges brown too quickly, shield with foil or a pie shield halfway through.
Cool Before Slicing (Yes, It’s Important)
Let your pie rest at least 2–4 hours after baking.
Why?
- Filling thickens as it cools
- Juices redistribute
- Slices hold their shape
Cutting too early leads to runny filling — even if your crust is perfect.
Bonus Make-Ahead Tips
Pie crust freezes beautifully.
- Double-wrap discs tightly
- Freeze up to 3 months
- Thaw overnight in the fridge before using
You can also freeze unbaked pies for future baking — perfect for holidays.
Troubleshooting Common Crust Problems
Tough Crust
- Overworked dough
- Too much water
- High-protein flour
Shrinking Edges
- Dough wasn’t chilled long enough
- Crust was stretched into pan
Uneven Browning
- Rotate pie halfway
- Shield edges earlier
Final Takeaway
The perfect apple pie crust comes down to five golden rules:
- ✔ Keep everything cold
- ✔ Use pea-sized butter chunks
- ✔ Add minimal liquid
- ✔ Chill before rolling
- ✔ Finish with egg wash and proper baking temps
Master these techniques, and your apple pies will have flaky layers, crisp bottoms, and that irresistible golden glow every baker dreams of.
Save this guide for later — because once you nail your crust, every apple pie you bake will look and taste bakery-worthy. 🥧✨