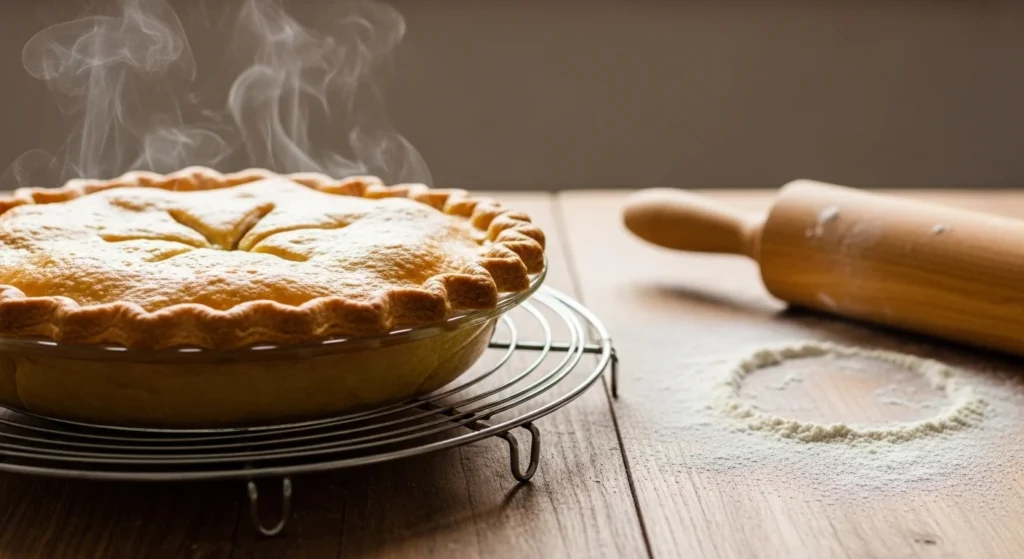
There’s something magical about a homemade pie — that golden, buttery crust shattering into tender flakes with every bite. But if you’ve ever struggled with tough, soggy, or crumbly dough, you’re not alone. The perfect pie crust can feel like a baker’s mystery, but once you understand the “why” behind each step, it’s surprisingly simple to master.

Why Homemade Pie Crust Beats Store-Bought Every Time
Store-bought pie crusts are convenient, sure, but they can’t compete with the rich flavor and texture of one made from scratch. A homemade crust:
- Flakes beautifully when made with cold fat and gentle handling.
- Tastes buttery and fresh, not bland or artificial.
- Adapts easily for sweet or savory pies.
Once you’ve made your first perfect crust, you’ll never go back — promise.
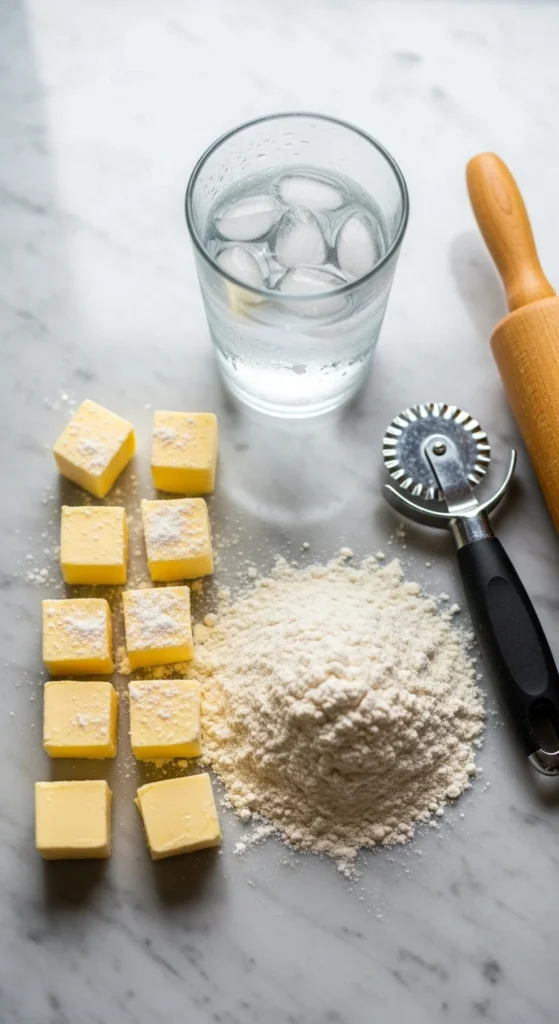
Step 1: Gather Your Simple, Essential Ingredients
Good pie dough doesn’t need anything fancy. It’s all about quality and temperature.
You’ll Need:
- 2 ½ cups all-purpose flour
- 1 teaspoon salt
- 1 tablespoon sugar (optional for sweet pies)
- 1 cup (2 sticks) unsalted butter, cold and cubed
- 6–8 tablespoons ice-cold water
Why Cold Matters
Cold butter = flaky layers. Warm butter = greasy dough. Keeping every ingredient as cold as possible helps the butter stay solid until it hits the oven, where it creates steam pockets — the secret to flakiness.
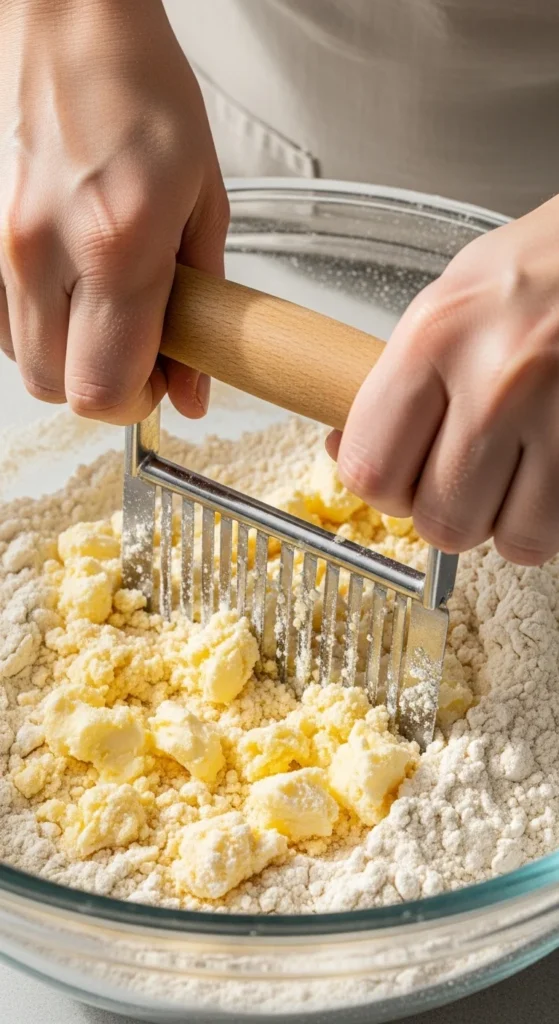
Step 2: Cut in the Butter
This step is where magic begins. You want visible chunks of butter in the dough — they’re what give the crust its signature layers.
How to Do It:
- In a large bowl, whisk together flour, salt, and sugar.
- Add the cold butter cubes.
- Use a pastry cutter or your fingertips to blend until the mixture looks like coarse crumbs with pea-sized butter bits.
Don’t overmix — some chunks of butter should remain. These will melt in the oven, releasing steam and forming flaky pockets.
Pro Tip:
Work quickly! If the butter starts to soften, pop the bowl into the fridge for 5–10 minutes before continuing.
Step 3: Add the Ice Water (Just Enough)
This is where most bakers go wrong — adding too much water makes dough tough, while too little makes it crumble.
Start by sprinkling in 4 tablespoons of ice water and mix gently with a fork. Add 1 tablespoon at a time until the dough just holds together when pinched.
You’re aiming for a dough that’s:
- Moist enough to form a ball,
- But not sticky or wet.
Once it comes together, divide it in half, shape into two discs, and wrap each in plastic wrap. Chill for at least 1 hour (or up to 2 days).
This resting period allows the gluten to relax and the butter to re-solidify — both essential for a tender, flaky crust.
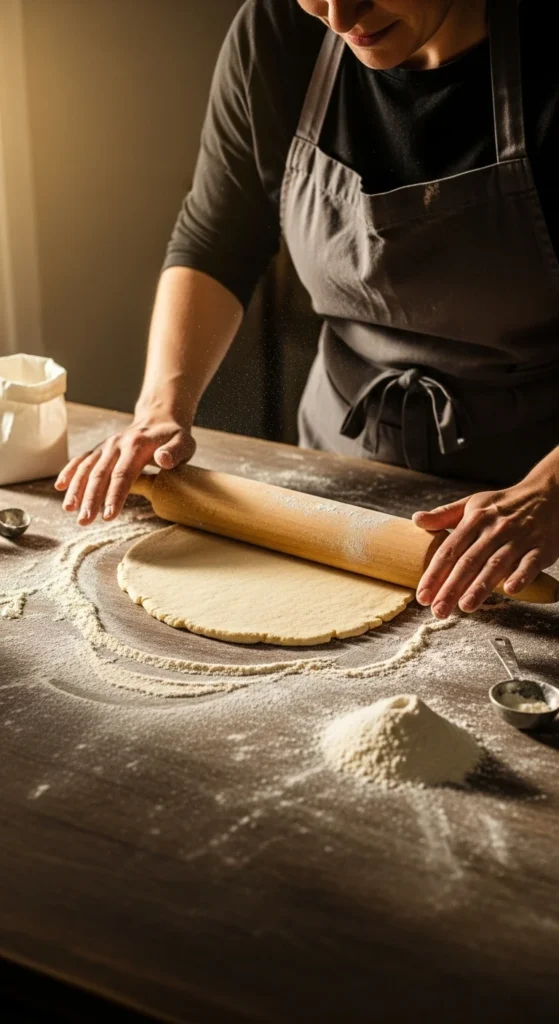
Step 4: Roll It Out the Right Way
Light hands and a cool surface make all the difference.
How to Roll Perfectly:
- Lightly flour your counter and rolling pin.
- Roll the dough from the center outward, rotating ¼ turn between rolls to keep it even.
- Aim for about ⅛ inch thickness.
- Gently lift the dough into your pie dish, letting it settle naturally. Never stretch it — stretched dough shrinks when baked.
Trim any excess, leaving about a 1-inch overhang for crimping or folding.
Step 5: Chill Again Before Baking
Chilling one last time before baking keeps the crust from slumping in the oven. After shaping or crimping the edges, place the crust in the fridge for at least 20 minutes (or the freezer for 10).
Cold dough going into a hot oven equals maximum flakiness.
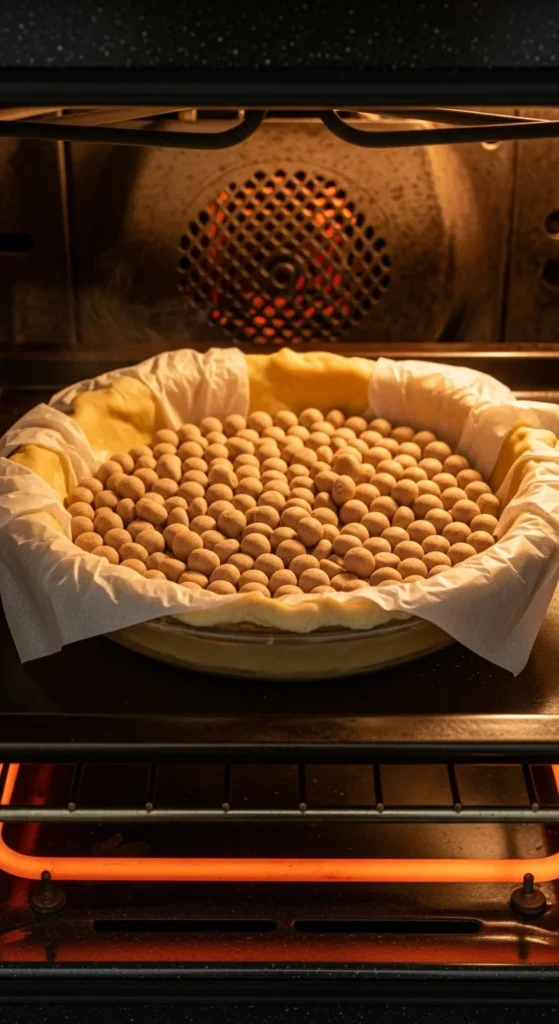
Step 6: Blind Bake (If Needed)
For cream pies, quiches, or pies with liquid fillings, you’ll need to blind bake — pre-baking the crust so it doesn’t get soggy.
How to Blind Bake:
- Line the chilled crust with parchment paper.
- Fill with pie weights, beans, or rice to keep it from puffing.
- Bake at 375°F (190°C) for 15–20 minutes.
- Remove weights and paper, then bake another 10–15 minutes until golden.
Your crust will be crisp, flaky, and ready to hold any filling beautifully.
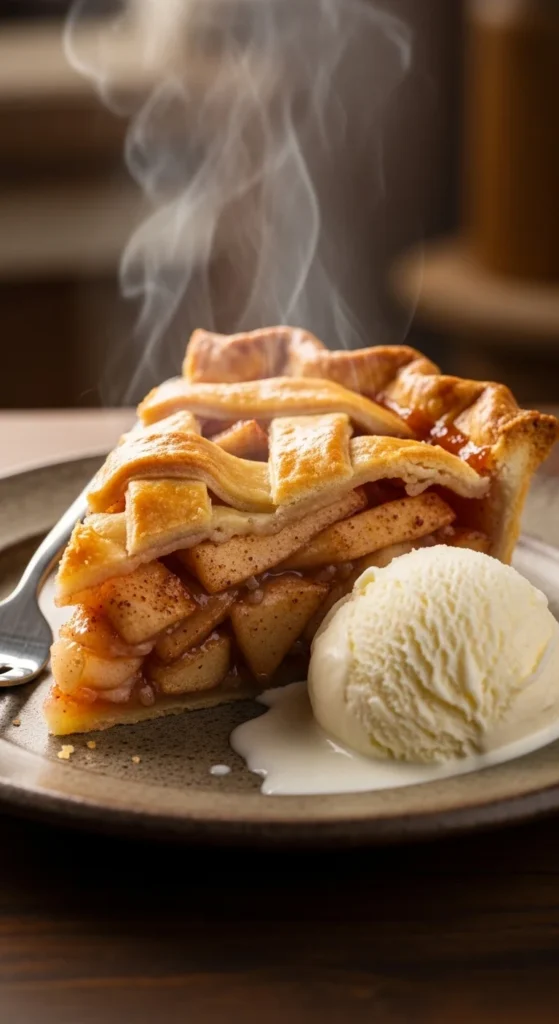
Step 7: Bake to Golden Perfection
Once filled, bake your pie according to your recipe — usually between 375°F and 400°F. Keep an eye on the edges; if they brown too quickly, cover them with foil or a pie shield.
The moment you pull out that golden, buttery crust and hear the faint crackle as it cools, you’ll know it was worth the effort.
Bonus Tips for Foolproof Pie Crust
- Use vinegar or vodka: A tablespoon in your water helps keep the crust tender by limiting gluten formation.
- Butter + shortening combo: For even more flakiness and structure, use half butter, half shortening.
- Freeze before baking fruit pies: Keeps the crust crisp under juicy fillings.
- Egg wash: Brush the top crust with beaten egg for that glossy bakery finish.
Final Thoughts
A flaky pie crust isn’t about perfection — it’s about patience, cold butter, and a little confidence. Once you’ve nailed this technique, you can turn any pie — sweet or savory — into a masterpiece.
So grab your rolling pin and make some baking magic.


