There’s nothing quite like the smell of freshly baked bread filling your kitchen — warm, rustic, and comforting. But if the idea of kneading, proofing, and shaping dough sounds intimidating, I’ve got great news: you can make bakery-quality artisan bread with almost zero effort.
This no-knead bread recipe is the definition of simple — mix it, let it rest, bake it — and out comes a golden, crackly loaf with a soft, airy center. Perfect for soups, sandwiches, or just tearing apart and dipping into olive oil.
Step 1: Gather Your Simple Ingredients
One of the best things about this bread is how minimal it is — just four ingredients you probably already have in your kitchen.
You’ll Need:
- 3 cups all-purpose flour (or bread flour for extra chewiness)
- 2 teaspoons salt
- ½ teaspoon instant yeast (or active dry yeast)
- 1½ cups warm water (about 110°F / 43°C)
That’s it! No eggs, no butter, no fancy mixers — just the basics for pure, old-fashioned bread goodness.
Optional additions:
- A handful of chopped herbs (like rosemary or thyme)
- A sprinkle of seeds or oats on top for texture
- A pinch of sugar or honey if you prefer a slightly sweet note

Step 2: Mix — Don’t Knead
In a large mixing bowl, combine flour, salt, and yeast. Add the warm water and stir with a wooden spoon until the dough comes together. It should look shaggy, sticky, and a little rough — don’t worry, that’s exactly what you want.
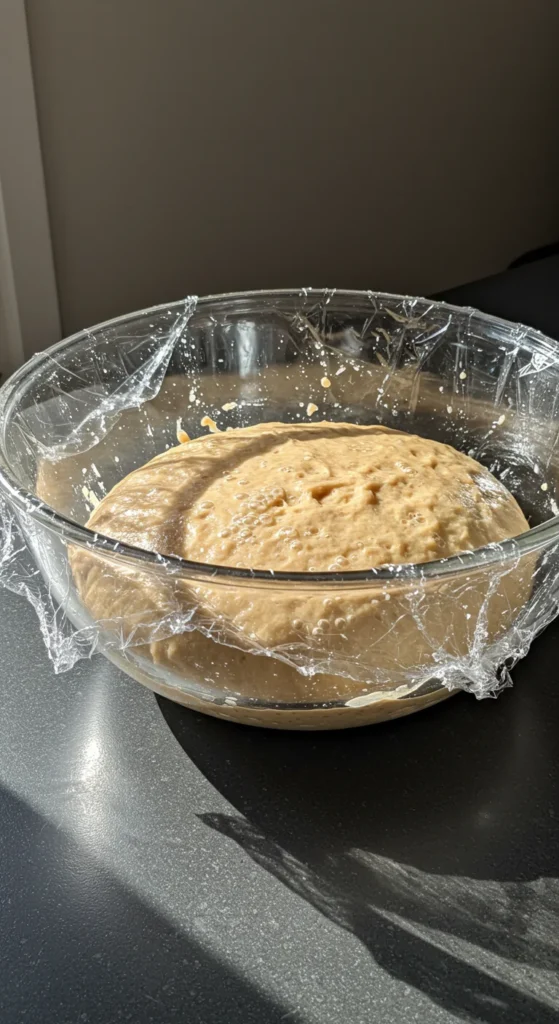
There’s no kneading here — time does the work for you. Cover the bowl tightly with plastic wrap or a clean kitchen towel, and let it rest at room temperature for 12 to 18 hours.
During this slow fermentation, the dough will double in size, develop air bubbles, and build flavor naturally — like magic.
Step 3: Shape and Rest the Dough
When your dough is puffed up and full of bubbles, it’s ready for the next step.
- Lightly flour your counter and your hands.
- Gently scrape the dough out of the bowl (it will be sticky).
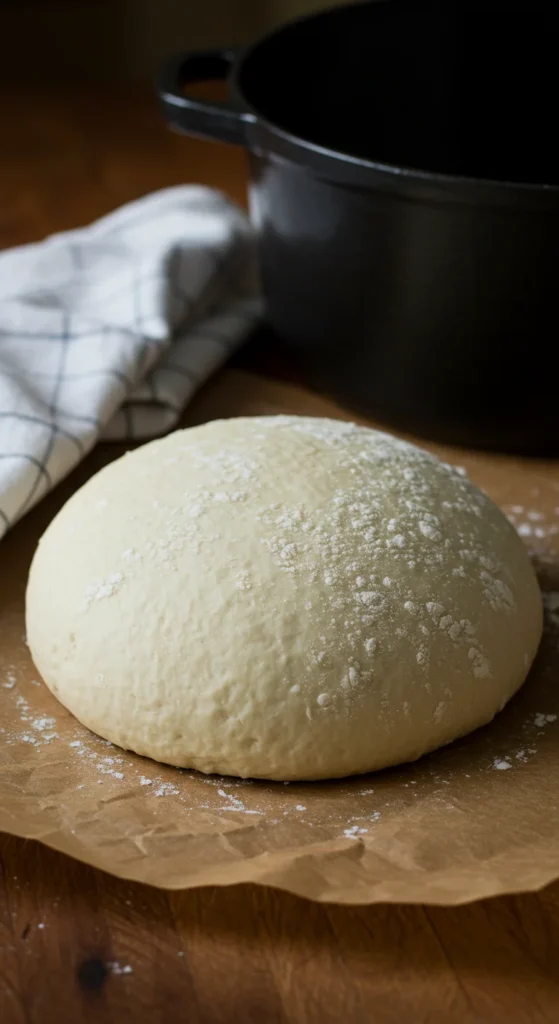
- Fold it over itself a few times to shape it into a rough ball.
Don’t press too hard — you don’t want to lose all that lovely air you created. Place the dough seam-side down on a piece of parchment paper, then cover it loosely with a towel and let it rest for 30–45 minutes while you preheat your oven.
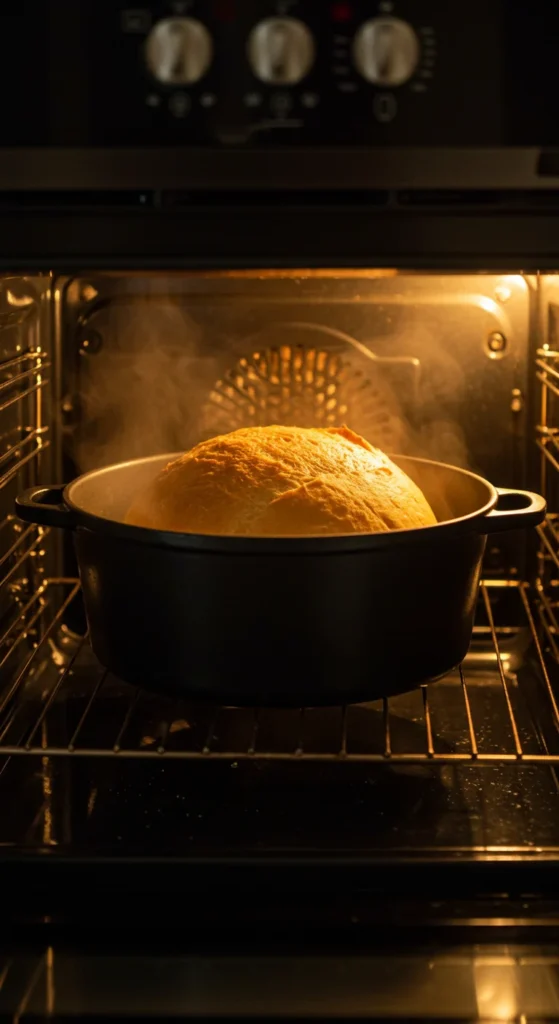
Step 4: Preheat the Oven and Bake
While the dough rests, preheat your oven to 450°F (230°C). Place a Dutch oven (with the lid on) inside to heat up — this step is key. The hot pot traps steam, helping your bread rise and form that irresistible crispy crust.
Once the oven and pot are hot:
- Carefully remove the Dutch oven (use oven mitts — it’s very hot).
- Lift the parchment paper with your dough and place it directly into the pot.
- Cover and bake for 30 minutes.
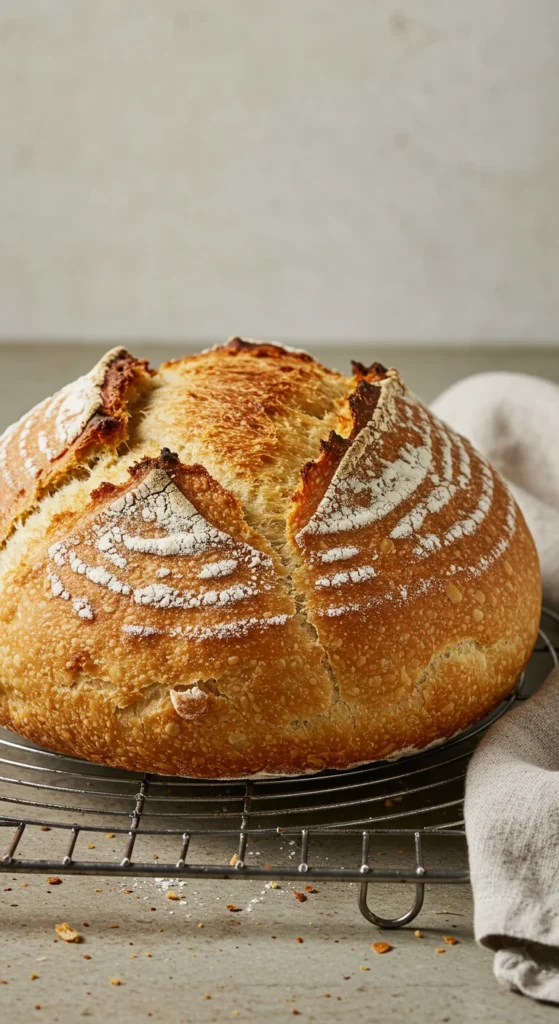
- Remove the lid and bake another 10–15 minutes until golden brown.
Your kitchen will smell heavenly, and the loaf will look like it came straight from a bakery window.
Step 5: Cool and Enjoy
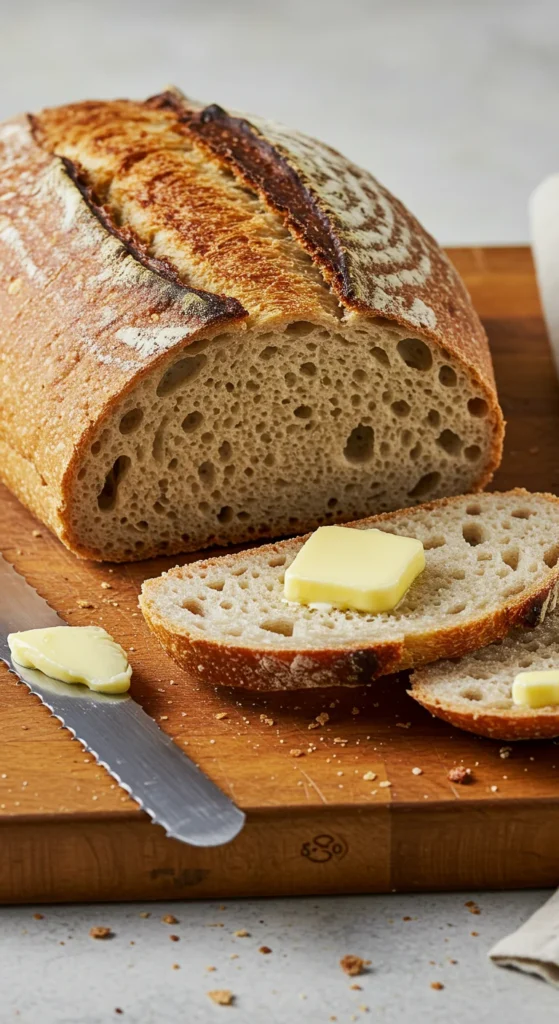
As tempting as it is to dive right in, let your bread cool for at least 30 minutes on a wire rack. This helps the inside set properly, so it stays soft and moist instead of gummy.
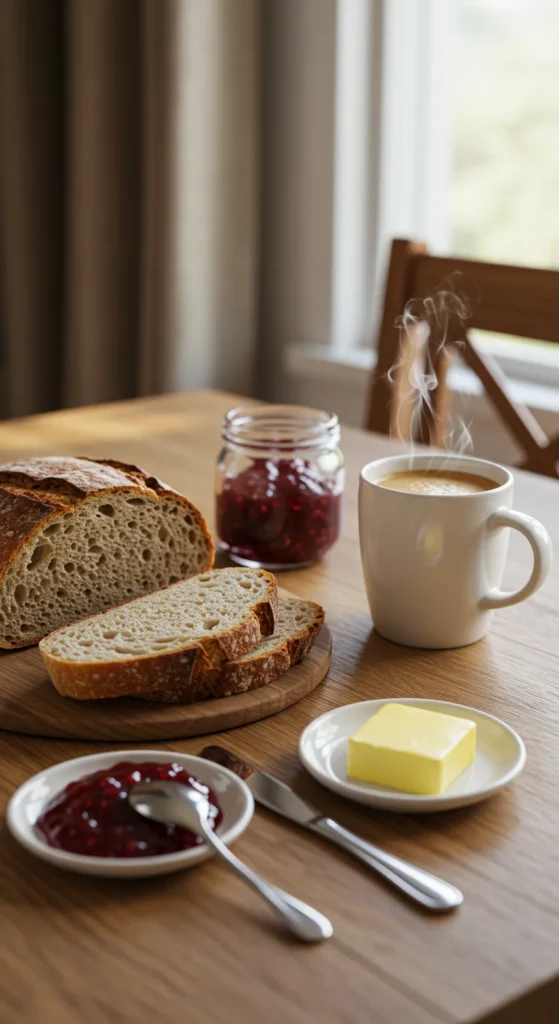
Once cooled, slice it open — you’ll see that gorgeous open crumb texture, perfect for slathering with butter or dipping into soup.
Serve it warm, toast it the next day, or use it as the base for sandwiches and bruschetta.
Step 6: Store (and Reheat) Like a Pro
To keep your bread fresh:
- Store it at room temperature in a paper bag or wrapped in a clean towel for up to 3 days.
- Avoid plastic bags — they make the crust soft and soggy.
- To revive day-old bread, pop it in a 350°F (175°C) oven for 10 minutes to bring back the crispness.
If you want to save it for later, slice and freeze it — it toasts beautifully straight from the freezer.
Final Thoughts
Baking bread doesn’t have to be complicated. This no-knead artisan loaf proves that with a little patience (and hardly any effort), you can make something rustic, beautiful, and totally delicious right in your own kitchen.
So grab some flour, a bowl, and your favorite Dutch oven — your homemade bakery awaits.