There’s something irresistibly decadent about a chocolate pie crust. It’s the perfect base for silky mousse, fudgy chocolate pies, or creamy custards. Rich, crumbly, and slightly sweet, a chocolate crust elevates any dessert to something that feels indulgent and bakery-worthy. Best of all, it’s easier to make than you might think. Today, we’ll walk you through making a chocolate pie crust that’s both sturdy and delicious—perfect for your favorite rich desserts.
Ingredients You’ll Need
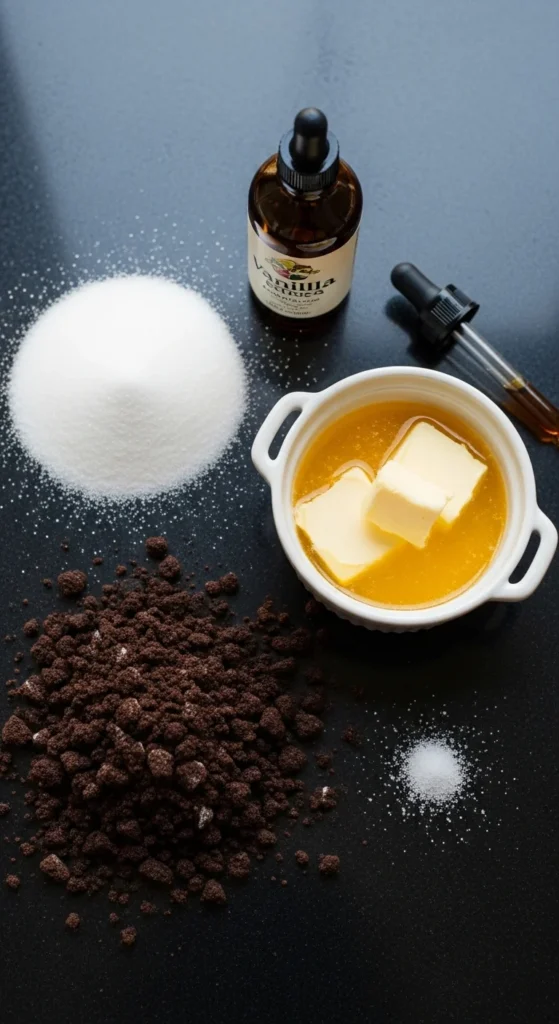
A great chocolate crust starts with simple ingredients. Here’s what you need for a 9-inch pie:
- 1 ½ cups chocolate cookie crumbs (or finely crushed chocolate graham crackers)
- ¼ cup granulated sugar
- 6 tablespoons unsalted butter, melted
- 1 teaspoon vanilla extract (optional)
- Pinch of salt
Tips:
- Use high-quality chocolate cookies for deeper flavor.
- Melt the butter gently—too hot and it can affect the texture.
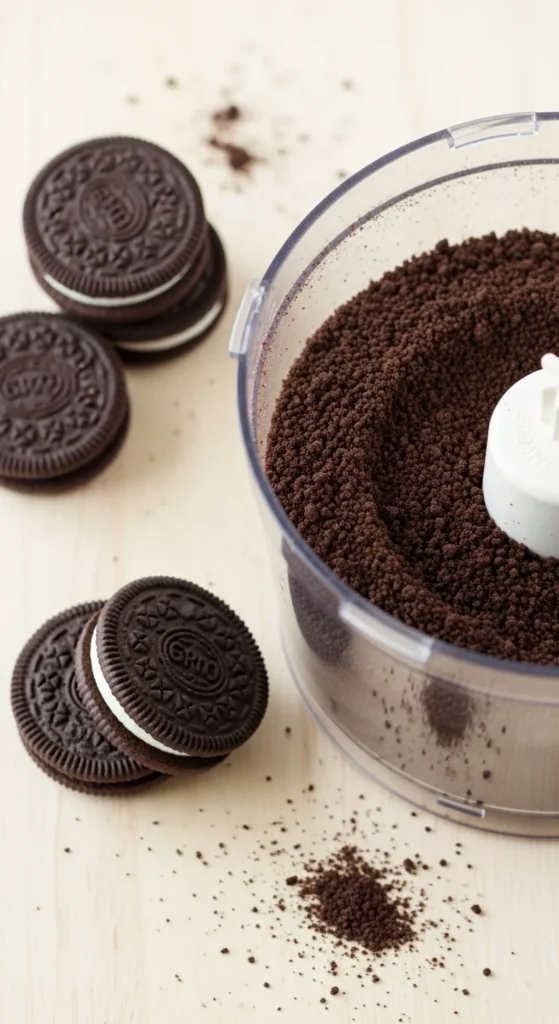
Step 1: Prepare the Crumbs
If you’re starting with whole cookies, crush them into fine crumbs:
- Place cookies in a food processor and pulse until finely ground.
- Alternatively, put cookies in a zip-top bag and crush with a rolling pin.
Pro Tip:
- Make sure the crumbs are evenly fine for a smooth, pressable crust.
- Save a few crumbs for sprinkling on top of the finished pie for extra texture.
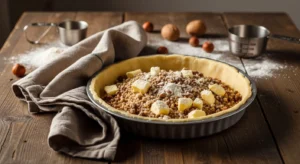
Step 2: Mix in Butter and Sugar
Next, combine your crumbs with sugar and melted butter:
- Pour crumbs into a mixing bowl, add sugar, and stir to combine.
- Gradually add melted butter, mixing until the crumbs hold together when pressed.
- Stir in vanilla extract if using.
Tips for Success:
- Use a fork or spoon to mix gently; you want the crumbs evenly coated, not soggy.
- Test by pressing a small amount in your hand—if it sticks together, it’s ready.
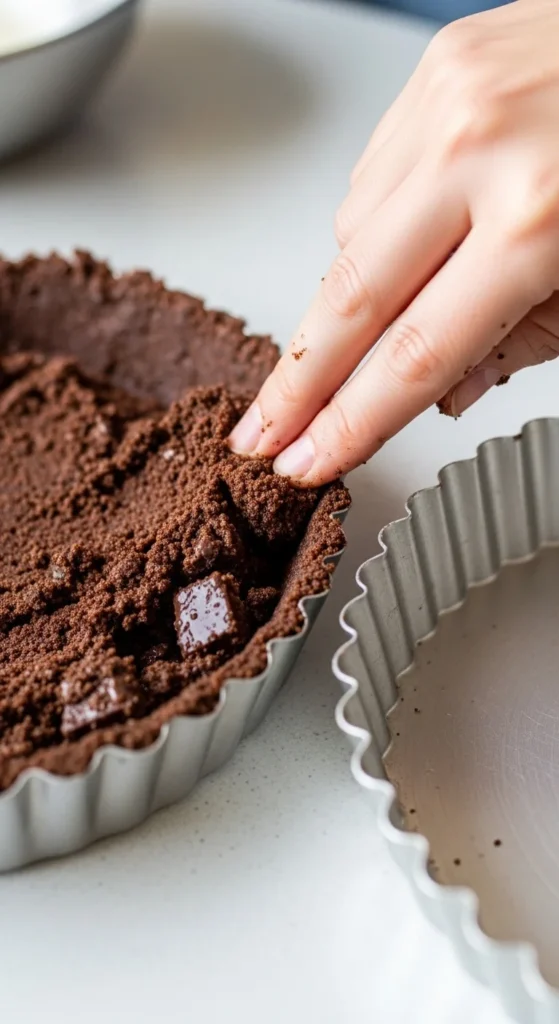
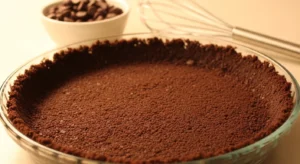
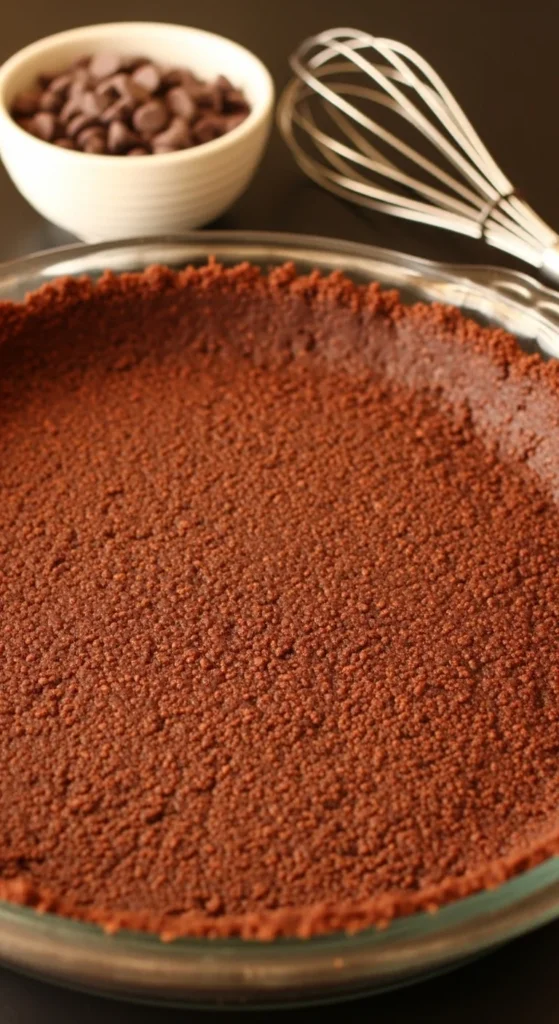
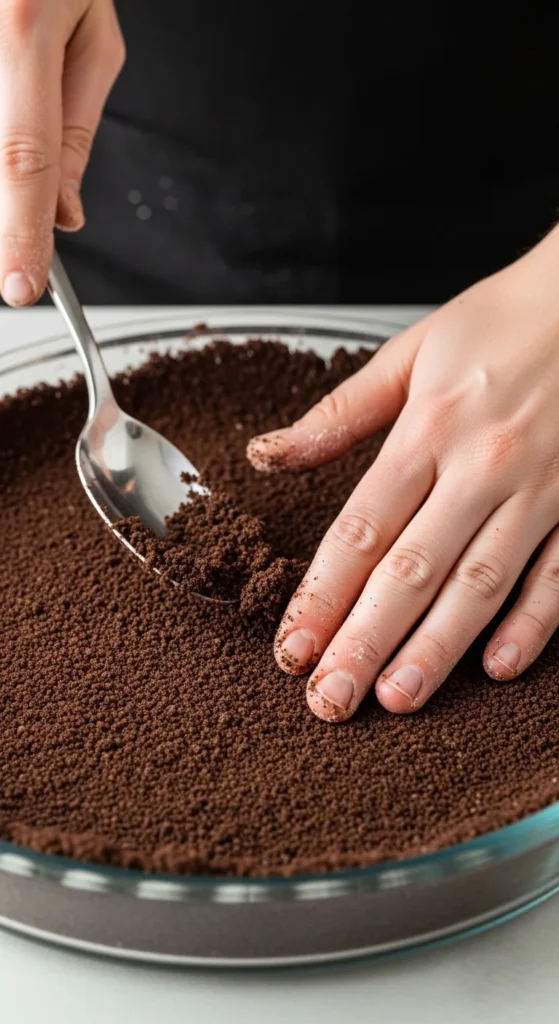
Step 3: Press into Pie Dish
Time to form your crust:
- Pour the crumb mixture into a 9-inch pie dish.
- Use your fingers or the back of a spoon to press evenly across the bottom and slightly up the sides.
- Smooth the edges for a neat, bakery-quality finish.
Tips:
- Press firmly but don’t over-compress; a slightly crumbly texture gives a better bite.
- For decorative edges, use a fork or the rim of a spoon to create a pattern.
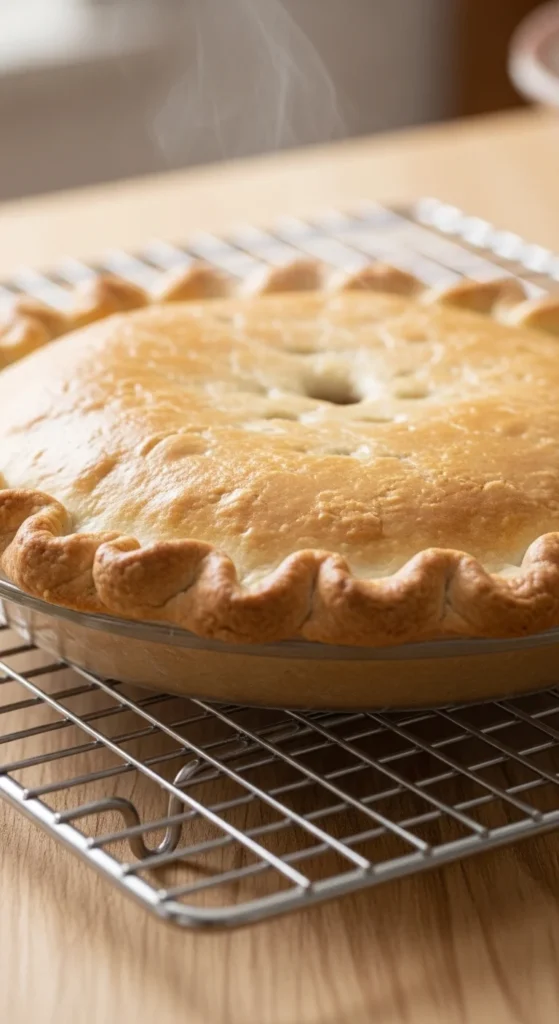
Step 4: Bake or Chill
Depending on your filling, you can either bake or chill the crust:
- No-bake pies: Chill in the fridge for at least 1 hour to firm up.
- Baked pies: Preheat oven to 350°F (175°C) and bake for 8–10 minutes. Cool before adding filling.
Extra Tips:
- For a crispier texture, sprinkle a thin layer of sugar on the crust before pressing it in.
- Let the crust cool completely to avoid soggy edges when adding chocolate ganache or custard.
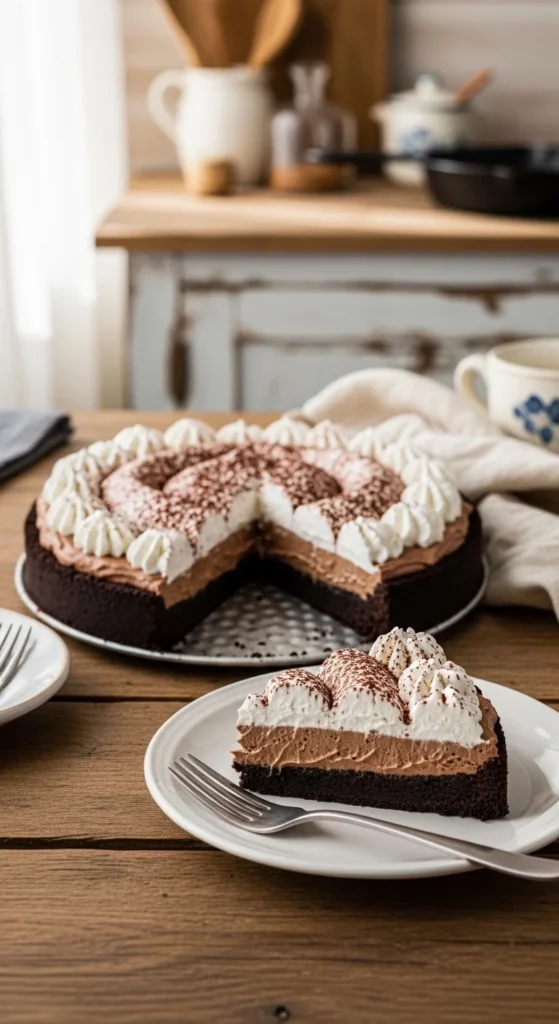
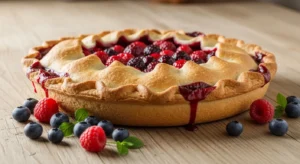
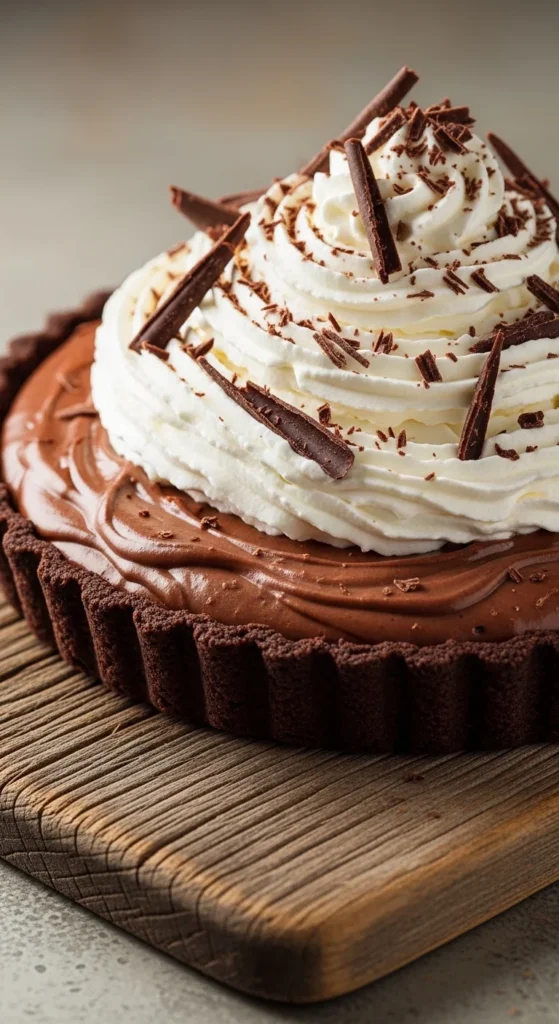
Step 5: Fill and Serve
Now the fun begins:
- Fill your crust with chocolate mousse, creamy custard, or fruit for contrast.
- Top with whipped cream, chocolate shavings, or a dusting of cocoa for extra flair.
Pro Tips:
- For layered desserts, chill each layer before adding the next to keep clean lines.
- Crumble a few reserved cookie crumbs on top for texture and presentation.
Final Thoughts
A chocolate pie crust is simple, versatile, and adds a luxurious touch to any dessert. Whether you’re making a no-bake pie or a layered chocolate masterpiece, a well-prepared crust takes your dessert from ordinary to spectacular. Save this recipe for your next special occasion or cozy night in—it’s a guaranteed crowd-pleaser!