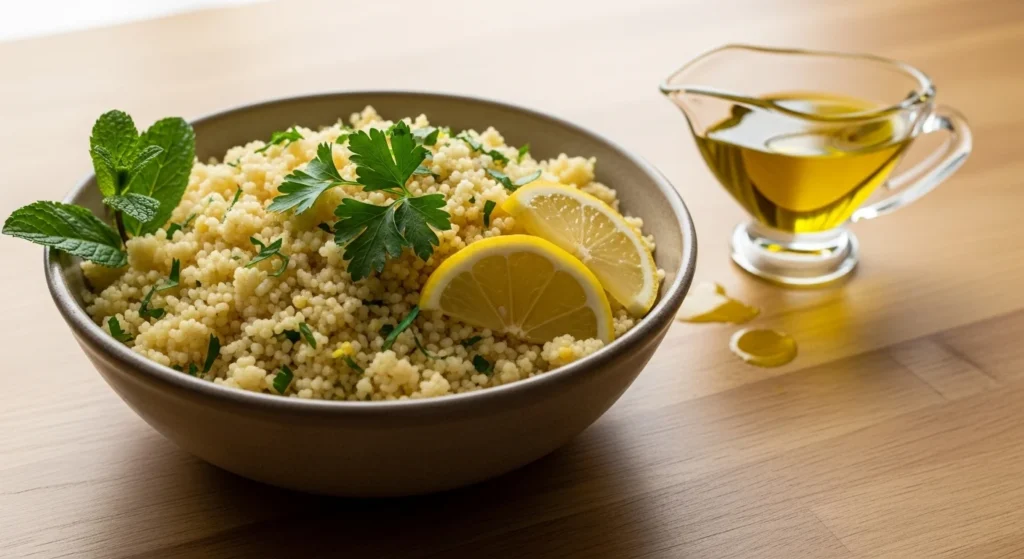

Couscous might look simple, but getting it light and fluffy—without turning into a sticky clump—takes a little finesse. Whether you’re serving it as a side dish, a salad base, or the star of a Mediterranean-inspired bowl, mastering the technique makes all the difference.
If you’ve ever ended up with gummy or soggy couscous, don’t worry. With just a few tricks and the right liquid ratio, you can cook couscous that’s feathery soft and perfectly separated every single time.
What Is Couscous, Really?
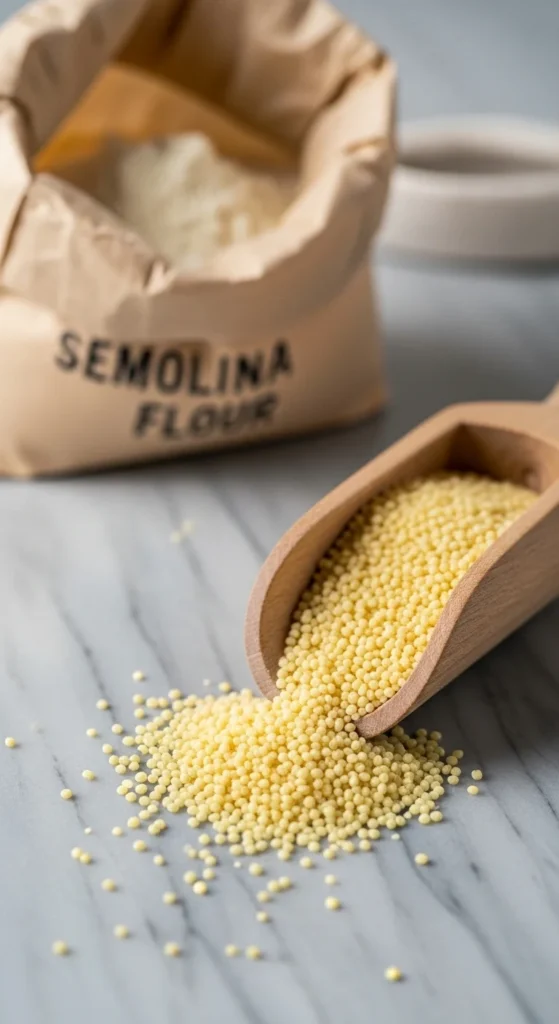
Before we dive into cooking, it helps to know what couscous actually is. Despite how it’s often labeled, couscous isn’t a grain—it’s a type of tiny pasta made from semolina flour and water. That’s why it cooks so quickly and why treating it like rice (boiling it directly in water) usually leads to mushy results.
Couscous absorbs steam, not boiling water, to achieve that signature light texture. Think of it more like “fluffing” than cooking.
Step 1: Measure Your Ingredients
For perfect couscous, the water-to-couscous ratio is key. Stick to:
- 1 cup couscous
- 1 cup water or broth
- 1 tablespoon olive oil or butter
- Pinch of salt
That’s it. Equal parts liquid and couscous produce light, non-clumpy results every time.
If you want extra flavor, swap water for chicken, vegetable, or beef broth, and add a dash of olive oil for richness.
Step 2: Boil and Pour, Don’t Simmer
Here’s where many people go wrong—couscous doesn’t need to simmer on the stove.
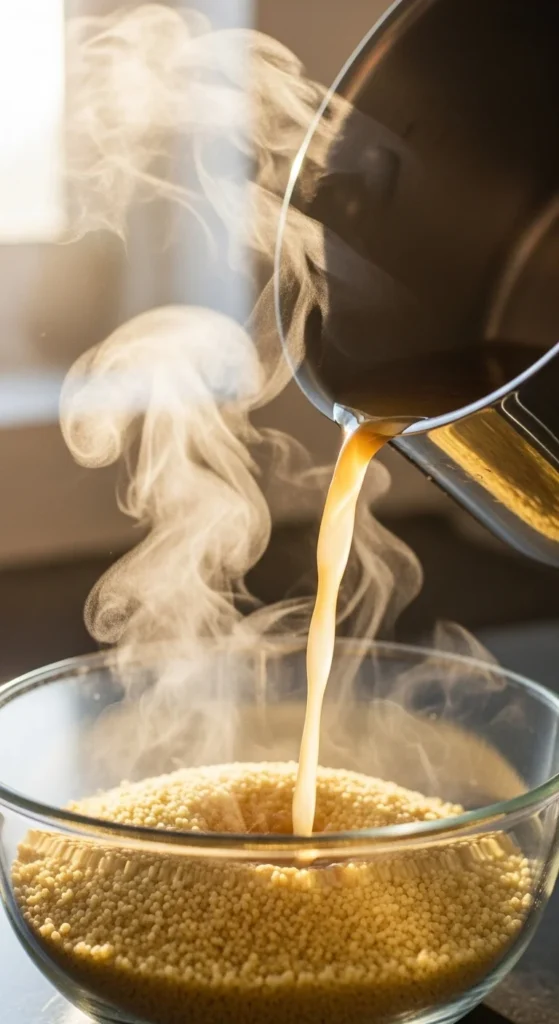
- In a small saucepan, bring your water (or broth) to a gentle boil.
- Stir in olive oil and salt.
- Remove the pot from heat, and quickly stir in the couscous.
- Cover the pot immediately with a tight-fitting lid.
Now let it sit, covered, for 5 minutes. No stirring. No peeking. This step allows the couscous to absorb steam evenly, giving you tender, fluffy grains instead of gluey ones.
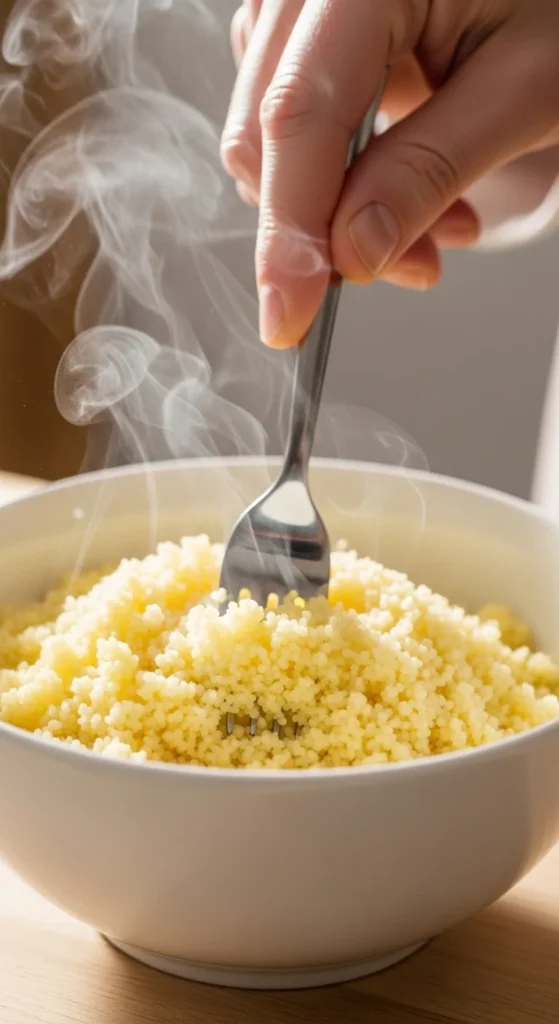
Step 3: Fluff It Right
After 5 minutes, uncover the pot and use a fork, not a spoon, to gently fluff the couscous. Break apart any small clumps by running the fork through the grains in a lifting motion rather than stirring.
This simple trick keeps the texture light and airy. If it feels too dry, you can drizzle a little more olive oil or melted butter while fluffing.
Avoid pressing down or mashing the couscous—treat it delicately, like you’re aerating it.
Step 4: Add Extra Flavor (Optional but Amazing)
Once you’ve mastered the basic version, you can take your couscous to the next level. Try mixing in any of these:
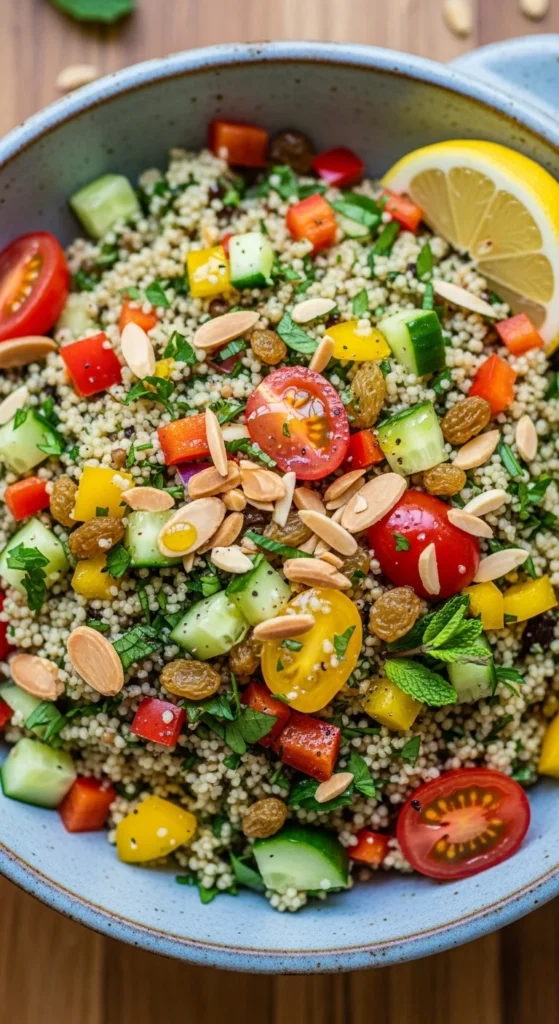
- Fresh herbs: parsley, mint, cilantro, or basil for a fresh lift
- Citrus: a squeeze of lemon or a sprinkle of zest for brightness
- Nuts or seeds: toasted almonds, pine nuts, or sunflower seeds for crunch
- Dried fruit: chopped apricots, raisins, or cranberries for a hint of sweetness
- Spices: cumin, paprika, or a touch of cinnamon for warmth
Toss gently with a fork to keep it light and evenly flavored.
Step 5: Keep It Fluffy Until Serving
If you’re not serving immediately, keep the lid on to retain warmth and moisture. Just before serving, give it another quick fluff with a fork to loosen any settled grains.
Quick Troubleshooting Tips:
- Too sticky? You may have added too much water—use equal parts next time.
- Too dry? Drizzle a tablespoon of warm broth and fluff again.
- Clumpy? Fluff earlier and avoid stirring with a spoon.
For larger batches or meal prep, store cooked couscous in the fridge for up to 4 days. Reheat with a splash of water and microwave in 30-second bursts, fluffing between intervals.
Bonus: Try Israeli Couscous (Pearl Couscous)
If you love texture, give Israeli couscous a try—it’s larger and slightly chewy. Unlike regular couscous, it’s toasted and simmered like pasta:
- Use 1 cup couscous to 1 ¼ cups water.
- Simmer uncovered for 10 minutes, then drain any excess liquid.
- Fluff with a fork and drizzle olive oil before serving.
It’s perfect for grain bowls or cold salads.
The Fluffy Takeaway
Couscous might be tiny, but the difference between clumpy and cloud-like comes down to technique. Measure carefully, steam instead of simmer, and always fluff gently with a fork.
Once you master this simple method, you’ll have a quick, versatile base for any meal—from Mediterranean feasts to easy weeknight sides.


