Quinoa is one of those ingredients that can make you feel like a kitchen genius — or leave you wondering where it all went wrong. One minute it’s boiling perfectly, and the next, you’ve got a sticky, clumpy mess that tastes more like porridge than the light, fluffy base you wanted. The truth is, cooking quinoa isn’t difficult — but it is precise. Once you understand how it behaves, you’ll never settle for soggy grains again.
Why Quinoa Gets Mushy
Most people treat quinoa like rice — but it behaves differently. Each grain has a delicate outer coating called saponin, which can make it taste bitter and affect how it absorbs water. Add too much liquid or skip rinsing, and you’ll end up with soft, mushy results instead of tender, nutty perfection.
So, the key to perfect quinoa? Rinse well, measure carefully, and let it rest. Once you master those steps, you’ll get fluffy quinoa that stands tall in any salad, bowl, or side dish.
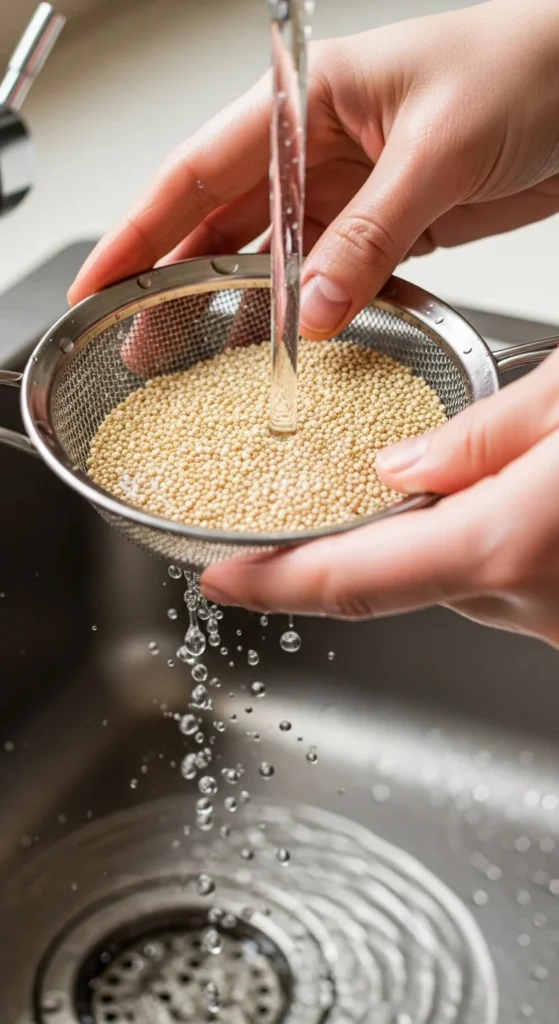
Step 1: Rinse Away the Bitterness
This first step might sound basic, but it makes all the difference. Quinoa is naturally coated with saponin, which tastes bitter and soapy.
Here’s how to fix it:
- Place your quinoa in a fine-mesh strainer.
- Rinse under cool running water for 30–60 seconds, gently rubbing the grains with your fingers.
- Shake off excess water before moving on.
It takes less than a minute, and you’ll instantly notice a cleaner, fresher flavor.
Step 2: Toast for Extra Flavor
Want quinoa that tastes nutty and aromatic? Toast it before boiling.
In a saucepan:
- Add your rinsed quinoa (still slightly damp).
- Warm it over medium heat, stirring often, for 2–3 minutes until it starts to dry and smell toasty.
This step gives your quinoa a deeper, more complex flavor — and helps it stay fluffy instead of clumpy.
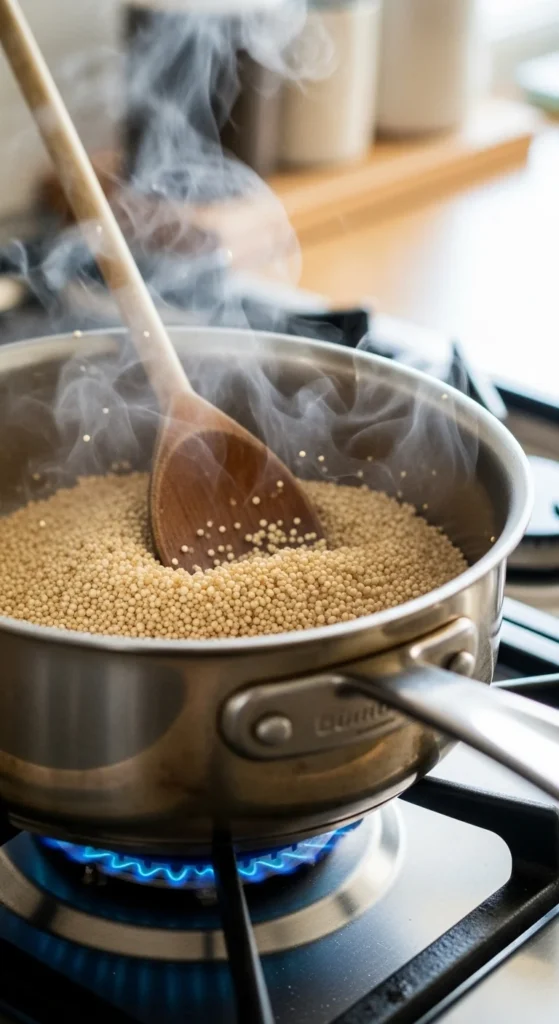
Step 3: Measure Perfectly — No Guessing
This is where most people go wrong. Too much water, and you’ll get mush. Too little, and your quinoa stays hard in the center.
For 1 cup of quinoa, use 1 ¾ cups of water or broth. That’s the magic ratio.
- Bring the mixture to a gentle boil, not a raging one.
- Then reduce the heat to low, cover, and simmer for 15 minutes.
- Don’t lift the lid during cooking — the steam inside is doing all the work!

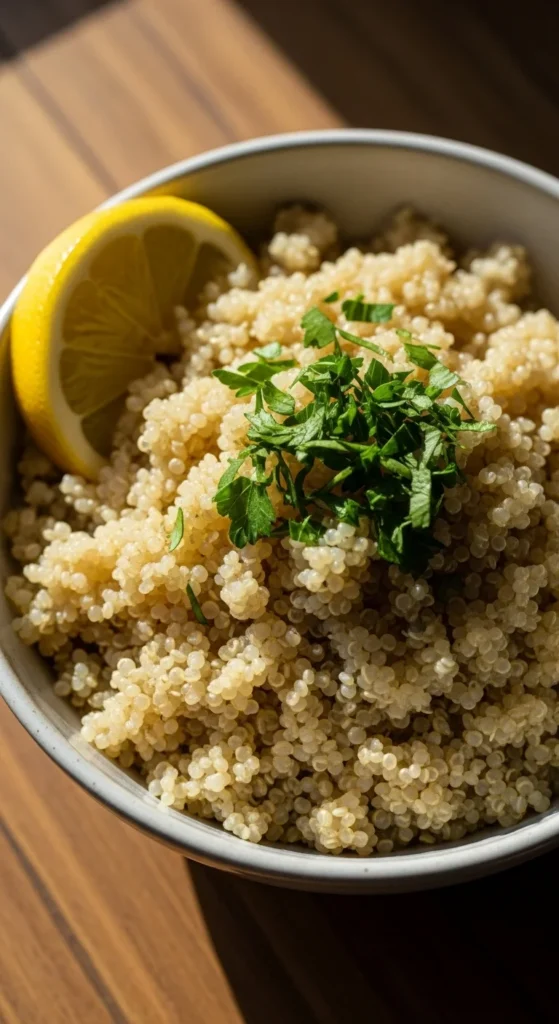
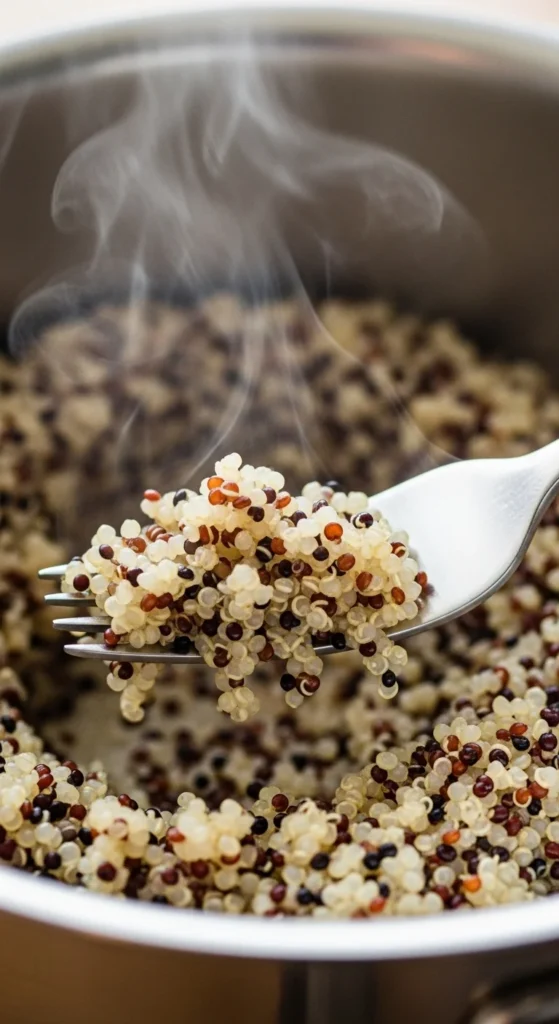
Step 4: Let It Steam and Fluff
Once your timer goes off, resist the urge to dig in. Turn off the heat and let your quinoa sit, covered, for 5 minutes. This extra step lets the steam finish cooking each grain gently — no mush in sight.
Then, uncover and use a fork (not a spoon!) to fluff it gently. You’ll see perfectly separated, light grains with little curly “tails” — that’s how you know it’s done right.
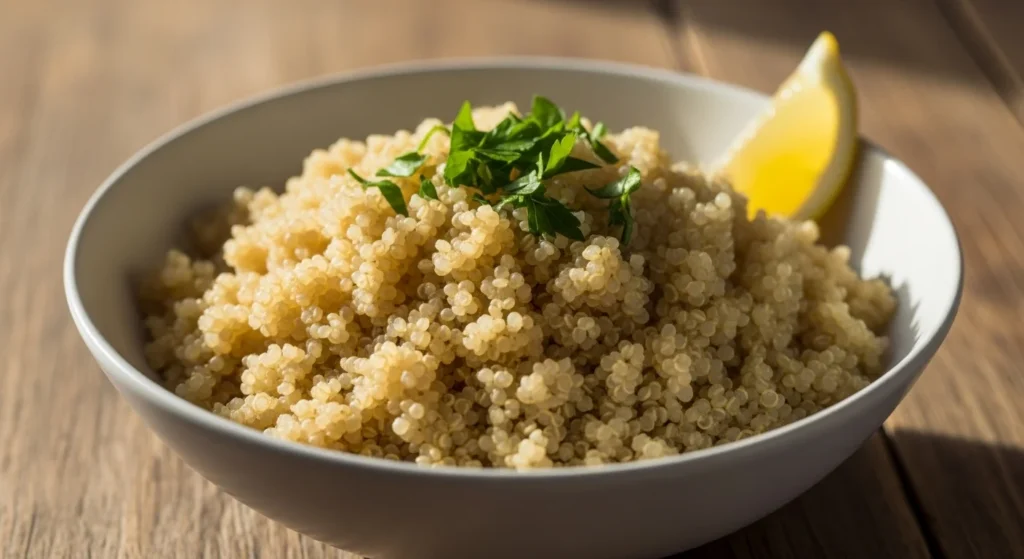
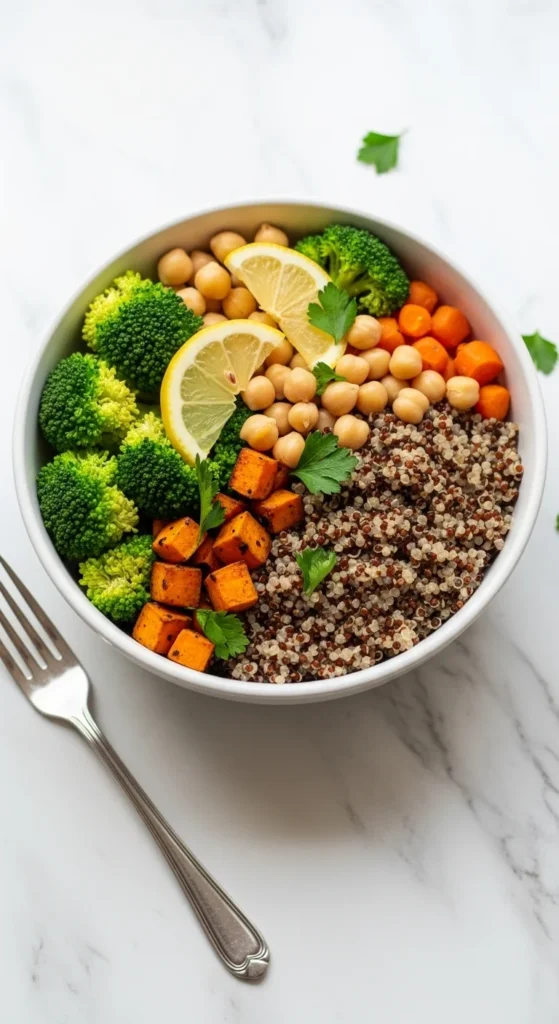
Step 5: Flavor and Serve Like a Pro
Plain quinoa is fine, but let’s be honest — it shines when it’s seasoned or paired with flavorful ingredients. Try these quick add-ins:
- A drizzle of olive oil or butter for richness.
- A squeeze of lemon juice for brightness.
- Chopped fresh herbs like parsley, cilantro, or dill.
- Toss it into a salad with veggies and feta, or serve under grilled salmon or tofu.
For a cozy twist, cook quinoa in vegetable or chicken broth instead of water for extra depth.
Common Quinoa Mistakes to Avoid
Even a small tweak can make or break your quinoa. Here are the biggest pitfalls to dodge:
- Too much water: Leads to soggy, clumpy grains. Stick to the 1:1.75 ratio.
- Skipping the rinse: Leaves bitterness and uneven texture.
- Overcooking: Turn off the heat after 15 minutes — trust the steam!
- Stirring too much: Breaks the grains and releases starch. Fluff instead.
Master these details, and you’ll never dread making quinoa again.
Final Takeaway
Cooking quinoa perfectly is all about balance, patience, and precision. Once you know the steps — rinse, toast, measure, steam, fluff — it’s foolproof.
The result? Light, nutty, never-mushy quinoa that’s ready for salads, power bowls, or a simple weeknight side.
Save this guide for your next meal prep day — your future self (and your taste buds) will thank you! 🌿
Save this recipe for later and enjoy fluffy quinoa every time!


