
You don’t need a backyard or fancy gas grill to enjoy perfectly charred, smoky-tasting barbecue. With a cast iron grill pan, you can bring that same grilled goodness indoors—rain or shine.
The beauty of cast iron is its ability to deliver those classic sear marks, caramelized flavor, and juicy texture that outdoor grills are famous for. Once you learn the right way to use it, you’ll never have to wait for BBQ weather again.
Here’s your ultimate guide to using a cast iron grill pan for that indoor BBQ magic.
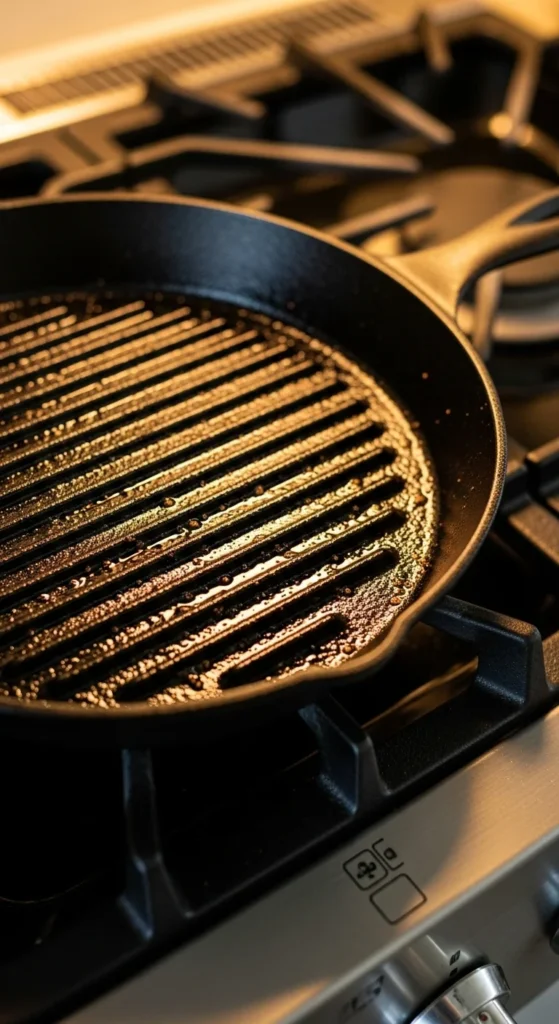
Step 1: Choose and Season Your Grill Pan
If you don’t already have a cast iron grill pan, look for one with deep ridges. These grooves help drain fat and give you those signature grill lines.
Before cooking:
- Season it well. Even pre-seasoned pans benefit from a light coat of oil. Rub a thin layer of vegetable oil or canola oil over the surface and heat it for 10–15 minutes over medium heat.
- Let it cool completely before wiping away excess oil.
This helps create a naturally nonstick surface and prevents rust.
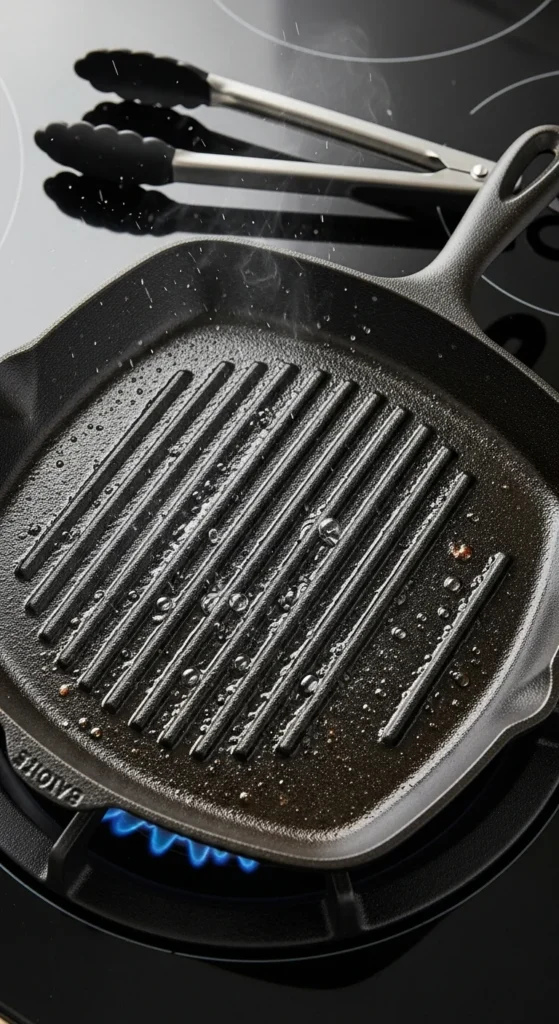
Step 2: Preheat Like a Pro
Preheating is the secret to those perfect sear marks and smoky flavor. Cast iron needs time to get evenly hot, but once it does, it retains heat beautifully.
Here’s how:
- Place the pan over medium-high heat for at least 5–7 minutes.
- Sprinkle a drop of water on the surface—if it sizzles instantly, you’re ready to cook.
Avoid rushing this step. A cold pan leads to steaming, not searing—and that’s the opposite of BBQ magic.
Step 3: Prep and Oil Your Food (Not the Pan!)
Unlike nonstick pans, you don’t want to pour oil directly into a cast iron grill pan—it’ll smoke and pool between the ridges. Instead, lightly oil your food before it hits the heat.
Try this:
- Pat your protein dry with paper towels. Moisture = steam, not sear.
- Brush or toss your meat and veggies with a light coat of oil.
- Season generously with salt, pepper, and your favorite spices or marinades.
This ensures beautiful grill marks and prevents sticking without excess smoke.
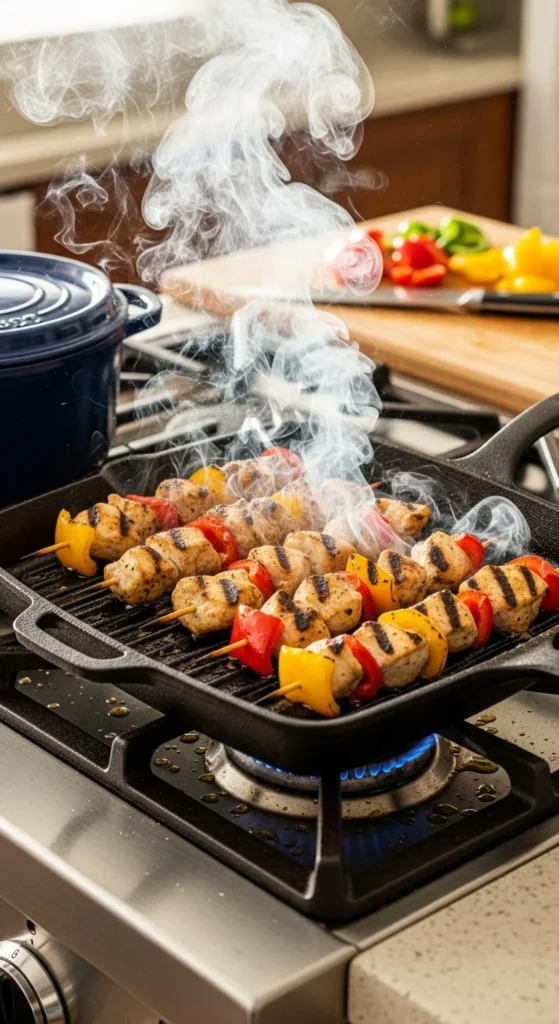
Step 4: Grill in Batches—Don’t Crowd the Pan
One of the biggest mistakes people make? Overcrowding the pan. When too much food hits the surface at once, the temperature drops and your food steams instead of chars.
Instead, grill in small batches and give each piece room to breathe.
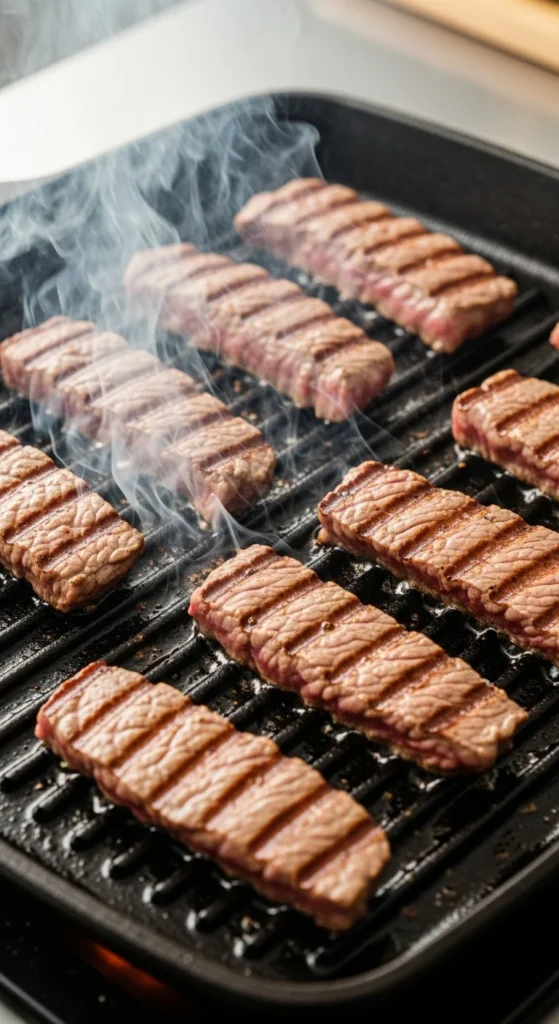
- For chicken breasts: grill 5–6 minutes per side.
- For steak: sear 3–4 minutes per side for medium-rare.
- For veggies: cook 2–3 minutes per side until tender and charred.
Use tongs to flip gently—avoid moving the food too soon or you’ll lose those gorgeous grill marks.
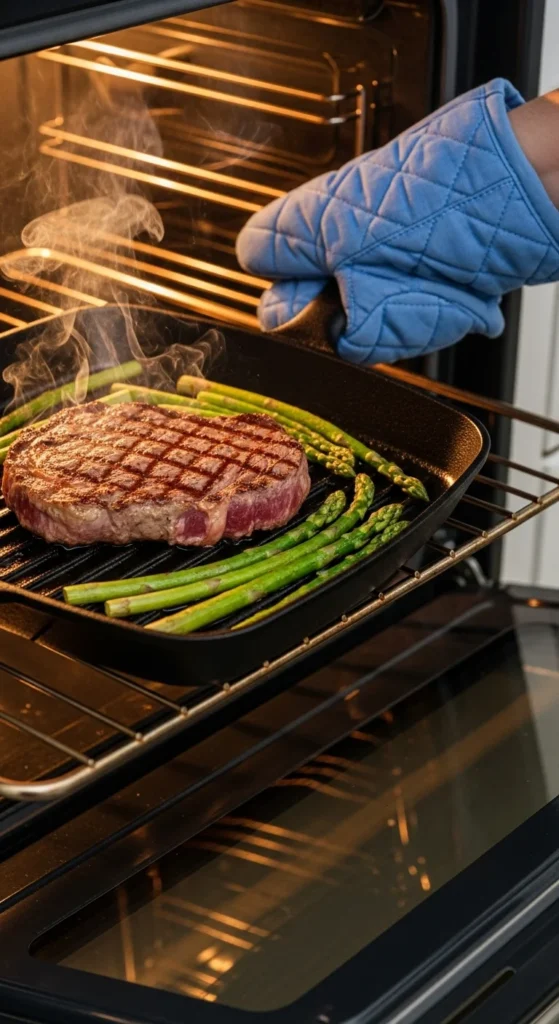
Step 5: Use the Oven for Even Cooking
For thicker cuts of meat, the stovetop alone might not cook through without burning the outside. Here’s the pro tip: start on the stove, finish in the oven.
Here’s how to do it:
- Sear your meat in the grill pan for a few minutes per side.
- Transfer the pan (it’s oven-safe!) to a 400°F (200°C) oven.
- Cook for another 5–10 minutes, depending on the thickness.
This combo gives you a crisp crust with a juicy interior—just like a backyard grill.
Step 6: Add Smoky Flavor (Yes, Indoors!)
Missing that outdoor smoky aroma? You can still get it indoors:
- Use smoked paprika, chipotle powder, or liquid smoke in your marinades.
- Or try adding a few drops of liquid smoke to your sauce—it goes a long way.
- For an extra touch, briefly finish your grilled food under the broiler for 1–2 minutes for a charred, flame-kissed look.
These tricks deliver that satisfying BBQ vibe without lighting a single coal.
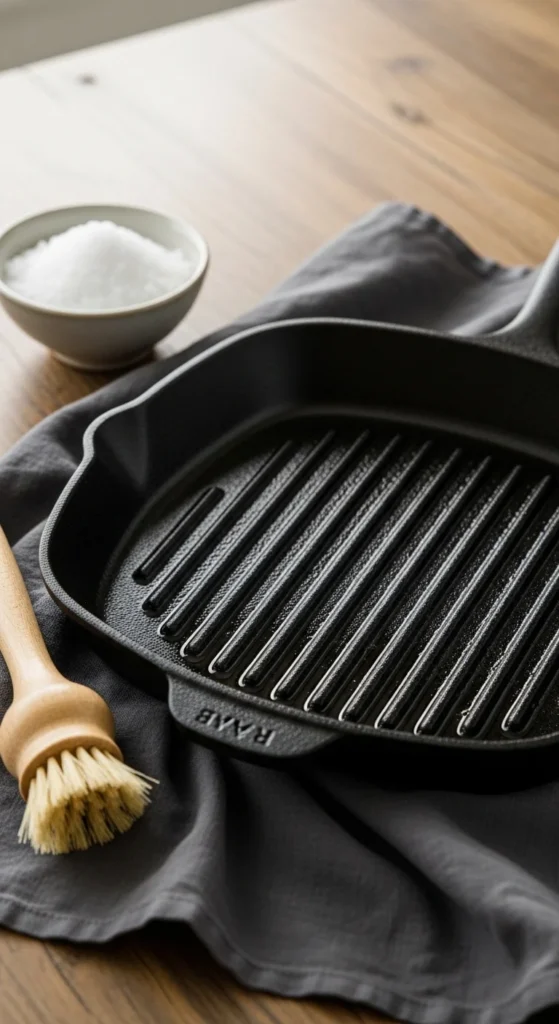
Step 7: Clean and Care for Your Grill Pan
Taking care of your cast iron grill pan means it’ll last for decades—and get better with age.
After grilling:
- Let the pan cool slightly (never run cold water over a hot pan!).
- Scrub gently with a brush or coarse salt and a splash of warm water.
- Dry thoroughly, then rub a thin layer of oil to keep it seasoned.
Avoid soap or dishwashers—they’ll strip your pan’s natural nonstick layer.
Step 8: Serve It Up
Once your food is perfectly grilled, plate it like a pro! Pair your juicy steak, grilled chicken, or smoky veggies with fresh sides like corn salad, roasted potatoes, or herb butter.
Don’t forget to drizzle with olive oil or squeeze fresh lemon for that final flavor punch.
The Indoor BBQ Takeaway
A cast iron grill pan gives you the freedom to grill year-round—no weather excuses required. Once you’ve mastered preheating, oiling, and seasoning, you’ll get that same smoky, caramelized flavor right from your stovetop.
So fire up that pan, invite some friends over, and bring the backyard BBQ vibes indoors.

Leave a Reply