Perfectly decorated cookies look almost too pretty to eat — smooth glossy icing, crisp outlines, delicate details, and those mesmerizing marble swirls. The best part? You don’t need a bakery storefront or years of experience to achieve that pro-level finish.
With the right cookie base, royal icing consistency, and a few simple techniques, you can transform plain sugar cookies into edible art.

Let’s break it down step-by-step so you can decorate cookies from scratch like a pro.
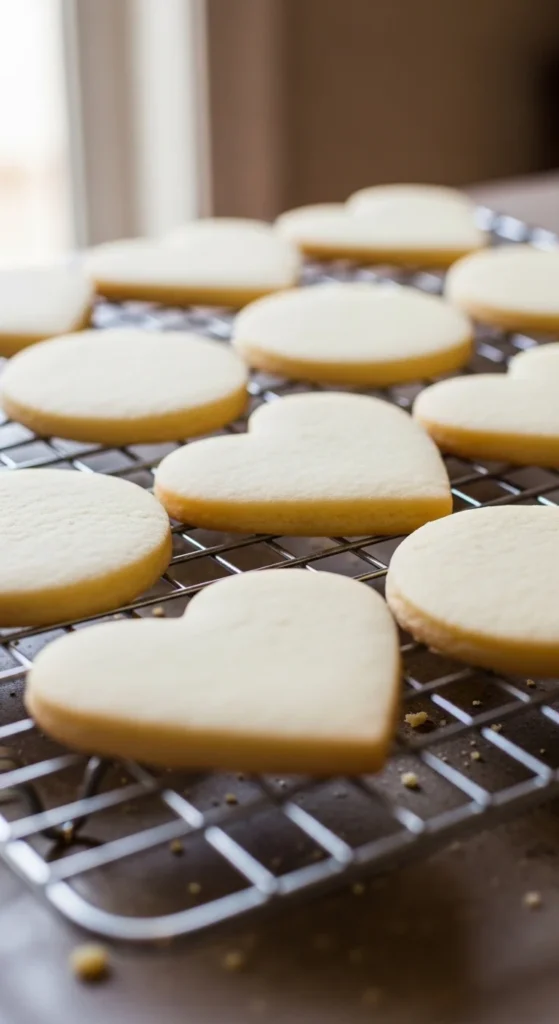
Step 1: Start With a No-Spread Sugar Cookie Base
Before icing even comes into play, your cookie base matters.
Professional decorators rely on no-spread sugar cookies because sharp edges = cleaner designs.
What Makes a Cookie “No-Spread”?
- Chilled dough before baking
- Slightly lower butter ratio
- Properly measured flour
- Even rolling thickness (¼ inch is ideal)
Chill your cut shapes for 10–15 minutes before baking. This helps maintain crisp outlines.
Let cookies cool completely before decorating — warm cookies melt icing and cause cracks.
Step 2: Master Royal Icing Consistencies
Royal icing is the foundation of cookie decorating. It’s typically made with:
- Confectioners’ sugar
- Meringue powder
- Water
The magic is in the consistency control.
The 3 Essential Consistencies
1️⃣ Outline (10-Second Icing)
- Thick but pipeable
- Holds shape
- Used to create a “dam” around the cookie
If you drag a knife through it, the line should smooth out in about 10 seconds.
2️⃣ Flood (20-Second Icing)
- Slightly thinner
- Flows smoothly
- Used to fill inside the outline
When lifted with a spoon, the ribbon should disappear in about 20 seconds.
3️⃣ Stiff Peak
- Very thick
- Holds sharp peaks
- Used for flowers, texture, and 3D details
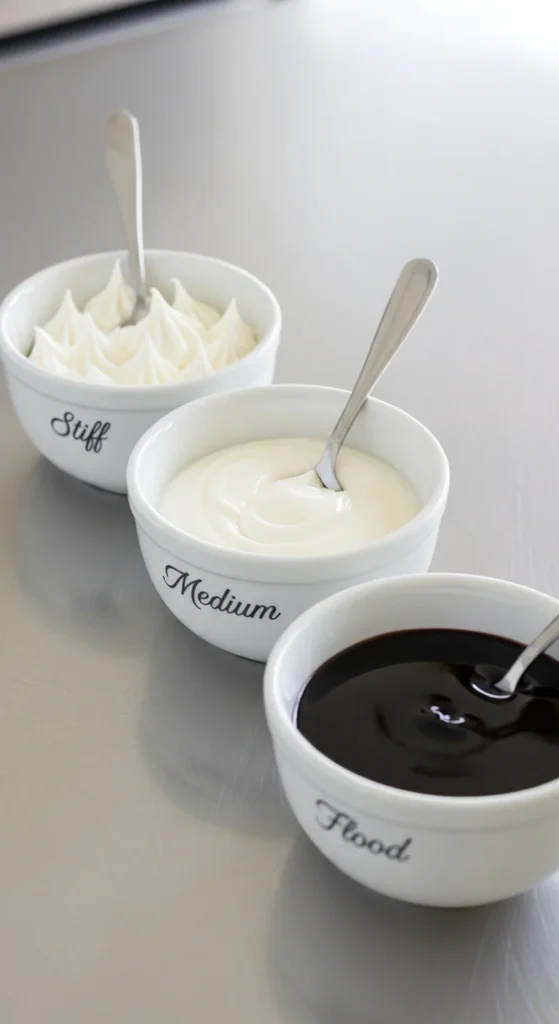
Always test before piping. If icing cracks, it’s too thick. If it runs over the edge, it’s too thin.
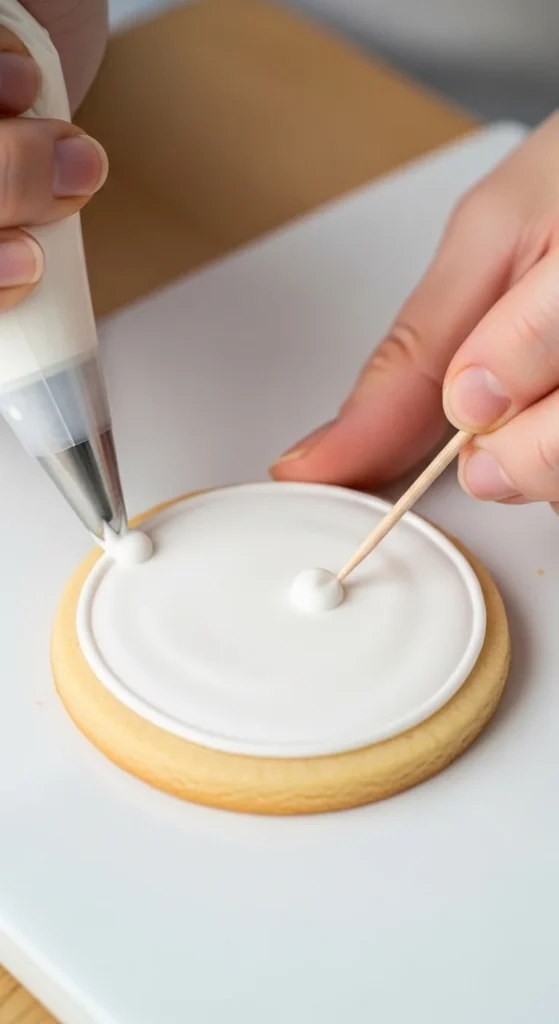
Step 3: Outline and Flood Like a Pro
The outline-and-flood method is the cornerstone of professional cookie decorating.
How to Do It
- Pipe a thin outline around the edge of your cookie using a small piping tip (#2 or #3 works great).
- Immediately fill the center with flood icing.
- Use a toothpick or scribe tool to:
- Spread icing to corners
- Pop air bubbles
- Smooth uneven areas
- Spread icing to corners
Tap the cookie gently on the table to help the icing settle.
Let this base layer dry for 1–2 hours before adding detailed piping.
Step 4: Try the Wet-on-Wet Technique
If you’ve ever seen swirled hearts or marbled patterns, that’s wet-on-wet magic.
How It Works
- Add colored icing drops onto freshly flooded icing.
- Drag a toothpick through the colors.
- Swirl, zigzag, or marble before the base sets.
The key? Work fast. Once icing starts drying, colors won’t blend properly.
Fun ideas to try:
- Marble effect
- Polka dots
- Feathered lines
- Simple florals
This technique looks intricate but is beginner-friendly once you practice.
Step 5: Add Details After Drying
For clean lines and layered designs, let your base layer dry fully — anywhere from 4 to 24 hours depending on humidity.
Use thicker icing for:
- Lettering
- Borders
- Decorative dots
- Lace details
Pro Tip: Prevent Color Bleeding
- Let one color dry before adding another next to it.
- Avoid overly watery icing.
- Use gel food coloring instead of liquid (it won’t thin your icing).
You can even sketch light guidelines with an edible pen before piping detailed artwork.

Step 6: Tools That Make a Big Difference
You don’t need a full bakery setup, but these basics help:
- Disposable piping bags
- Small round piping tips (#2–#4 for detail, #5 for flooding)
- Toothpick or scribe tool
- Gel food coloring
- Parchment for practice piping
Before decorating actual cookies, practice lines, dots, and swirls on parchment paper. It builds muscle memory and steadies your hand.
Step 7: Let Them Dry Completely
Royal icing needs time to fully set.
- Dry 4–24 hours
- Use a fan to speed up drying
- Avoid stacking until completely hardened
If you live in a humid area, a dehydrator on low can help accelerate the process.
Once dry, store in airtight containers to maintain texture and prevent moisture softening.
Trendy Pro-Level Touches
Ready to level up?
Try:
- Edible gold leaf accents
- Metallic luster dust brushed lightly on dry icing
- Stencil overlays with airbrushing
- Reverse flooding (filling negative space instead of center)
- Sprinkle-dipped edges
Even minimalist single-color flood cookies with clean outlines look elegant and modern.
Final Takeaway
Decorating cookies like a pro isn’t about fancy tools — it’s about mastering the basics:
- ✔ No-spread sugar cookie base
- ✔ Royal icing consistency control
- ✔ Outline and flood method
- ✔ Patience between layers
Once you understand icing texture and timing, your designs will look smoother, sharper, and more professional with every batch.
Save this guide for later, grab your piping bags, and start practicing — your cookie decorating skills are about to level up beautifully. 🍪✨