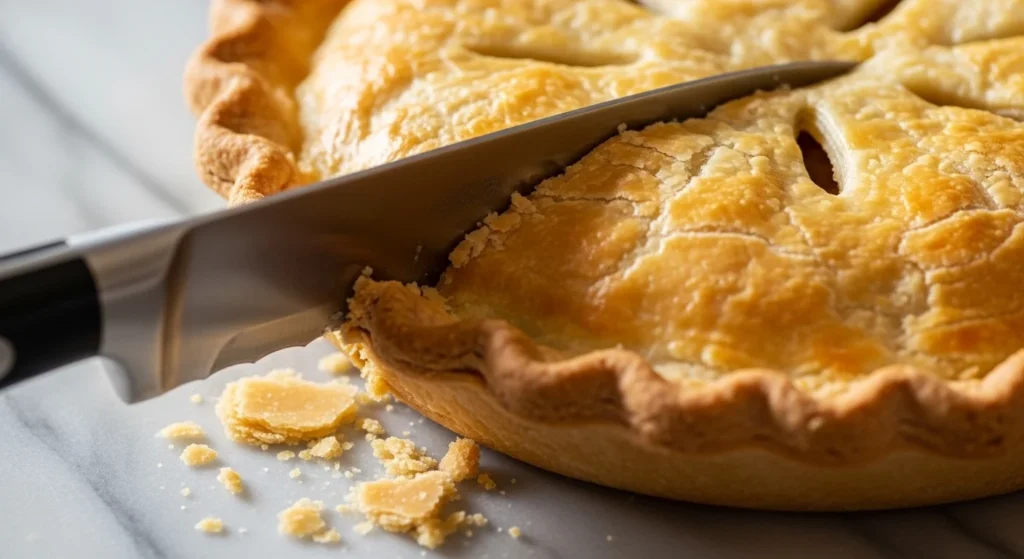
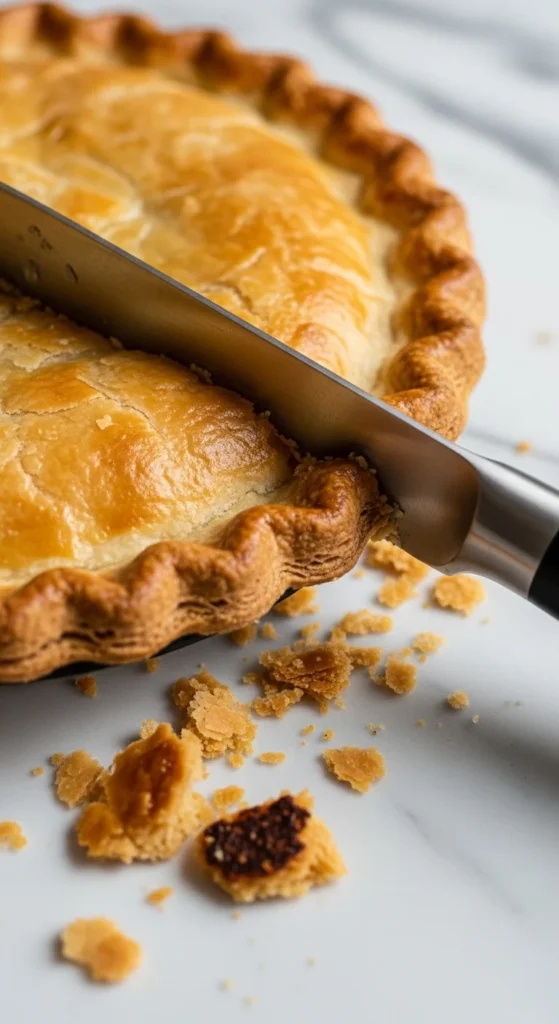
There’s something magical about slicing into a pie and hearing that delicate, buttery crack of a perfectly flaky crust. Yet for many home bakers, pie dough feels unpredictable — sometimes tough, sometimes crumbly, sometimes shrinking like it has a mind of its own.
Good news: flaky pie crust isn’t luck — it’s science and a few smart techniques. Once you understand how cold fats, gentle mixing, and proper chilling work together, you’ll get bakery-quality results every single time.
Why Flaky Pie Crust Works (Quick Science)
Before we jump in, here’s the secret behind those beautiful layers:
- Cold butter creates steam pockets in the oven → flaky layers
- Minimal gluten development keeps the crust tender
- Visible fat chunks melt and separate the dough into sheets
If your crust has ever turned dense or tough, one of these steps likely went wrong. Let’s fix that.
Step 1: Start With the Right Ingredients
A great crust begins with cold, simple ingredients.
Basic flaky pie crust formula:
- 2½ cups (315g) all-purpose flour
- 1 tsp salt
- 6 Tbsp (85g) cold unsalted butter, grated
- ⅔ cup (130g) cold shortening (optional but helpful)
- ½ cup ice-cold water (plus more as needed)
Pro Ingredient Tips
- ❄️ Use frozen grated butter — it distributes evenly and stays cold
- 🧊 Ice-cold water is critical — prevents gluten from tightening
- 🧈 Butter + shortening combo = flavor + structure
- 🌾 Higher-protein flour (like King Arthur AP) gives better structure

Step 2: Keep Everything Cold (This Is Non-Negotiable)
Temperature control is the #1 difference between flaky and tough crust.
Your cold checklist:
- Chill butter until very firm
- Use ice water (not just cold tap water)
- Refrigerate flour for 15 minutes (optional but powerful)
- Work quickly with warm hands
💡 Why it matters: Warm fat blends into flour instead of forming layers — and that kills flakiness.
Step 3: Cut the Fat Properly
This is where texture is born.
You want the mixture to look like coarse meal with pea-sized butter bits.
Best tools (ranked)
🥇 Pastry cutter (recommended)
- Best control
- Prevents overworking
- Creates perfect chunks
🥈 Food processor (fast but risky)
- Very quick
- Easy to overmix
- Pulse carefully only
🥉 Fork or hands
- Works in a pinch
- Less consistent
⚠️ Stop when you still see visible butter pieces. That’s your flake insurance.

Step 4: Add Water Carefully (The Most Common Mistake)
Too much water → sticky dough
Too little water → crumbly disaster
Foolproof method
- Sprinkle ice water 1 tablespoon at a time
- Gently toss with a fork
- Stop when dough just holds together when pressed
Rescue tip:
- Dough too dry? Lightly spritz with ice water
- Dough sticky? Dust with a tiny bit of flour
Try the Vodka Trick (Optional but Powerful)
A famous Cook’s Illustrated hack:
- Replace part of the water with cold vodka
- Alcohol inhibits gluten
- Evaporates during baking
✅ Result: extra-tender crust
Step 5: Chill the Dough (Don’t Skip This)
If you remember only one rule, make it this:
👉 Chill the dough at least 2 hours
Why chilling matters
- Re-solidifies fats
- Relaxes gluten
- Prevents shrinkage
- Improves rolling
Wrap dough disks tightly and refrigerate. You can even freeze for up to 3 months — perfect for holiday prep.

Step 6: Roll Like a Pro
Rolling technique separates beginners from pros.
Foolproof rolling method
- Lightly flour surface
- Roll from the center outward
- Rotate dough every few rolls
- Keep thickness even
If dough sticks:
- Lift and dust lightly with flour
- Rotate more often
If dough tears:
- It may be too cold — rest 5 minutes
- Or too dry — next time add slightly more water
Step 7: Shape and Crimp Beautiful Edges
Pretty edges make homemade pies look bakery-level.
Easy edge options
- Fork crimp — fastest and beginner-friendly
- Finger flute — classic wavy edge
- Press-and-pinch — rustic farmhouse look
💡 Chill the shaped crust for 15 minutes before baking to reduce shrinkage.
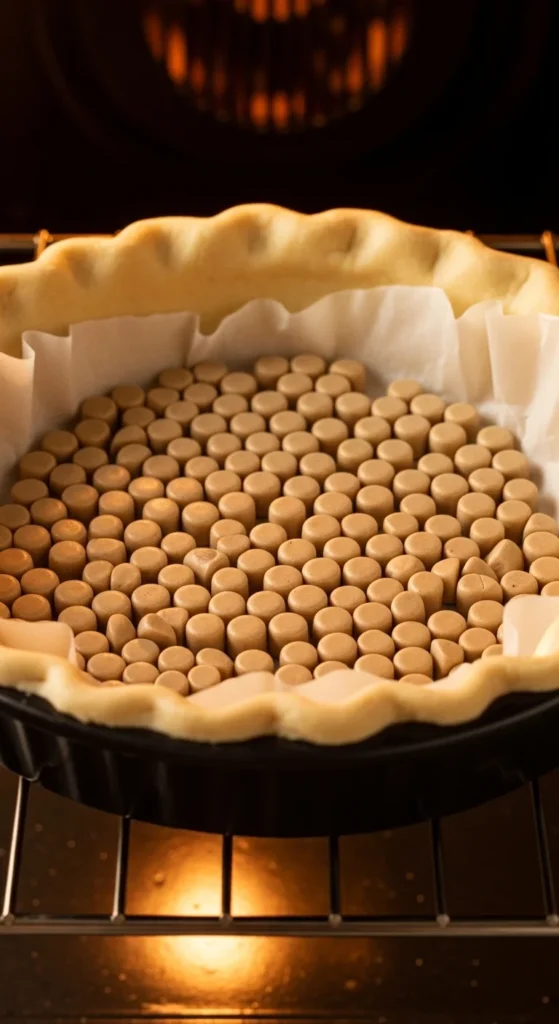
Step 8: Blind Bake When Needed
For custard, cream, or no-bake fillings, blind baking prevents the dreaded soggy bottom.
How to blind bake
- Line crust with parchment
- Fill with pie weights or dry beans
- Bake until edges set
- Remove weights and finish baking if needed
🔥 Pie shield foil hack: Cover edges with foil if they brown too fast.
Troubleshooting Quick Guide
Crust too tough?
- Overmixed dough
- Warm butter
- Too much water
Crust shrinking?
- Skipped chilling
- Dough overworked
- Oven too hot
Crust crumbly?
- Not enough water
- Ingredients too dry
- Needed better mixing
Final Thoughts: Your Foolproof Flaky Future
Making flaky pie crust from scratch isn’t about perfection — it’s about temperature control, gentle handling, and patience. Once you master these fundamentals, you’ll never fear pie dough again.
✨ Remember the golden rules:
- Keep it cold
- Don’t overmix
- Chill the dough
- Look for visible butter bits
Your next pie is going to be impossibly flaky.
Save this guide for later and pin it before your next baking day! 🥧