If pie crust has ever betrayed you — shrinking, cracking, turning tough, or crumbling apart — you are absolutely not alone. Pie dough has a reputation for being fussy, but here’s the secret: a truly foolproof pie crust comes down to a few simple techniques anyone can master.
This beginner-friendly method uses the classic egg + vinegar hack, ultra-cold fats, and gentle handling to create a crust that’s flaky, tender, and dependable every time.
Why This Foolproof Method Works
Before we dive in, let’s quickly understand why this recipe is so reliable.
The science behind success
- 🧊 Cold butter creates steam pockets → flaky layers
- 🥚 Egg adds structure and flexibility
- 🍶 Vinegar blocks excess gluten → tender texture
- ❄️ Chilling relaxes the dough → less shrinkage
Together, these create a crust that’s incredibly beginner-proof.
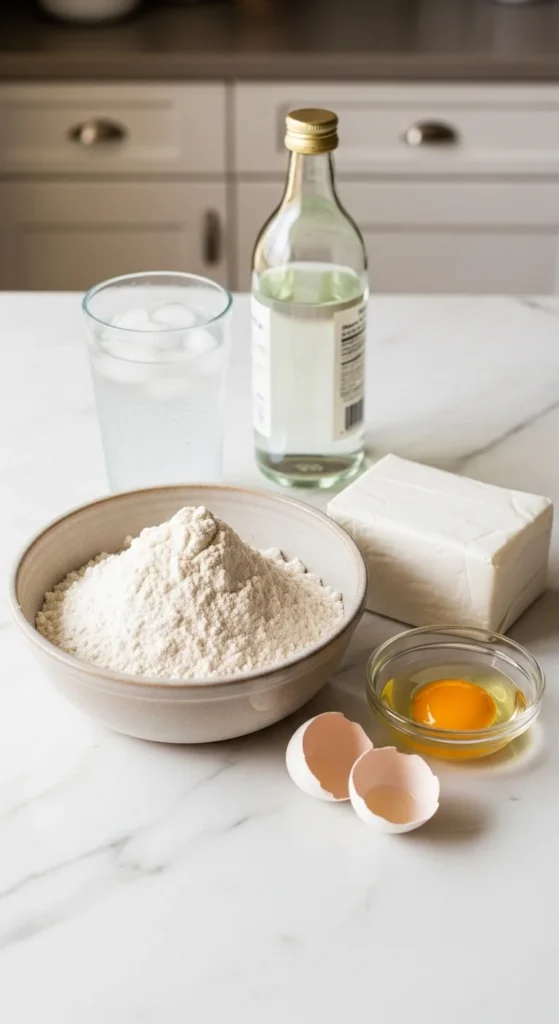
Step 1: Gather Your Ingredients (Classic Foolproof Batch)
This traditional batch makes 4 single crusts — perfect for freezing ahead.
Ingredients
- 4 cups (480g) all-purpose flour
- 1¾ cups (322g) shortening
- 1 egg
- 1 Tbsp vinegar
- ½ cup ice water
- 1 tsp salt
- Optional: 1–2 Tbsp sugar for sweet pies
Freeze-for-Flakes Technique
Before mixing:
- Cube butter or measure shortening
- Chill or lightly freeze fats
- Prepare a full glass of ice water
Cold fat = flaky success.
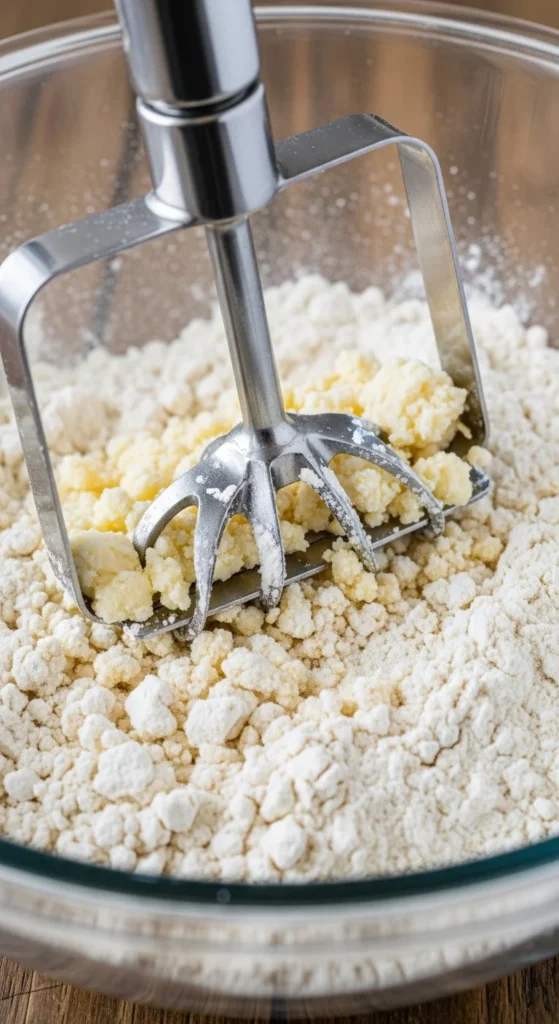
Step 2: Cut the Fat to Pea-Sized Pieces
This is the most important texture checkpoint.
Essential gear for beginners
🥇 Pastry blender (best choice)
- Cuts fat evenly
- Prevents overworking
- Easy to control
🥈 Food processor (optional)
- Fast but risky
- Pulse briefly only
🥉 Fork or hand method
- Works fine
- Slightly less consistent
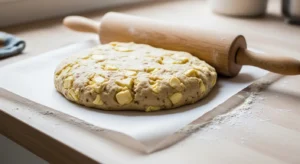
What you’re aiming for
Your mixture should look like:
- Coarse crumbs
- With visible pea-sized bits
- Not smooth or paste-like
✅ Dough Test Visual: If you still see butter or shortening flecks, you’re on track.
Step 3: Mix the Foolproof Liquid Blend
Here’s the famous Grandma’s no-fail hack.
In a small bowl, whisk together:
- Egg
- Vinegar
- Ice water
Why this combo works
- Egg adds elasticity and binding
- Vinegar coats flour proteins to limit gluten
- Ice water keeps fats cold
This trio is what makes the crust so beginner-friendly.
Step 4: Add Liquid Gradually (Hydration-by-Tbsp Guide)
This step separates perfect dough from sticky disasters.
Foolproof method
- Drizzle liquid mixture slowly into flour
- Toss gently with a fork
- Stop when dough becomes shaggy and holds when squeezed
Ready dough signs
- Looks slightly rough (not smooth)
- Holds together when pressed
- Not wet or sticky
⚠️ Overmixing is the fastest way to get a tough crust — stop early.
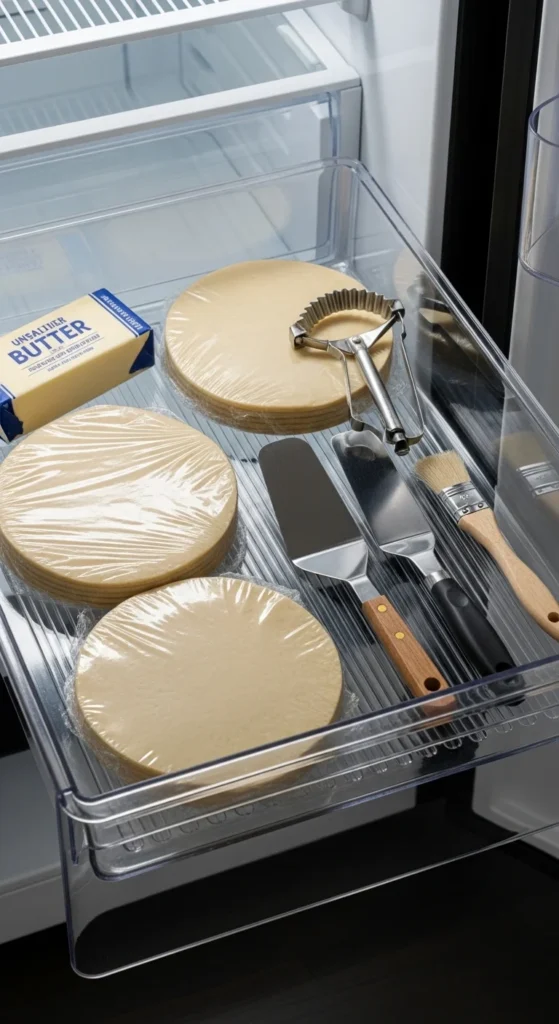
Step 5: Divide and Chill (Rest-to-Perfection Plan)
Handle the dough as little as possible.
Shape & store fast
- Use a bench scraper to gather crumbs
- Divide into discs immediately
- Wrap each tightly in plastic wrap
- Chill 1–4 hours minimum
Why chilling matters
- Relaxes gluten
- Firms fats
- Prevents shrinkage
- Makes rolling easier
💡 Stockpile strategy: Wrapped discs freeze up to 3 months.
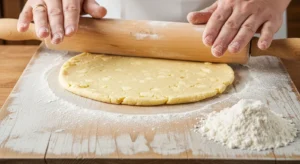
Step 6: Roll Using the Rotate-to-Round Method
Rolling correctly prevents sticking and tearing.
Perfect rollout technique
- Lightly flour surface
- Roll from the center outward
- Give the dough a quarter turn every few rolls
- Aim for about 1/8-inch thickness
Pro stability boost
For extra insurance:
- Chill pie plate first
- After fitting dough, freeze shell 20 minutes
This helps prevent slumping during baking.
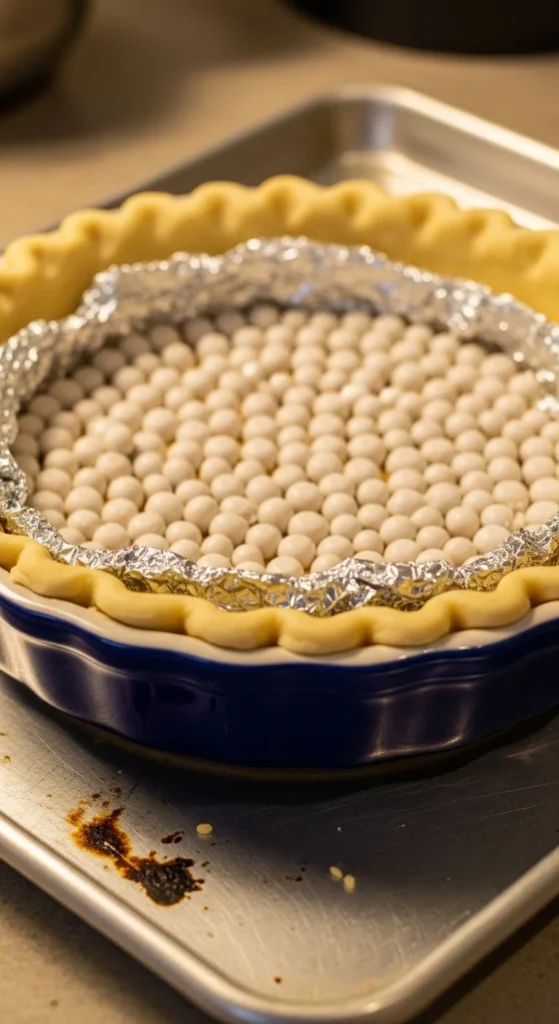
Step 7: Blind Bake Like a Pro (If Needed)
For custard or cream pies, blind baking is essential.
Pre-bake mastery steps
- Preheat oven to 375°F (190°C)
- Line crust with foil or parchment
- Fill with pie weights or beans
- Bake until edges set
This prevents puffing and soggy bottoms.
Optional Upgrades for Better Flavor
Once you’re comfortable, try these tweaks:
Fat Formula Face-Off
- All shortening → most stable
- Butter + shortening → best balance
- All butter → richest flavor
Versatile flavor switches
- Add sugar for sweet pies
- Skip sugar for savory pies
- Try European butter for premium flavor
Common Beginner Mistakes (Avoid These!)
Top pitfalls
❌ Overworking the dough
❌ Using warm fats
❌ Adding liquid too fast
❌ Skipping chill time
❌ Rolling too thick
If your crust ever fails, one of these is usually the culprit.
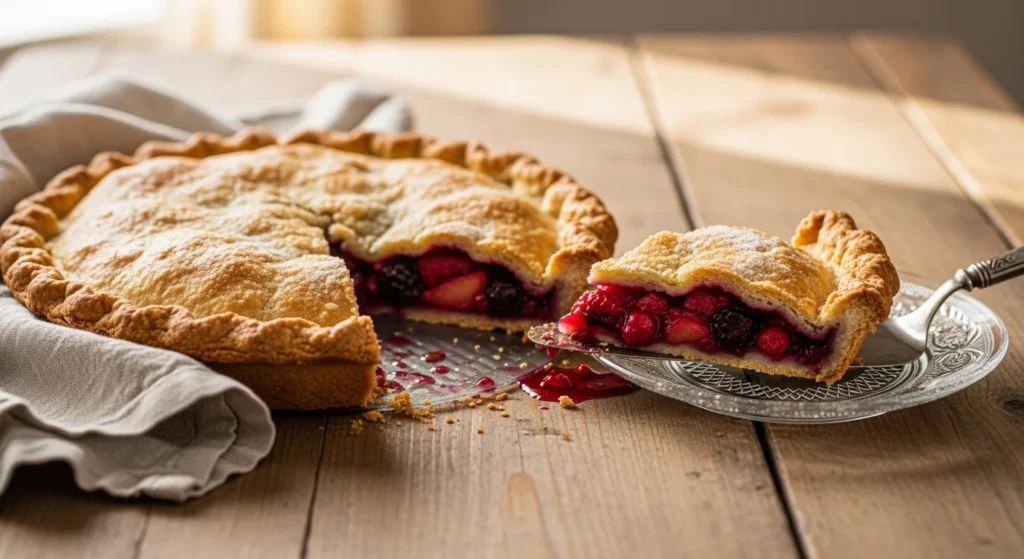
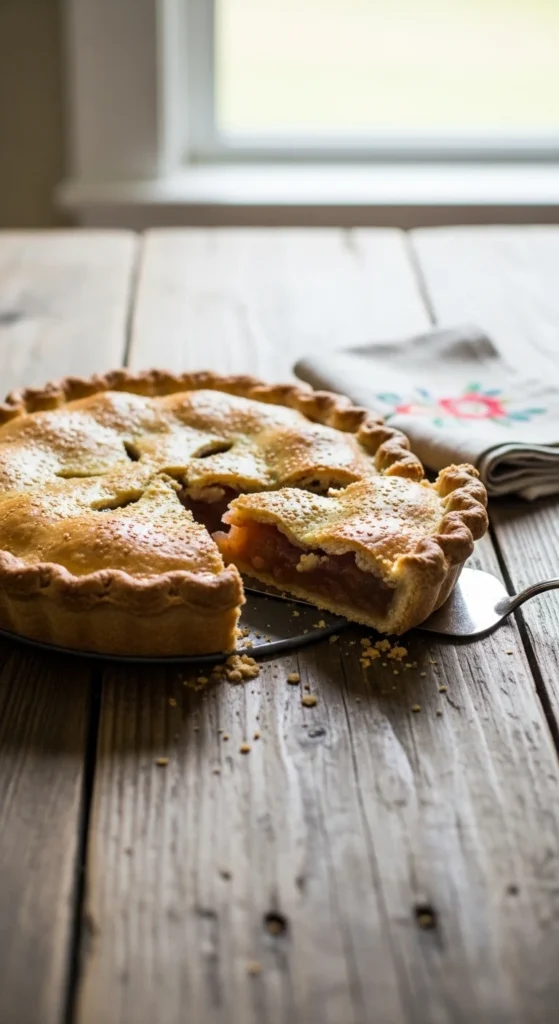
Final Takeaway
Making a foolproof pie crust isn’t about fancy equipment — it’s about cold ingredients, gentle mixing, and proper chilling. With the egg-and-vinegar method in your toolkit, you’ll have a reliable crust that’s flaky, tender, and beginner-safe every time.
🥧 Save this guide for later and pin it before your next baking day!