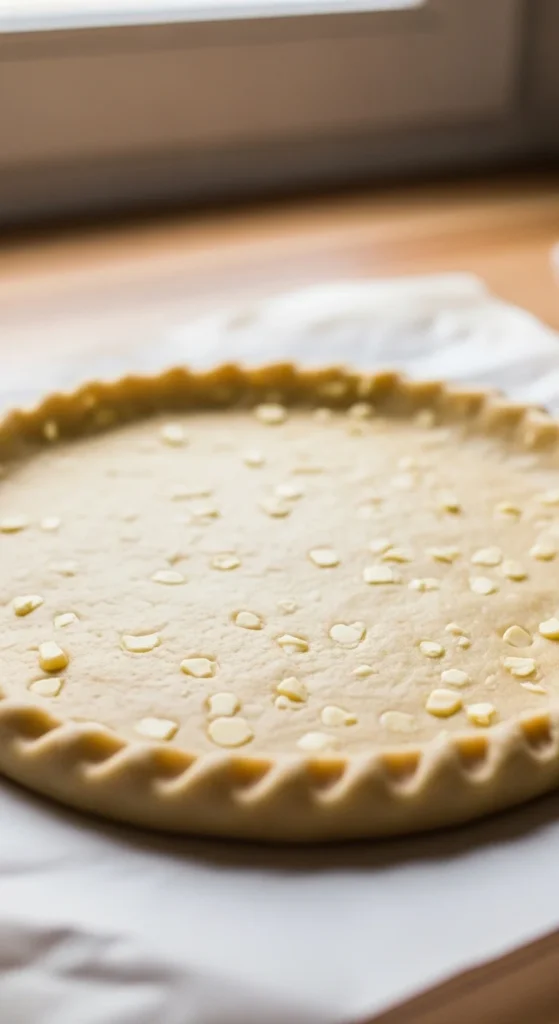
If you’ve ever tried making a gluten free pie crust, you know the struggle is real. Cracks while rolling, crumbly edges, gummy texture — it can feel like gluten free dough has a mind of its own.
But here’s the good news: a flaky, tender gluten free pie crust is absolutely achievable when you use the right binders, butter technique, and rolling method. Once you master these simple steps, your crust will hold together beautifully — no frustration required.
Let’s break down the foolproof method.
Why Gluten Free Pie Crusts Fall Apart
Traditional crust relies on gluten for elasticity. Without it, dough can:
- Crack when rolled
- Turn sandy or crumbly
- Become gummy if overmixed
- Shrink during baking
The fix: mimic gluten’s structure using smart ingredients and gentle handling.
Key success factors:
- Quality GF flour blend
- Proper binder (like xanthan gum)
- Cold butter shards
- Parchment rolling method
- Adequate chilling time
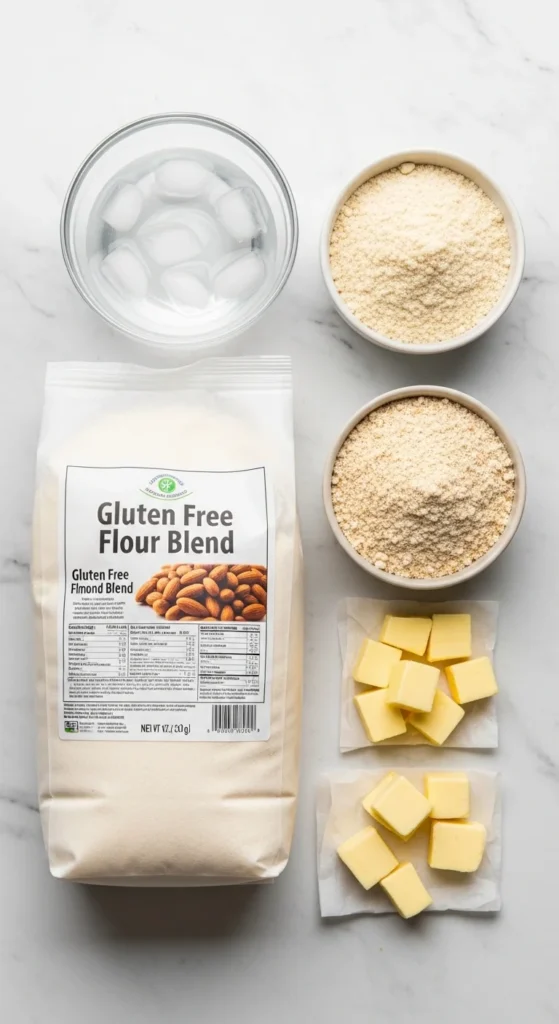
Choose the Right Gluten Free Flour Blend
Not all GF flours behave the same. Single flours (like only rice flour) often produce fragile crusts.
Best choice: all-purpose gluten free 1:1 blends made from rice, sorghum, and starches.
Why blends work better:
- Balanced structure
- Better moisture absorption
- More reliable flakiness
Popular options:
- King Arthur Measure-for-Measure
- Bob’s Red Mill 1:1 Baking Flour
💡 You can also customize with small amounts of almond or oat flour for flavor and texture.
The Secret Binder: Xanthan Gum (or Alternatives)
Because there’s no gluten, you need something to hold the dough together.
Best binders that mimic gluten magic
- Xanthan gum (most common)
- Psyllium husk (great gum-free option)
- Egg yolk (adds richness + cohesion)
- Sour cream (adds elasticity)
- Vinegar (helps tenderize)
Typical xanthan amount: about ¼–½ teaspoon per cup of GF flour.
⚠️ Too much xanthan = gummy crust.
If your flour blend already includes xanthan gum, don’t add extra.
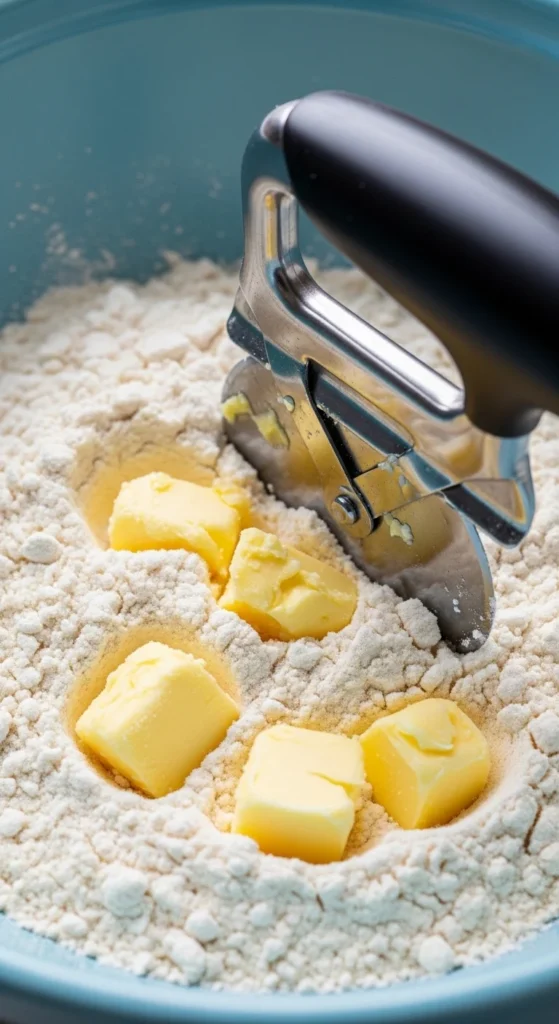
Step-by-Step: Butter Technique for Crispiness
Cold butter is still the hero — even without gluten.
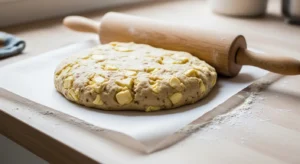
Step 1: Cut in the butter
Add cold, cubed butter to your flour mixture and cut using:
- Pastry cutter (best control)
- Two forks
- Quick fingertip smash method
Target texture: pea-sized butter bits.
These small butter shards create steam pockets that give you flaky layers.
Step 2: Add Ice Water Slowly
Gluten free dough is extra sensitive to moisture.
Add ice water 1 teaspoon at a time, mixing gently.
GF Dough Readiness Signs
✔ Shaggy but cohesive
✔ Holds when squeezed
✔ Not sticky or wet
Usually you’ll need less water than you think.
Optional enriched upgrade:
- Add 1 egg yolk for richness
- Or 1 tablespoon sour cream for tenderness
- Or 1 teaspoon vinegar for elasticity
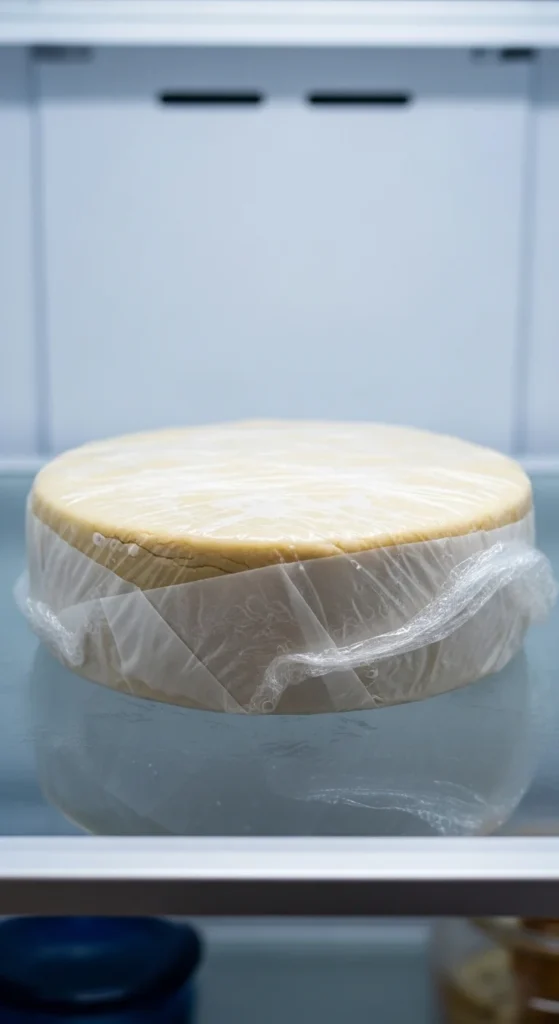
Step 3: Chill for Fail-Proof Handling
Gluten free dough is fragile when warm — chilling is non-negotiable.
Chill timeline:
- Minimum: 30 minutes
- Ideal: 45–60 minutes
Why chilling works:
- Firms butter
- Hydrates flour
- Reduces cracking
- Improves rollability
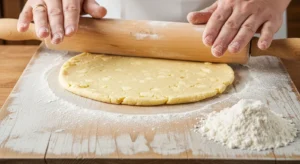
Step 4: Roll Between Parchment (No-Tear Method)
This is the game-changing trick for gluten free crust.
Instead of flouring your counter, place dough between two sheets of parchment paper and roll.
Why parchment rolling works
- Prevents sticking
- Reduces cracking
- Makes transfer easy
- Requires less added flour
How to do it:
- Place dough between parchment sheets
- Roll gently from center outward
- Rotate occasionally
- Peel top parchment before transferring
👉 If cracks appear, simply press them together — totally normal for GF dough.
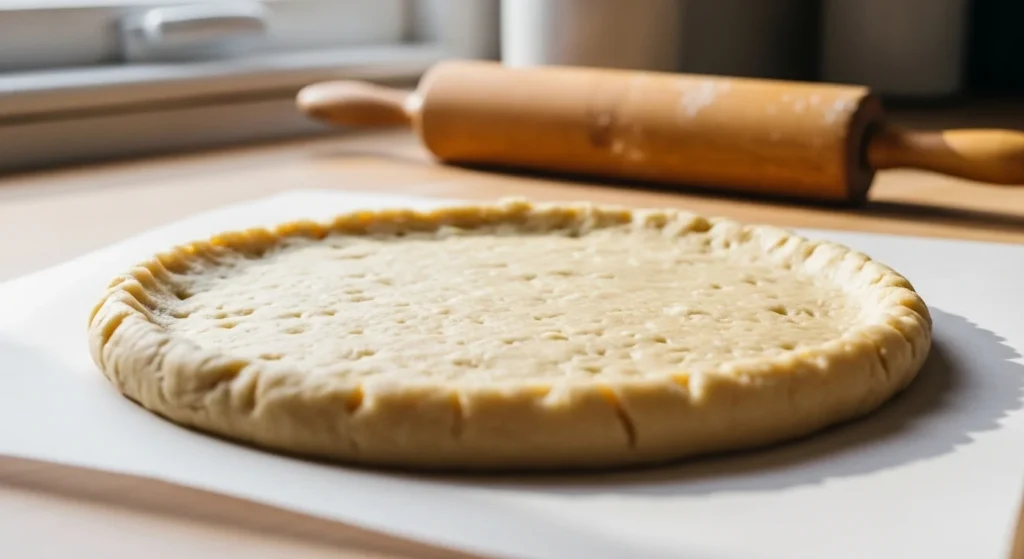
Step 5: Transfer, Crimp, and Stabilize
Carefully flip the rolled crust into your pie dish.
Decorative Edges 101
- Chill crust briefly before crimping
- Use fork for beginner-friendly edges
- Or pinch with fingers for classic style
Pro tip: chilling after shaping helps edges hold their form.
Blind Bake for a Crisp, No-Soggy Base
For cream pies or no-bake fillings, blind baking is essential.
Cream Pie Base Tutorial
- Line crust with parchment
- Fill with pie weights or dry beans
- Bake at 375°F until set
Optional professional finish:
- Remove weights
- Brush lightly with egg wash
- Bake 2–3 more minutes to seal
This creates a moisture barrier and beautiful golden shine.
Top Gluten Free Mixing Mistakes to Avoid
Save yourself frustration by watching for these.
❌ Overmixing
Leads to gummy texture.
Fix: stop at shaggy stage.
❌ Too much xanthan gum
Creates chewiness.
Fix: measure carefully.
❌ Skipping parchment rolling
Causes tearing.
Fix: always roll between sheets.
❌ Not enough chilling
Makes dough fragile.
Fix: minimum 30 minutes rest.
Flavor Boosters Table
Want next-level crust? Try these add-ins:
- Almond flour → nutty richness
- Oat flour → subtle chew
- Sour cream → tenderness
- Egg yolk → golden richness
- Butter + shortening → easier handling
Use small amounts so structure stays balanced.
Make-Ahead & Freezer Tips
Gluten free dough is great for prep.
To freeze:
- Wrap tightly
- Freeze up to 3 months
- Thaw overnight in fridge
You can also freeze pre-rolled discs between parchment for holiday baking wins.
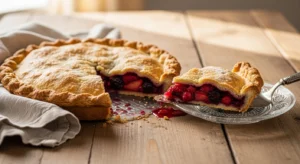
Final Takeaway
A gluten free pie crust that doesn’t crumble isn’t about luck — it’s about smart technique. With the right flour blend, proper binder, cold butter shards, and the parchment rolling method, you’ll get a crust that’s flaky, tender, and reliable every time.
Once you try this method, gluten free pie baking becomes surprisingly stress-free.
✨ Save this recipe for later and pin it before your next pie day!