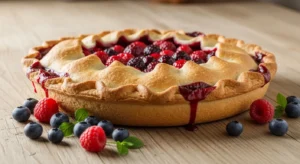
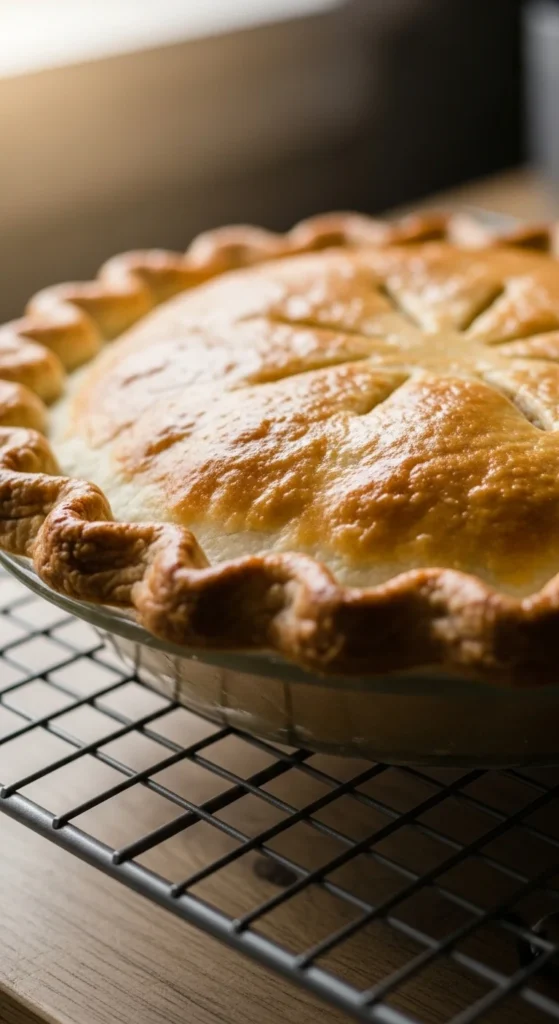
There’s something magical about a perfectly baked pie crust. That golden, flaky edge that crumbles just right, and the way it makes any filling—pumpkin, apple, or pecan—look like it belongs in a bakery window. This holiday season, you don’t need a professional bakery to impress your guests. With a few simple tips, you can create a pie crust that’s buttery, tender, and stunningly beautiful.
Ingredients You’ll Need
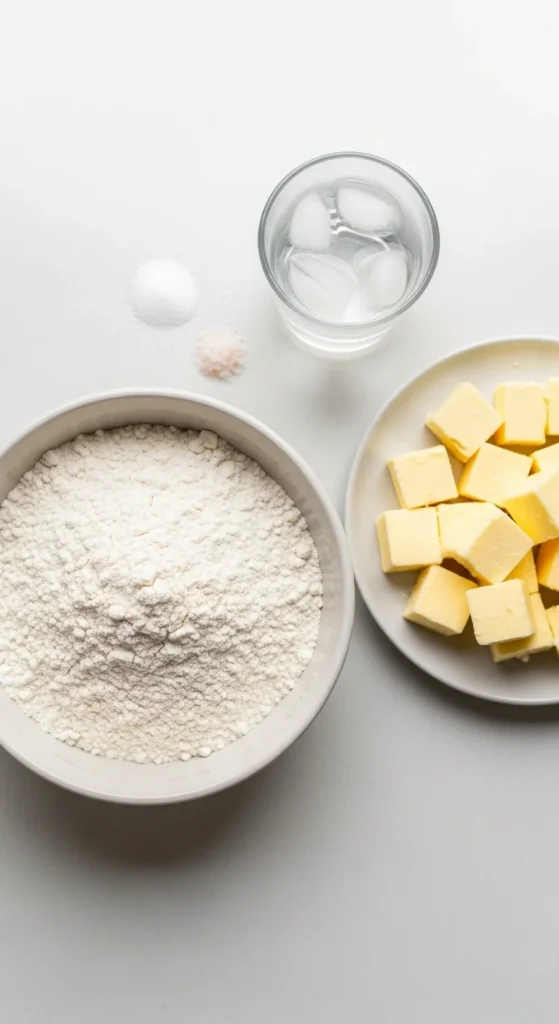
Holiday pie crusts shine when the ingredients are simple and high-quality. Here’s what you’ll need for a single 9-inch pie:
- 2 ½ cups all-purpose flour
- 1 teaspoon salt
- 1 tablespoon granulated sugar (optional, for sweet pies)
- 1 cup (2 sticks) unsalted butter, cold and cubed
- 6–8 tablespoons ice water
Tips:
- Use cold butter straight from the fridge for the flakiest texture.
- Ice water is essential—it keeps the butter from melting into the flour too quickly.
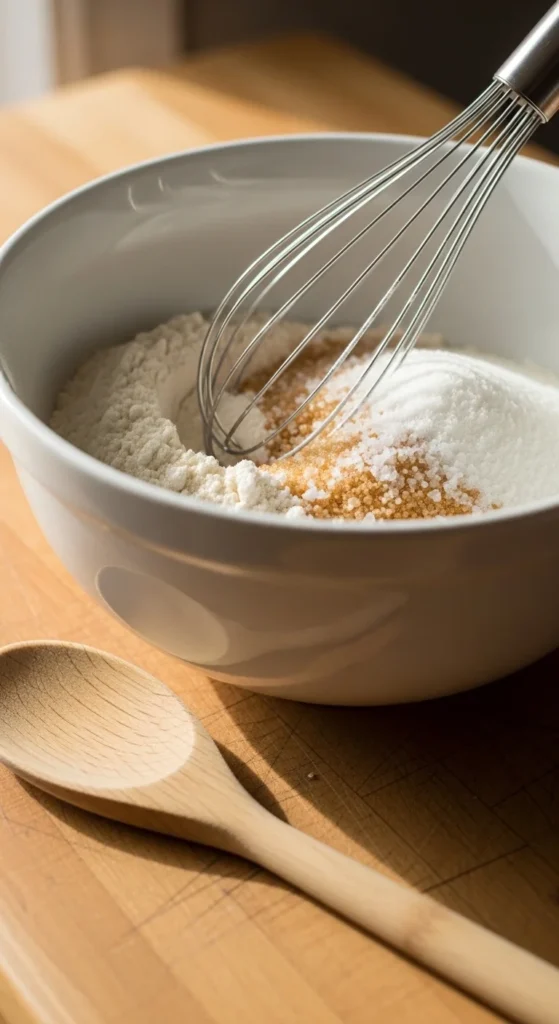
Step 1: Mix the Dry Ingredients
Start by combining the flour, salt, and sugar in a large mixing bowl:
- Whisk together to ensure even distribution.
- This step guarantees a uniform base for your flaky crust.
Pro Tip: For extra flavor, you can add a pinch of cinnamon or nutmeg if making a sweet holiday pie.
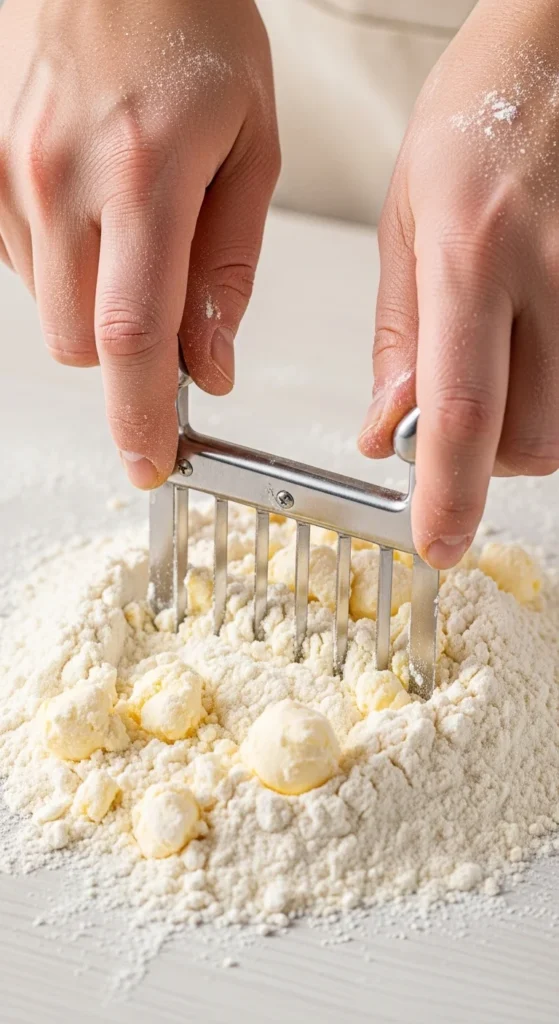
Step 2: Cut in the Butter
The secret to flaky pie crust is in how you handle the butter:
- Add the cold, cubed butter to the flour mixture.
- Use a pastry cutter, two knives, or your fingertips to cut the butter into the flour until it resembles coarse crumbs with pea-sized pieces.
Tips:
- Don’t overwork the dough—some larger chunks of butter will create layers while baking.
- Keep your hands cool; warm hands melt butter too fast.
Step 3: Add Ice Water and Form Dough
Next, bring your dough together:
- Sprinkle ice water one tablespoon at a time over the flour-butter mixture.
- Mix gently with a fork until the dough holds together but is not sticky.
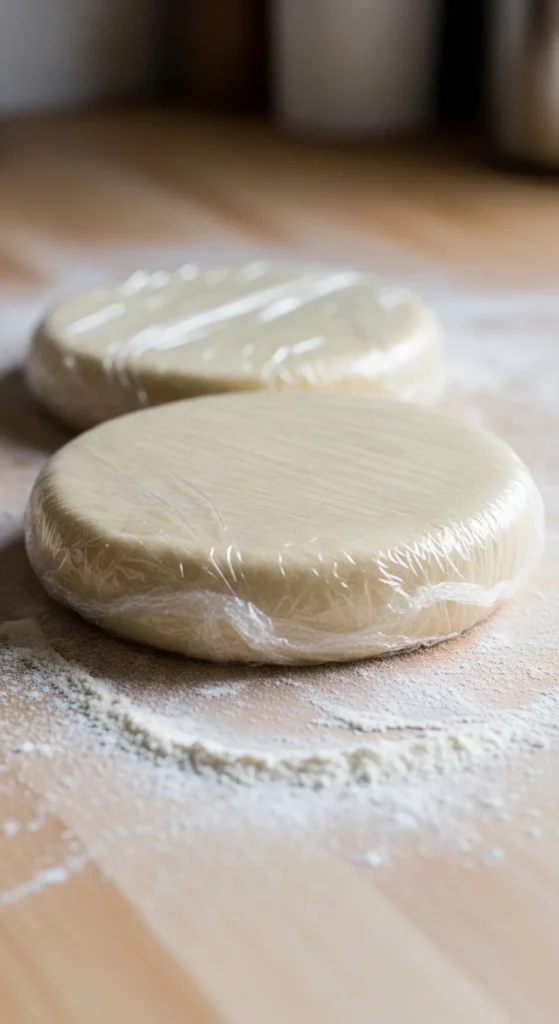
- Divide the dough into two discs, wrap in plastic, and chill for at least 1 hour.
Tips:
- Chilling helps relax gluten and keeps the butter firm for a flakier crust.
- If the dough cracks at the edges when rolling, just press it gently back together.
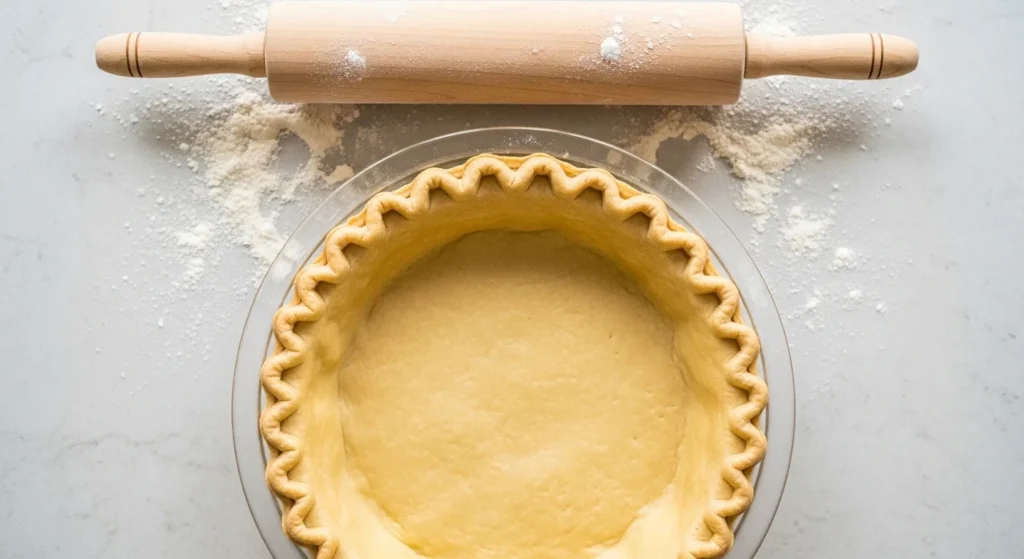
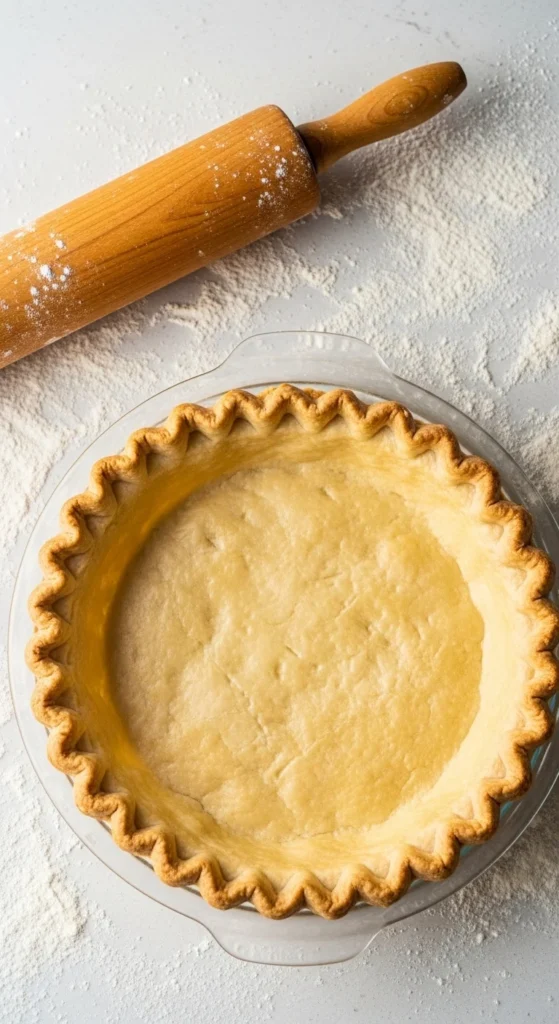
Step 4: Roll Out and Shape
Once chilled, it’s time to create that bakery-worthy look:
- Lightly flour your surface and rolling pin.
- Roll one disc into a circle about 12 inches in diameter for a 9-inch pie dish.
- Gently transfer the dough to the pie dish, trimming excess edges.
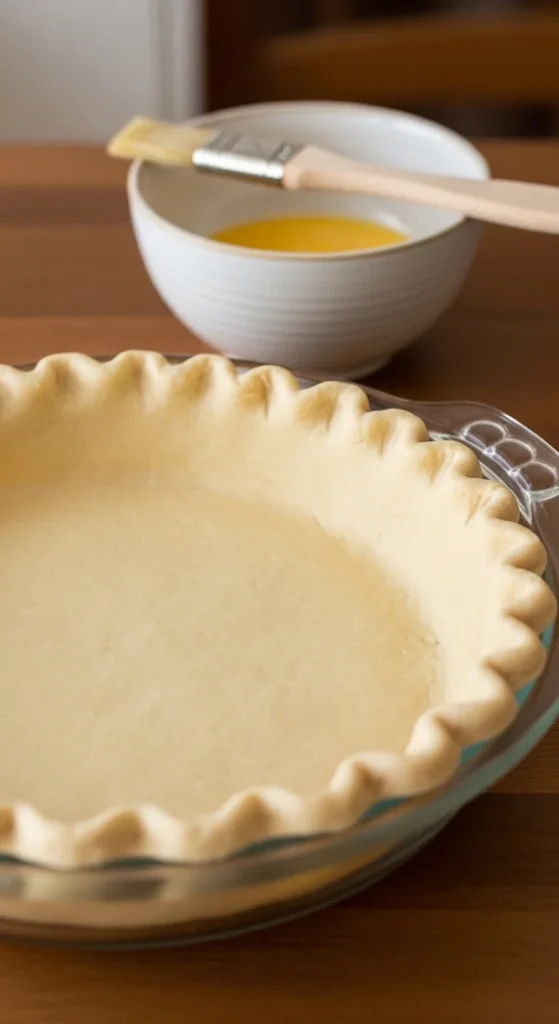
- Use a fork or your fingers to create a fluted edge.
Tips:
- For extra holiday flair, use small cookie cutters to cut shapes from leftover dough and decorate the edges.
- Brush the crust with an egg wash for a shiny, golden finish.
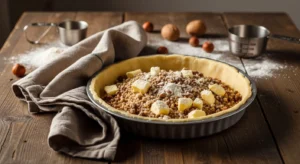
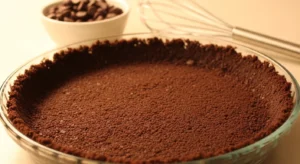
Step 5: Bake or Fill
- For pre-baking (blind baking), line the crust with parchment paper and fill with pie weights or dried beans. Bake at 375°F (190°C) for 15–20 minutes.
- If adding filling directly, follow your pie recipe’s baking instructions.
Extra Tips:
- Keep an eye on edges; cover with foil if they brown too quickly.
- Cool completely before adding cold fillings like custard or cream.
Final Thoughts
Creating a holiday pie crust that looks bakery-worthy doesn’t require professional skill—just quality ingredients, patience, and a few simple techniques. Once you master the basics, you can get creative with fluted edges, decorative cutouts, and shimmering egg washes. Save this recipe for your holiday pies this season, and impress everyone with a crust that’s as beautiful as it is delicious.