If you’ve ever watched a baker frost a cake and thought, “Why doesn’t mine look like that?”—you’re not alone. Professional-looking cakes aren’t about magic talent or fancy bakeries. They’re about a few smart techniques, the right order of steps, and knowing what actually makes a cake look polished.

The best part? You can absolutely decorate a cake like a pro at home—even if you’ve never piped a rosette in your life. Let’s break it down into simple, doable steps that actually work.
Start with a Solid Cake Foundation
Professional decorators don’t “fix” messy cakes with frosting—they prevent problems early.
Before decorating, make sure your cake is:
- Completely cooled (warm cake = melting frosting)
- Level on top (use a serrated knife if needed)
- Firm enough to handle (chill layers for 20–30 minutes)
Cold cake layers are easier to stack, frost, and smooth. This one step alone makes decorating feel 10× easier.
Use the Right Frosting Consistency
Frosting texture matters more than color or flavor when it comes to clean results.
Aim for frosting that is:
- Soft and spreadable
- Holds its shape when piped
- Not stiff or grainy
If your frosting feels too thick, add:
- 1 tablespoon cream or milk at a time
If it’s too soft:
- Chill it briefly or mix in a little more powdered sugar

Master the Crumb Coat (This Is the Pro Secret)
A crumb coat is a thin first layer of frosting that traps crumbs so your final coat stays smooth.
How to do it:
- Apply a very thin layer of frosting over the entire cake
- Don’t worry if crumbs show—that’s normal
- Chill the cake for 20–30 minutes until set
Once chilled, the cake is locked in and ready for a flawless finish. Skipping this step is the #1 reason home cakes look messy.
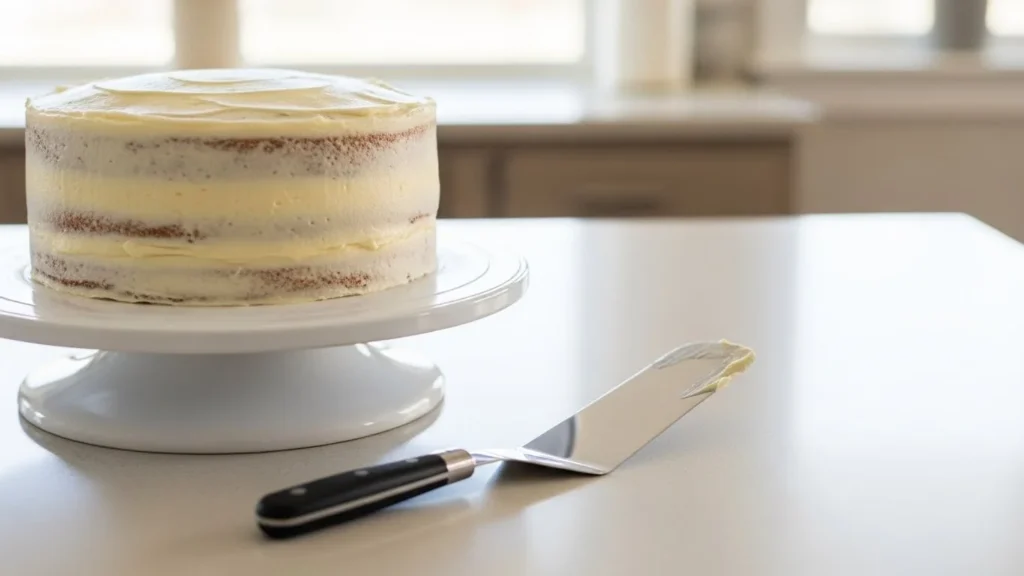
Smooth Frosting Like a Professional
You don’t need special talent—just the right tools and motion.
What helps most:
- An offset spatula
- A bench scraper or straight-edge spatula
- A cake turntable (even a lazy Susan works)
Spread frosting generously, then smooth by gently spinning the cake while holding your scraper steady. Let the tool do the work instead of overcorrecting.

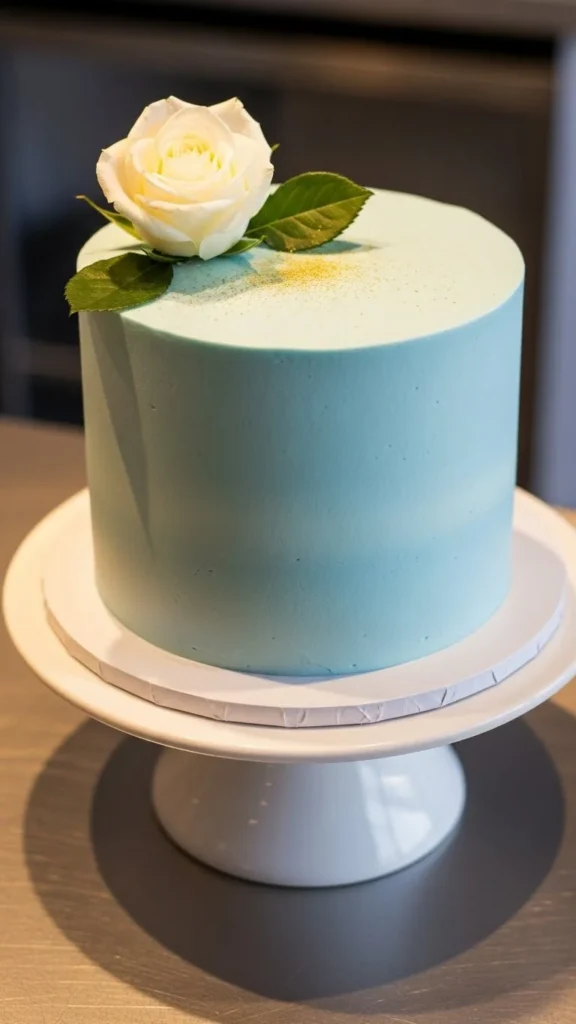
Keep Decorations Simple (Clean Beats Complicated)
Professional cakes often look elegant because they’re intentional, not overloaded.
Try these beginner-friendly decorations:
- Smooth sides with a textured top swirl
- Simple piped borders
- Chocolate drips
- Fresh fruit or flowers
- Light sprinkles placed neatly, not everywhere
One strong design choice looks far more professional than five competing ideas.
Learn One Easy Piping Technique
You don’t need to learn every piping style—just one.
Great starter options:
- Shell borders
- Rosettes
- Simple dots
- Swirled dollops on cupcakes
Practice on parchment paper first. When you’re happy, scrape it back into the bowl and start again.

Fix Mistakes Like a Pro (Yes, Really)
Even professionals mess up—what matters is how you fix it.
Easy fixes:
- Chill the cake, then smooth again
- Cover rough spots with texture
- Add a decorative border to hide edges
- Use toppings strategically to disguise flaws
Confidence is part of the look. If you act like it was intentional, most people will believe you.
Finish with Thoughtful Details
Final touches elevate a cake instantly:
- Clean the cake board edges
- Wipe tools between passes
- Step back and look before adding more
Less tweaking at the end usually leads to better results.
Final Takeaway
Decorating a cake like a professional at home isn’t about perfection—it’s about preparation, patience, and simple techniques done well. Focus on smooth frosting, clean lines, and one strong design choice, and your cakes will instantly look more polished.
Save this guide for your next bake, practice one skill at a time, and don’t be surprised when people start asking where you bought the cake. 🎂✨


