You don’t need a fancy bakery kitchen to make a cake that makes people say “wait… you made this?” With a few smart tools, the right buttercream texture, and a couple of modern techniques (hello, polka dots and ruffles), you can turn any homemade cake into a showstopper—without stress.
Get Your Setup Right First (This Is the Secret Sauce)
Before you touch frosting, set yourself up for smooth results. Most “messy” cakes aren’t a talent problem—they’re a setup problem.
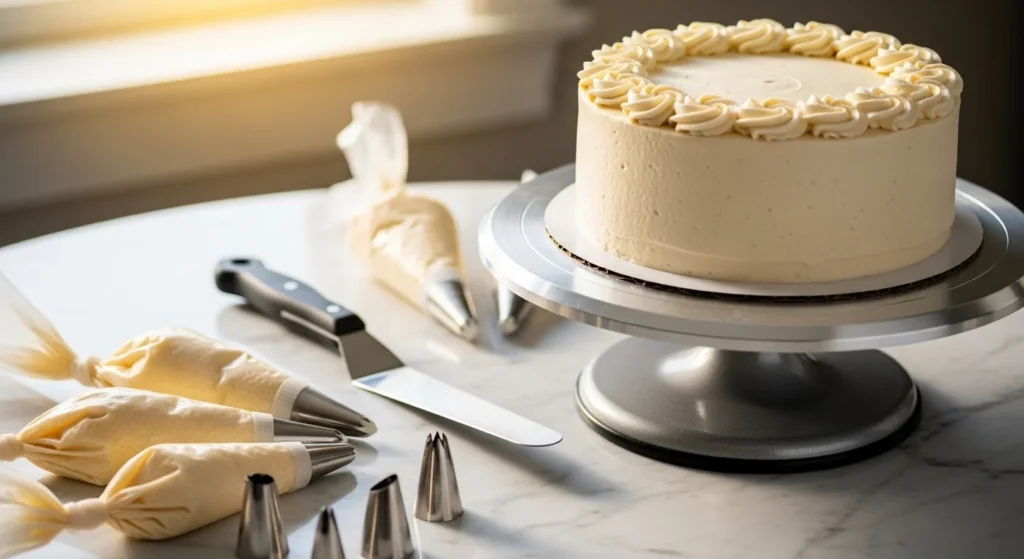
Quick pro kit (simple, affordable, worth it):
- Cake turntable (even a basic one)
- Offset spatula for smooth frosting
- Bench scraper (metal or plastic) for sharp sides
- Piping bags + 2–3 tips (start with: round #12, star #1M, small round #3/#4)
- Parchment paper for clean edges and easy transfers
Pro move: Chill your cake layers (even 20–30 minutes). Cold cake is sturdier, crumbs stay put, and frosting behaves better.
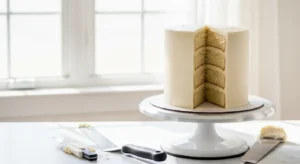
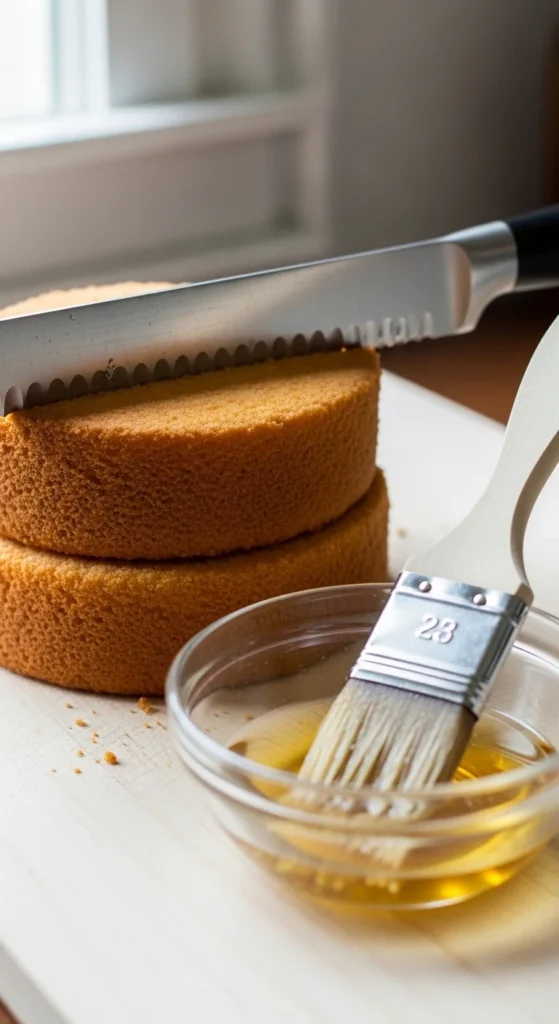
Step 1: Bake Flat Layers and Make Them Stack-Friendly
If your layers dome, they’ll wobble. If they wobble, the frosting will crack or slide. The goal is a stable base.
Do this:
- Let cakes cool completely.
- If they domed, trim with a serrated knife.
- Brush each layer lightly with simple syrup (optional, but helps moisture).
- Spread filling thinly and evenly—too thick makes sliding.
Quick simple syrup:
Mix equal parts sugar + water, heat until dissolved, cool.
Step 2: Master Buttercream Consistency (So Piping Looks Clean)
Buttercream is everything. If it’s too stiff, you’ll fight the bag. Too soft, and details melt.
The 3 textures you want:
- Crumb coat buttercream: slightly thinner, spreads easily
- Final coat buttercream: smooth, holds shape, not greasy
- Piping buttercream: firm enough to keep definition, still squeezable
Fix common issues fast:
- Too thick: add 1 tsp milk/cream at a time
- Too soft: chill 10 minutes or add a bit more powdered sugar
- Air bubbles: mix on low at the end, then press buttercream against bowl with a spatula
Crumb coat rule:
Apply a thin layer, scrape it smooth, then chill 15–20 minutes. This locks crumbs down and gives you a clean canvas.
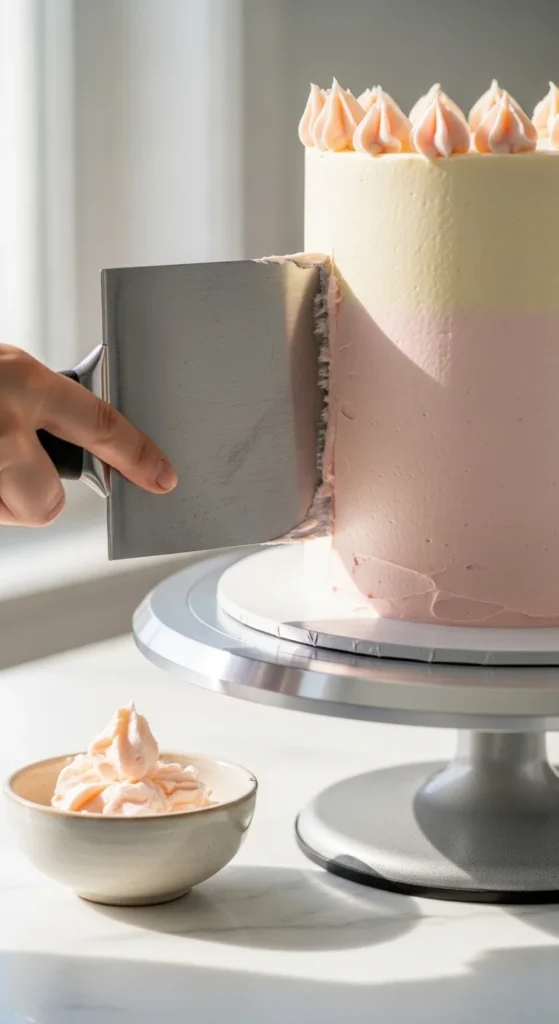
Step 3: Get Smooth Sides and a Sharp Top Edge
This is the “bakery look” step—and it’s easier than it seems.
How to smooth like a pro:
- Apply a generous layer of frosting around the cake.
- Hold your bench scraper straight against the side.
- Spin the turntable (let the tool stay still).
- Scrape excess into a bowl and repeat.
Sharp edges trick:
After smoothing sides, you’ll have a little frosting lip at the top. Use your offset spatula to pull that lip inward toward the center, a little at a time, rotating as you go.
Extra-smooth hack:
Dip your scraper/spatula in hot water, wipe dry, then lightly glide over frosting for a polished finish.
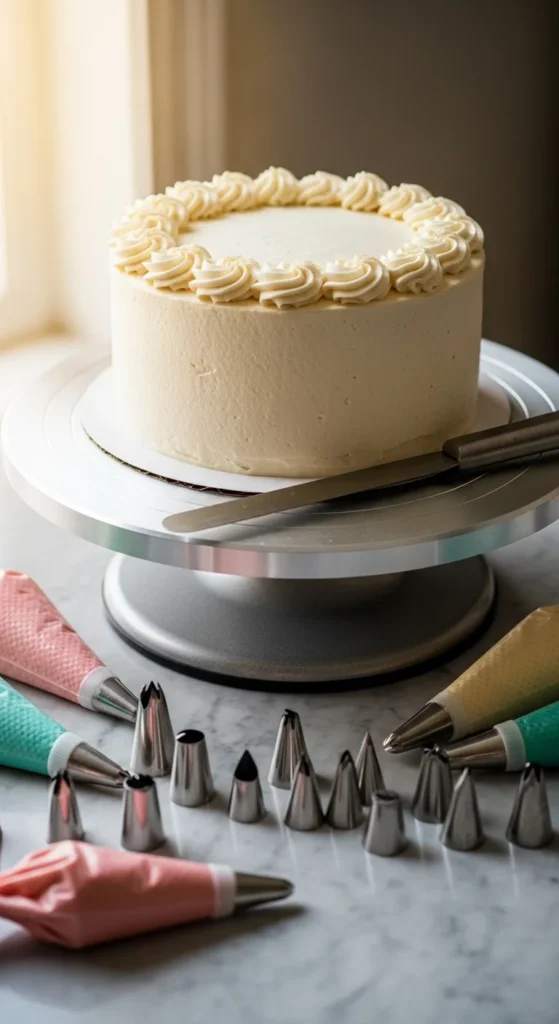
Step 4: Add Trendy Designs That Still Work for Beginners
Now the fun part. You don’t have to sculpt a masterpiece to look current—pick one “hero” technique and keep the rest simple.
Buttercream Ruffles (Lambeth-Inspired, Beginner-Friendly Version)
This vintage piping style is back, and it’s perfect for adding instant detail.
Easy version:
- Use a small round tip or star tip
- Pipe swoops, shells, and layered borders
- Start at the bottom and work upward
Tip: Practice 60 seconds on parchment first. You’ll instantly find your pressure rhythm.
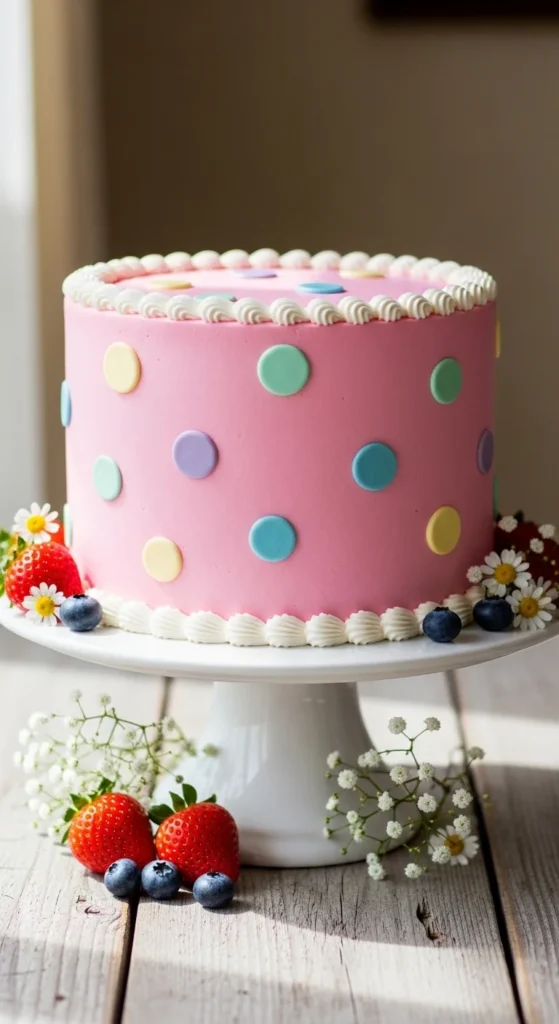
Polka Dot Cakes (Fast, Modern, and Clean)
Polka dots are trending hard because they look playful and polished.
Two easy ways:
- Pipe dots with a small round tip (#3–#4)
- Use the back of a spoon or a small brush to make soft painted dots (on chilled buttercream)
Pro dot rule: Keep dot sizes consistent, and vary spacing slightly so it looks intentional—not like a grid.
Color-Blocked Florals (Bold Without Being Hard)
You can do this without delicate flower piping:
- Frost the cake one color
- Add 2–3 bold buttercream “patches” in another color
- Pipe simple leaf shapes or small blossoms on the color blocks
Mirror-Glaze Look (Without Real Mirror Glaze)
True mirror glaze takes practice, but you can fake the vibe:
- Frost smoothly
- Add a thin, glossy ganache drip or a shiny buttercream finish using the hot-spatula method
Step 5: Try an “Interactive” Finish (If You Want Drama)
If you’ve seen viral reveal cakes, you know the moment is the point. You can keep it simple and still get that wow effect.
Beginner-friendly reveal idea:
- Frost cake clean and chill it well
- Add a thin topper layer (like wafer-paper style decor or a delicate chocolate panel)
- Reveal a hidden color or pattern underneath by breaking, peeling, or lifting the topper at serving
Keep it stress-free: Make sure the base cake looks great first—then treat the reveal like a bonus.
Storage and Transport Tips (So It Looks Perfect Later)
- Chill before moving: 30 minutes firms frosting fast.
- Use a non-slip mat under the cake board in the box.
- Hot weather tip: freeze the cake 20 minutes before travel.
Final Takeaway
Decorating like a pro is mostly about smooth basics + one standout detail. Start with a clean crumb coat, nail your buttercream texture, and choose one trend—ruffles, polka dots, bold florals, or a simple reveal—to make the cake feel special.
Save this for your next birthday, celebration, or “just because” bake—and when you try one, snap a photo. You’ll be surprised how professional it looks.