Sprinkles look fun, effortless, and joyful… until you try adding them and suddenly your kitchen looks like a confetti explosion.
They bounce. They slide. They stick everywhere except the cake.
But here’s the secret: pro-looking sprinkle cakes aren’t random. They’re all about timing, placement, and mess control. Once you learn a few simple tricks, you’ll get clean borders, full coverage, and cute floating patterns without chaos.
Let’s break it down step by step so your next sprinkle cake looks bakery-perfect (not sprinkle-storm messy).
Step 1: Use Fresh Buttercream (Timing Matters Most)
This is the #1 rule.
Sprinkles only stick well to fresh, soft frosting.
If your buttercream has crusted or dried even a little, sprinkles will bounce off instead of sticking.
The sweet spot:
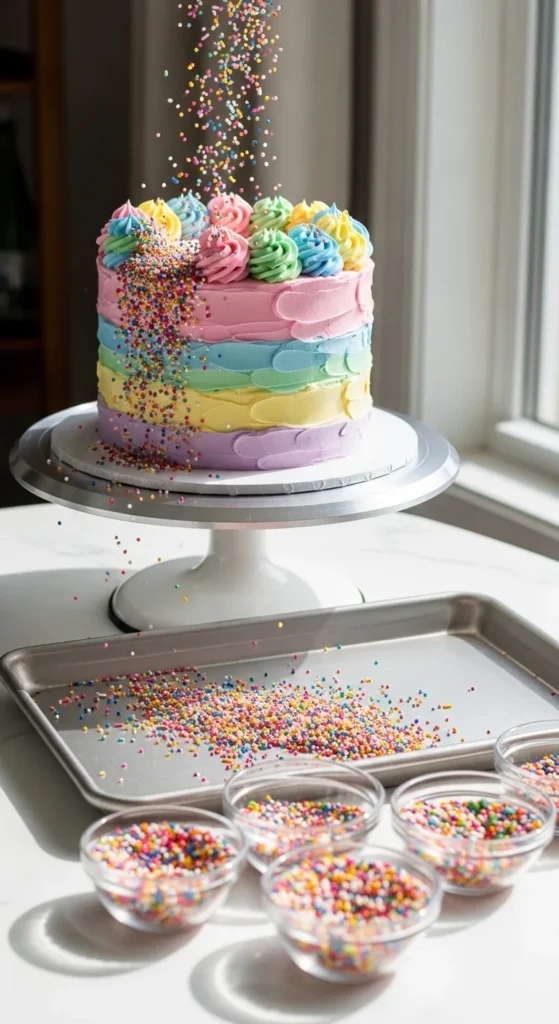
- Add sprinkles 5–10 minutes after frosting
- Frost cake → smooth → sprinkle immediately
If frosting feels dry:
- Lightly smooth again with a spatula
- Or add a thin fresh coat
Fresh buttercream grips sprinkles way better than set frosting. Think of it like glue.
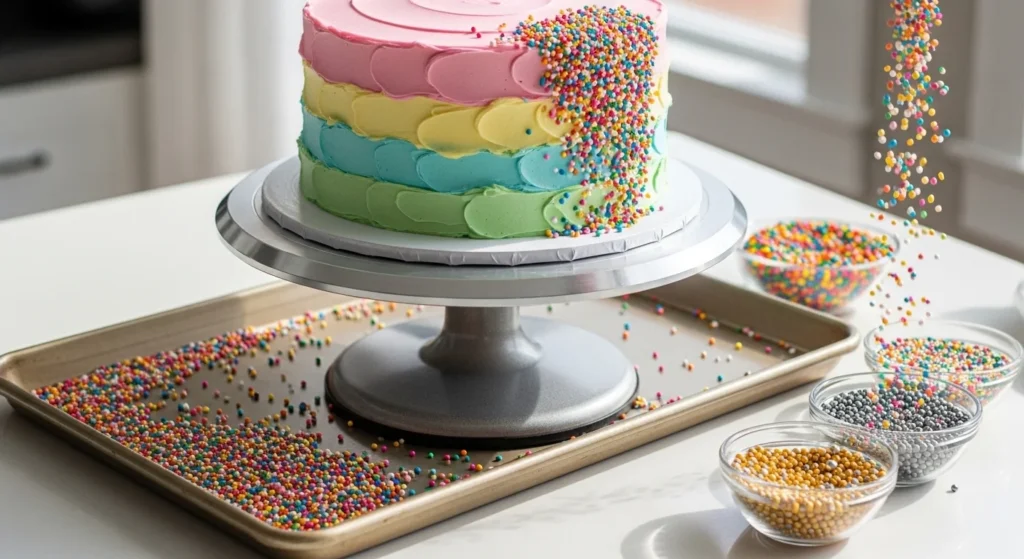
Step 2: Set Up a Mess-Free Station
Before opening the sprinkle jar, protect your counter. This changes everything.
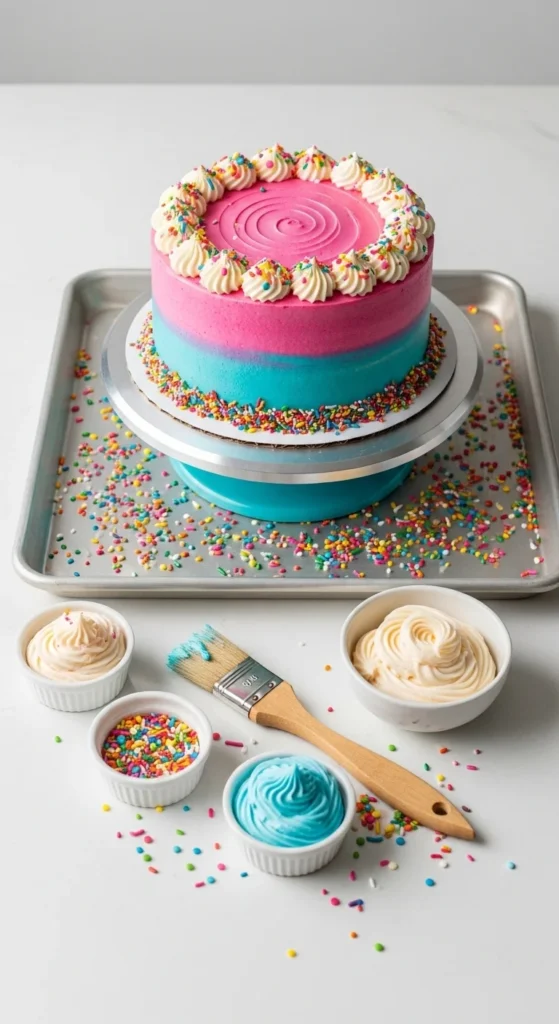
The pro setup:
- Place a sheet pan under your turntable
- Keep a pastry brush nearby
- Have a bowl ready to catch extras
This catches about 90% of stray sprinkles and makes cleanup fast.
Extra tip:
Mix all sprinkles together in one bowl first.
Pre-mixing prevents color clumps and gives you even distribution.
Step 3: Choose Your Sprinkle Style
Different designs need different methods. Pick your look first.
Popular styles:
- Base border (bottom-heavy)
- Floating sprinkles
- Full coverage
- Piped swirls + sprinkles
- Drip cakes with sprinkle accents
Each one uses a slightly different technique.
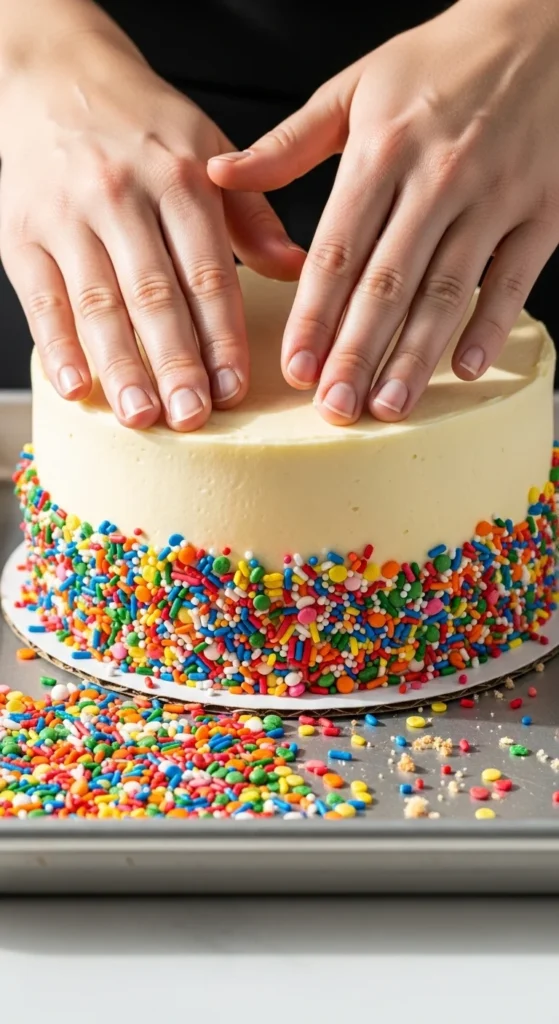
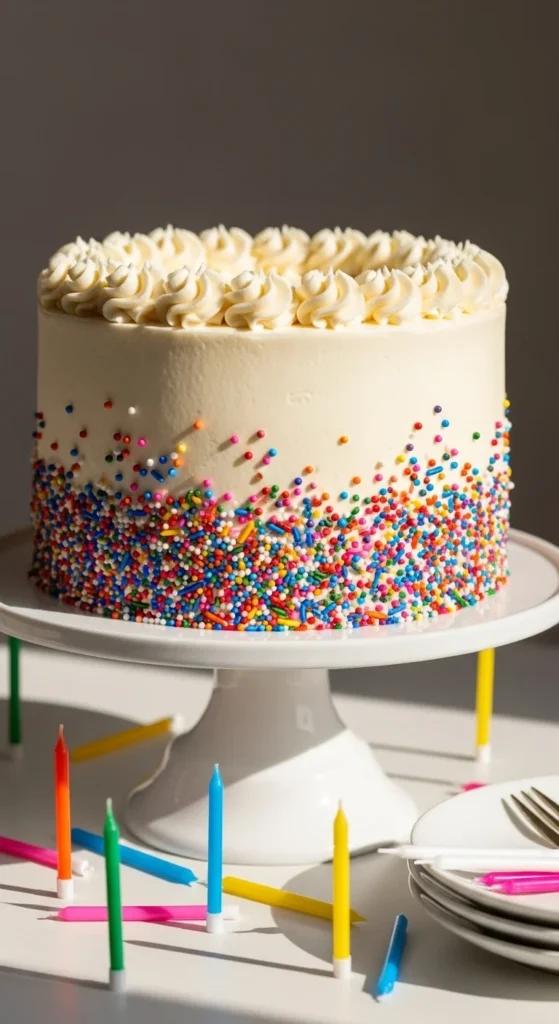
Step 4: Master the Base Border (Easiest & Most Popular)
This is the quickest way to make a cake look professional.
How to do it:
- Grab a palmful of sprinkles
- Gently press into the bottom edge of the cake
- Rotate the turntable
- Repeat around the base
The palm-press method creates a thick, colorful band at the bottom that looks intentional and clean.
Why it works:
- Hides frosting imperfections
- Creates strong visual contrast
- Super beginner-friendly
Step 5: Try Floating Sprinkle Patterns (More Modern Look)
Want something lighter and more custom? Try placing sprinkles individually.
How to do it:
- Use your fingers or tweezers
- Stick sprinkles one at a time
- Scatter them randomly or in shapes
- Leave space between them
This creates a “floating confetti” look that feels trendy and artsy.
Perfect for:
- Minimalist cakes
- Kids’ birthdays
- Color-block designs
Pro tip: Work fast while buttercream is still fresh.
Step 6: Full Coverage Sprinkle Cakes (Pro Roller Technique)
Want those totally covered sprinkle cakes you see online?
There’s an easy method that avoids throwing sprinkles everywhere.
Roller method:
- Frost and chill cake slightly (firm but tacky)
- Place sprinkles in a rimmed sheet or big container
- Hold cake between two cake boards
- Gently roll sides through sprinkles
This gives even coverage with way less mess.
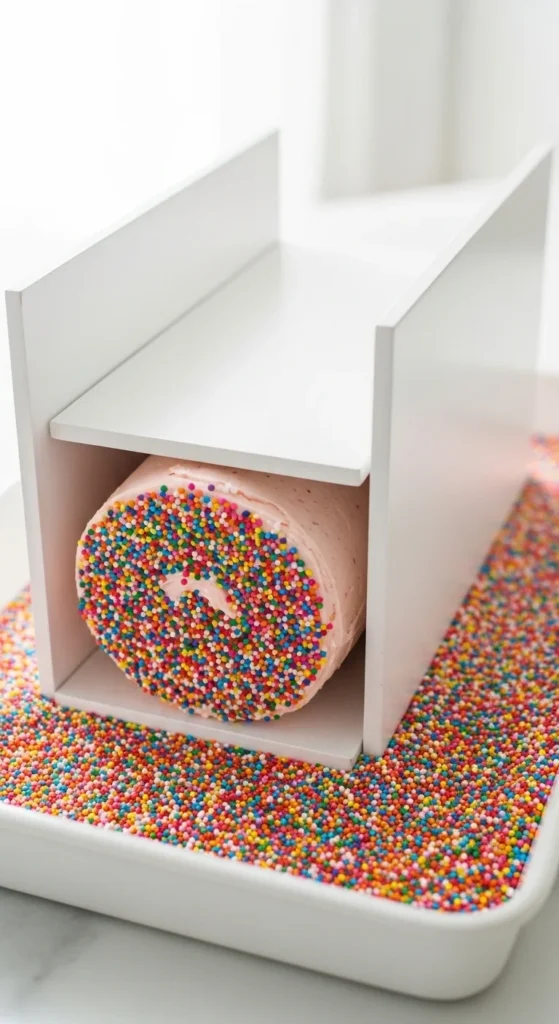
It feels scary at first—but it works beautifully.
Step 7: Combine Sprinkles with Piping or Drips
Sprinkles look extra fun when paired with other decorations.
Ideas to try:
- Pipe rosettes → add sprinkles immediately
- Sprinkle around piped borders
- Add ganache drip → then fill gaps with sprinkles
- Sprinkle on swirls for texture
Order matters:
- Sprinkles first
- Drip second
- Touch-ups last
This keeps colors clean and prevents sliding.
Step 8: Clean Up Like a Pro
Once done:
- Sweep strays into bowl with pastry brush
- Reuse sprinkles from sheet pan
- Wipe turntable edges
You’ll save both time and ingredients.
Pro Tips for Perfect Results
- Don’t frost too thick (bulges push sprinkles off)
- Work quickly before crusting
- Use room-temp buttercream
- Chill cake before transport
- Always mix sprinkles first
Small details make a big difference.
Final Look & Styling
Once finished, step back and admire that color pop. Sprinkle cakes instantly feel festive and fun.
Final Thoughts
Decorating with sprinkles isn’t messy chaos—it’s strategy.
Remember:
- Fresh buttercream
- Sheet pan setup
- Palm-press borders
- Rolling for full coverage
- Quick cleanup
That’s all you need.
Save this guide for your next birthday or party bake, and enjoy creating sprinkle cakes that look straight from a bakery window. 🎂✨