Ever wonder how bakery cakes look perfectly straight, silky smooth, and sharp enough to look almost fake? No bumps. No crumbs. No wobbly sides.
Here’s the good news: it’s not fancy equipment or years of training. It’s a few simple techniques—chilled layers, the right buttercream texture, and smart scraper tricks.
Once you learn the method, you’ll never go back to “rustic” frosting unless you actually want that look.
Let’s walk through it step by step so you can get that clean, professional finish at home.
Step 1: Prep the Cake Layers First (Don’t Skip This)
Smooth frosting starts before the frosting.
If your cake layers are domed, crumbly, or sliding around, no amount of smoothing will fix it.
Do this first:
- Level the tops with a serrated knife
- Chill layers 20–30 minutes
- Brush off loose crumbs
- Use stable fillings (not overly soft or runny)
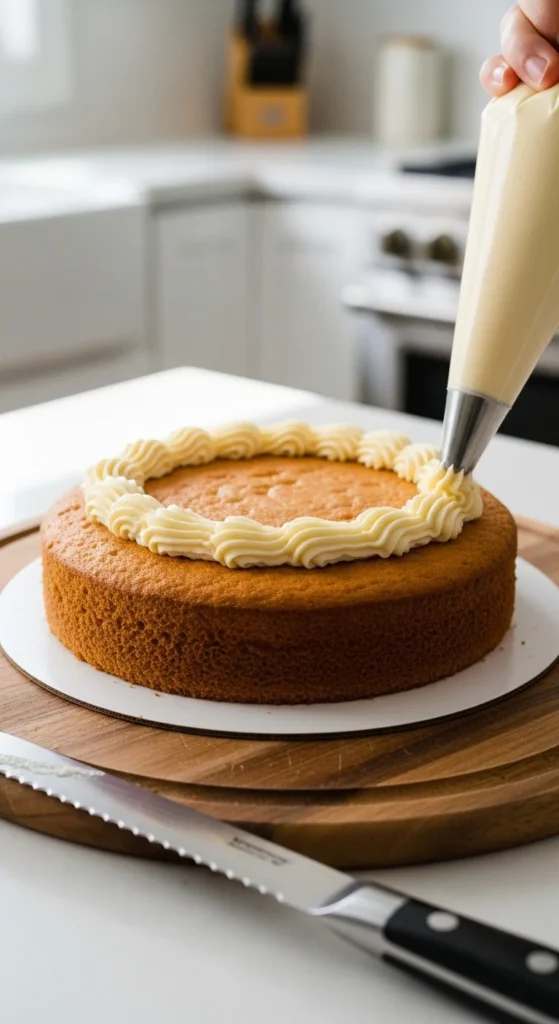
Pro tip: Pipe a frosting dam
Before adding filling, pipe a thick ring of buttercream around the edge.
This keeps filling from bulging out the sides later.
Think of it as a wall that holds everything in place.
Step 2: Apply a Thin Crumb Coat
This is the secret most beginners skip—and it’s the difference between messy and bakery-smooth.
A crumb coat is a very thin layer of frosting that traps loose crumbs.
How to do it:
- Add a small scoop of buttercream on top
- Spread thinly over the whole cake (top + sides)
- Don’t worry about looks
- Chill 20–30 minutes until firm
Now you have a clean canvas.
No crumbs will sneak into your final layer.
Step 3: Get Buttercream Consistency Right
Buttercream that’s too stiff tears.
Too soft slides.
Too airy leaves holes.
You want smooth, spreadable, and slightly firm.
Quick fixes:
- Too thick → add 1 tsp milk/cream
- Too soft → chill 10 minutes
- Air bubbles → stir slowly with a spatula to press them out
Pro trick: If frosting was chilled, stir it again before using. This restores silkiness.
Step 4: Add a Generous Final Layer
Here’s where most people go wrong—they use too little frosting.
You actually want more than you think.
Aim for:
- About ¼ inch thick on the sides
- A little extra on top
Why?
Because scraping removes excess. If you start thin, you’ll expose cake.
Apply like this:
- Big scoop on top
- Spread outward with offset spatula
- Coat sides generously
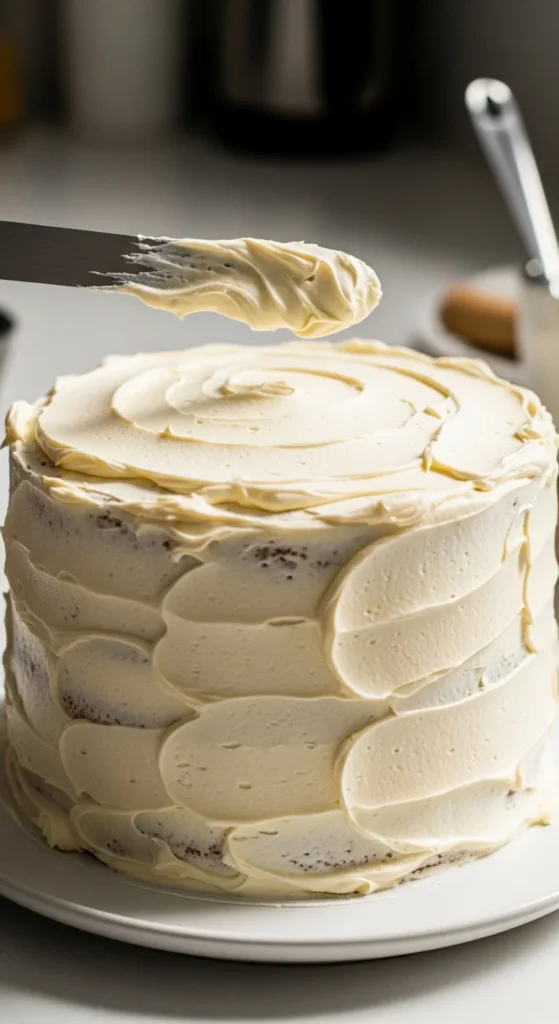
It looks messy now—that’s perfect.
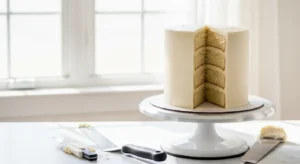
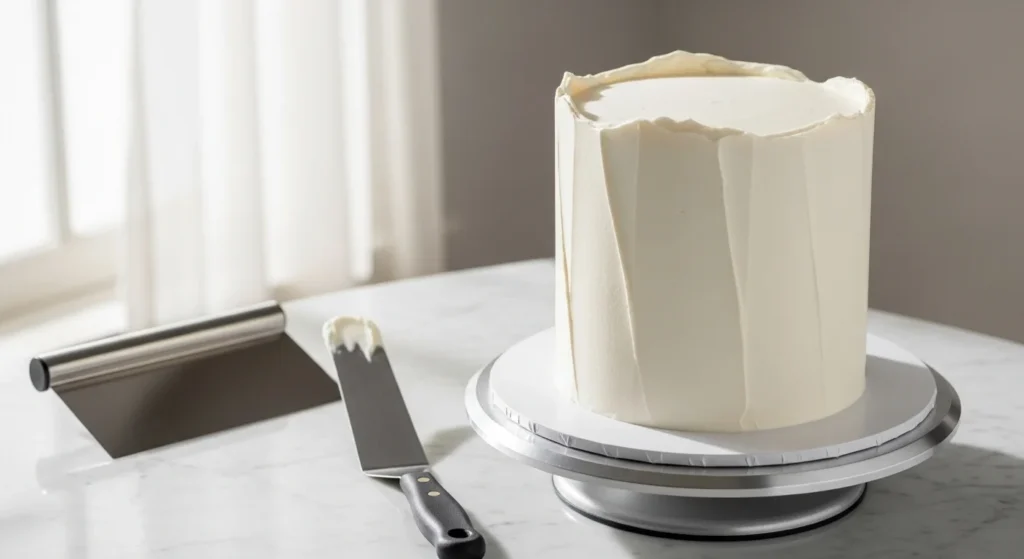
Step 5: Smooth the Sides with the Rotate & Scrape Method
This is the bakery magic moment.
Tools:
- Turntable
- Bench scraper
Technique:
- Hold scraper at 90 degrees
- Keep it steady
- Spin the turntable (don’t move the scraper)
- Light, even pressure
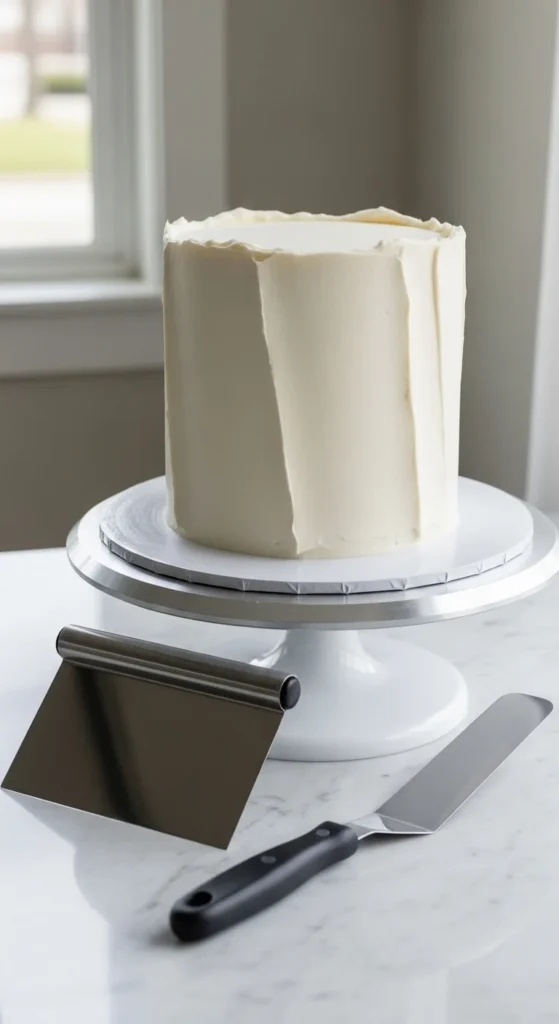
Let the cake rotate into the tool.
Not the other way around.
After one pass:
- Clean scraper
- Repeat
- Patch any gaps with extra frosting
- Scrape again
This “patch and rescrape” trick makes sides flawless.
Step 6: Level the Top
For that flat, clean finish:
- Hold offset spatula parallel to the top
- Spin the turntable
- Gently pull frosting inward from the edges
This removes the lip and creates sharp corners.
Work slowly and keep wiping your spatula clean.
Step 7: Use the Hot Tool Hack for a Silky Finish
Want that glass-smooth bakery look?
Try this:
Hot water method
- Dip scraper or spatula in hot water
- Dry it
- Glide lightly over frosting
The heat slightly melts the surface, smoothing tiny lines instantly.
Don’t press hard—just skim.
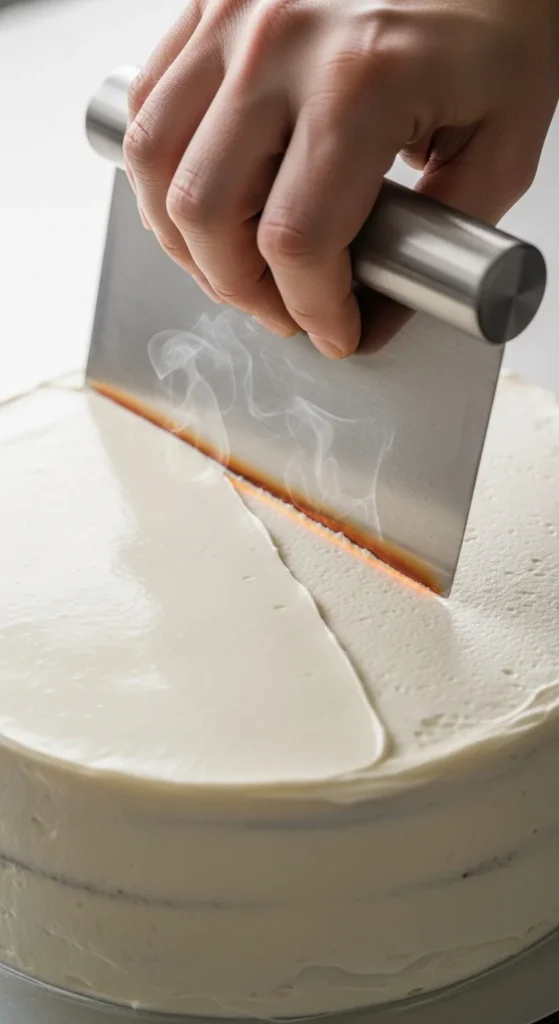
This step takes your cake from “good” to “wow.”
Step 8: Optional – Add Texture or Patterns
Once smooth, you can:
- Use a cake comb
- Create stripes
- Add soft spatula swoops
- Keep it sleek and minimal
Texture works best after the base is smooth.
Quick Troubleshooting Guide
Bulging sides?
→ Filling too soft or no frosting dam
Tearing frosting?
→ Cake too warm or buttercream too stiff
Air pockets?
→ Stir frosting slowly before use
Uneven edges?
→ Chill cake longer before final pass
Final Thoughts
Smooth frosting isn’t about perfection—it’s about process:
- Level layers
- Crumb coat + chill
- Thick final layer
- Rotate & scrape
- Hot tool finish
That’s it.
Follow these steps and your homemade cakes will look bakery-ready every time.
Save this guide for your next bake—you’ll be amazed at how clean and professional your cakes turn out. 🎂