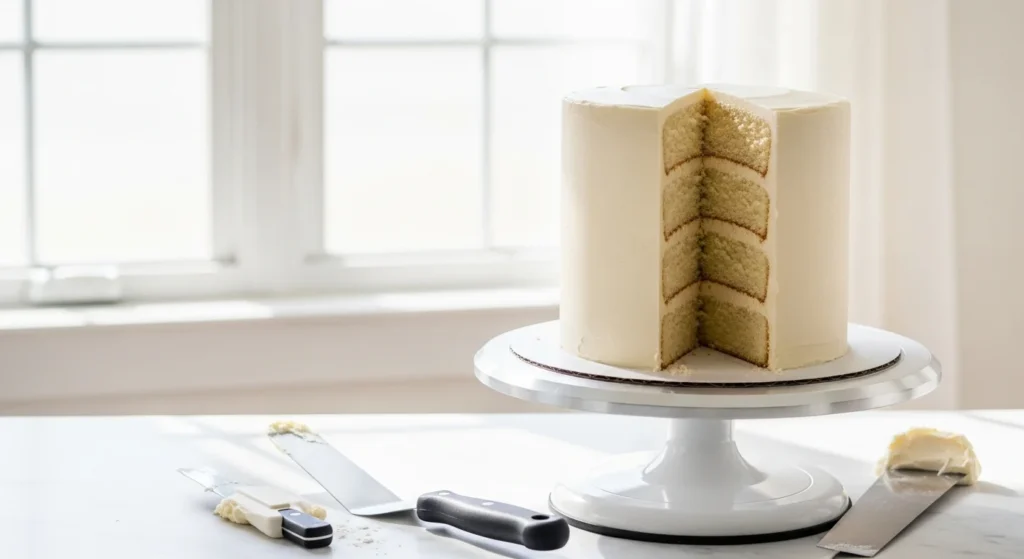
There’s nothing quite like cutting into a tall layer cake and seeing those perfect, bakery-style stripes inside. Clean edges. Even layers. Smooth buttercream. It looks impressive… but here’s the truth: most of that “professional” look comes from smart prep and simple techniques—not fancy skills.
If you can stack neatly and smooth frosting, you can absolutely create a show-stopping cake at home.

Let’s go step-by-step and build a layer cake that’s stable, beautiful, and ready for birthdays or celebrations.
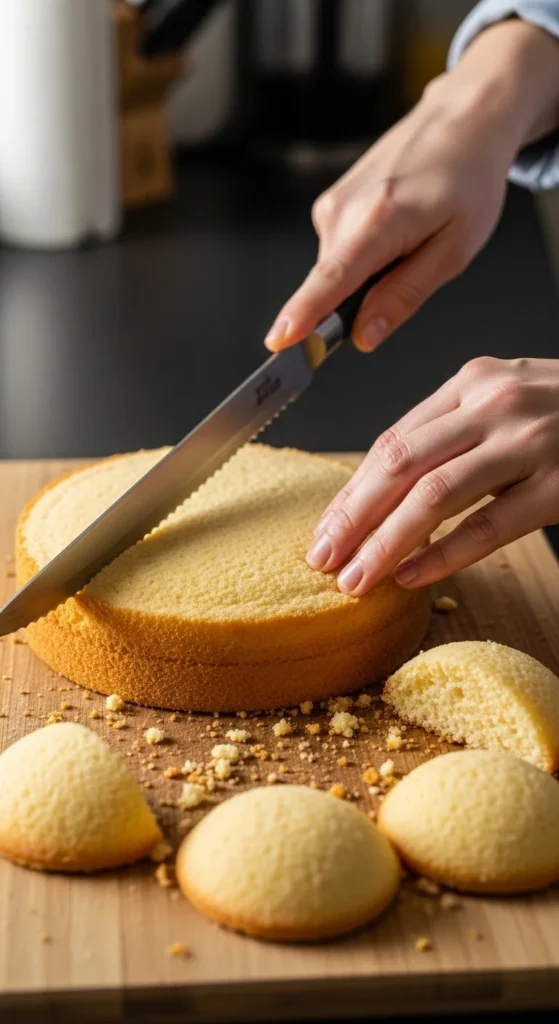
Step 1: Level Your Layers for a Strong Foundation
Uneven layers are the main reason cakes lean or slide. Domes might look harmless, but they make stacking tricky.
What to do:
- Let cakes cool completely
- Use a serrated knife or cake leveler
- Trim off the dome until flat
Flat + flat = stable stack.
Quick tip:
Turn the cake while slicing instead of sawing back and forth. You’ll get cleaner cuts.
Step 2: Chill the Layers (Don’t Skip This)
Cold cake is easier to handle. Warm cake tears and crumbles.
Chill for:
- 20–30 minutes in the fridge
- 10–15 minutes in the freezer if you’re short on time
Cold layers are:
- Firmer
- Easier to frost
- Less crumbly
- More stable for stacking
This one step makes decorating feel effortless.
Step 3: Set Up a Non-Slip Workstation
Before stacking, make sure your cake doesn’t slide around.
Quick bakery trick:
- Add a small dot of buttercream to your turntable
- Press the cake board on top
Now it won’t move while you frost.
Helpful tools:
- Turntable
- Offset spatula
- Bench scraper
- Piping bag
These tools do most of the work for you.
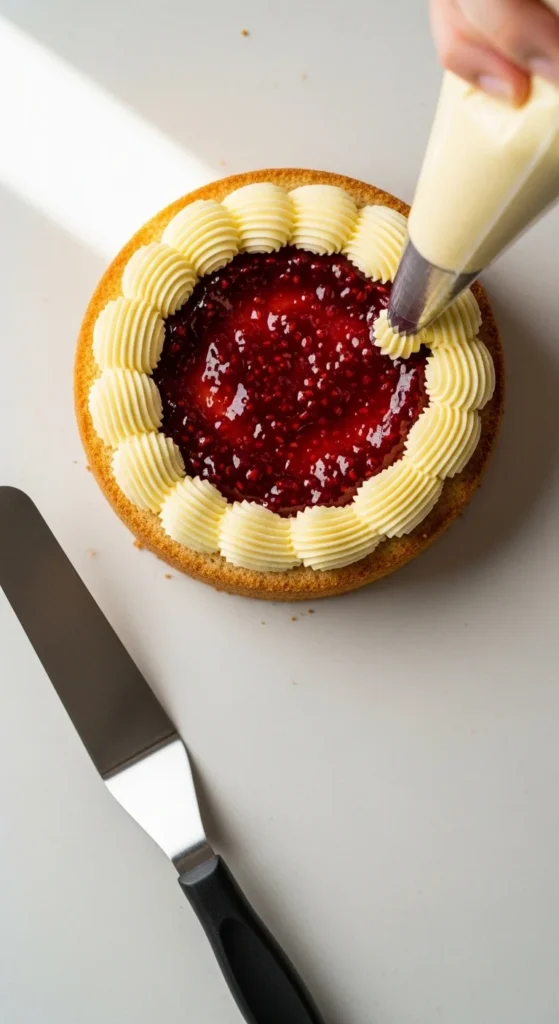
Step 4: Stack Like a Pro (Use a Frosting Dam)
If you’ve ever had filling squish out the sides, this trick fixes it instantly.
How to stack:
- Place first layer down
- Pipe a thick buttercream border (dam) around the edge
- Spread filling inside the ring
- Keep filling level and even
- Add next layer
The dam acts like a wall and keeps everything contained.
Keep layers even:
Aim for the same thickness of filling between each layer. This keeps your cake straight and balanced.
Optional pro move:
Brush layers lightly with simple syrup if you’re baking a day ahead. It keeps the cake moist longer.
Step 5: Apply a Crumb Coat
This is the secret to clean frosting.
A crumb coat is a thin layer of buttercream that traps crumbs before the final coat.
Steps:
- Spread a thin layer over top and sides
- Don’t worry about perfection
- Chill 20 minutes until firm
Once chilled, you’ll have a smooth base with zero loose crumbs.
Think of this as your practice round.
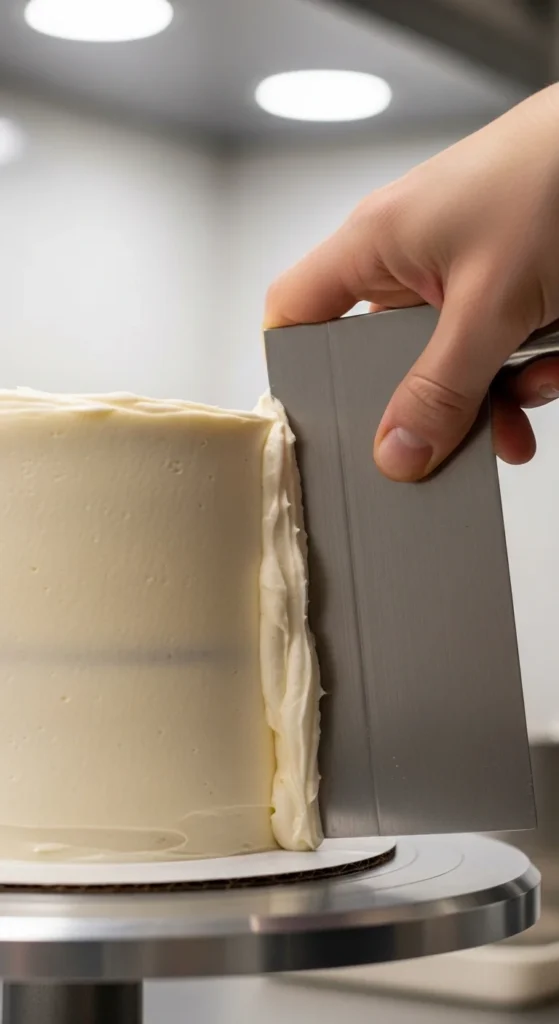
Step 6: Frost the Final Layer Smoothly
Now for the fun part—the polished finish.
Add more frosting than you think you need
A generous layer makes smoothing easier. Too little frosting exposes cake.
Smooth the sides:
- Hold bench scraper at a 90° angle
- Keep it still
- Spin the turntable
Let the cake rotate into the scraper.
Smooth the top:
- Hold offset spatula flat
- Pull frosting inward
- Rotate slowly
Clean tools between passes for crisp results.
Hot tool hack:
Dip scraper in hot water, dry it, and lightly glide over the cake for a silky, professional look.
Step 7: Add Texture or Decorations
Once smooth, you can keep it sleek or add personality.
Easy design ideas:
- Textured buttercream swoops
- Bold color palettes
- Sprinkle coating (roll cake gently in sprinkles over a rimmed sheet)
- Colored ganache drips
- Piped borders or shells
Simple ganache drip ratio:
- 1 cup white chocolate
- ¼ cup warm cream
Stir until smooth, cool slightly, then drip around edges.
Bold colors and textured finishes are trending right now, so don’t worry about perfect smoothness—some texture looks modern and artistic.
Step 8: Chill Before Serving or Transport
Pop the finished cake in the fridge for 20–30 minutes.
This helps:
- Set the frosting
- Keep edges sharp
- Make slicing cleaner
- Prevent sliding during travel
Cold cakes travel much better.
Final Thoughts
Beautiful layer cakes aren’t about complicated decorating. They’re about:
- Level layers
- Chill everything
- Use frosting dams
- Crumb coat first
- Smooth with a scraper
- Add one simple design
That’s it.
Once you nail the structure, decorating becomes easy and fun. Save this guide for your next celebration and enjoy building your own bakery-style masterpiece at home. 🎂