Big birthdays, baby showers, graduations, anniversaries — there’s something extra special about seeing a cake that literally spells out a name.
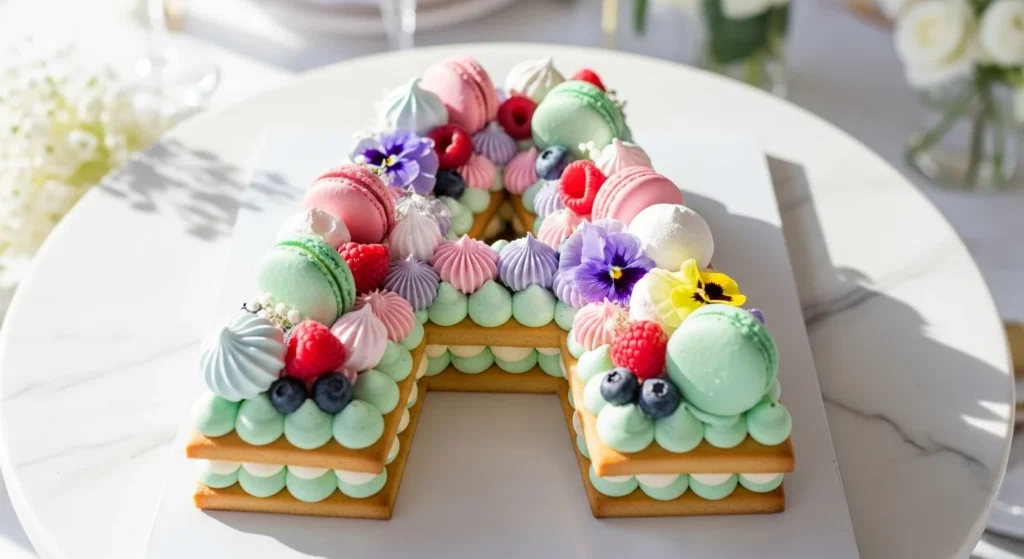
Letter cakes are fun, modern, and completely customizable. Think soft buttercream “kisses,” colorful macarons, fresh berries, and little flowers scattered across the top like edible confetti. They look bakery-level fancy… but they start with the simplest thing ever: a sheet cake and a paper template.
No specialty pans. No complicated carving.
Just cut, pipe, stack, and decorate.

Let’s walk through it step by step so you can make your own stunning letter cake at home.
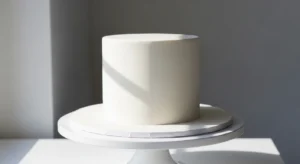
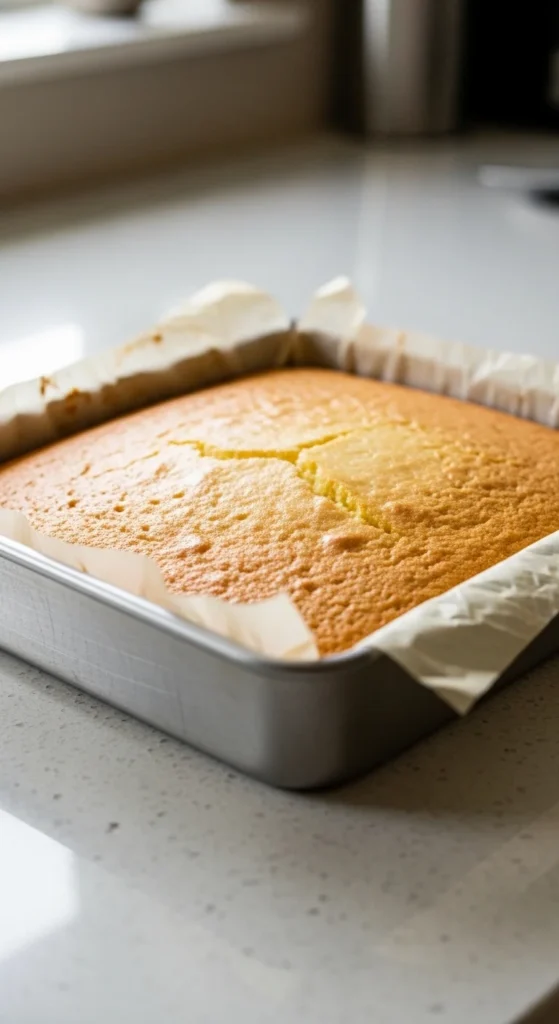
Step 1: Bake a Sheet Cake Base
Letter cakes begin with a rectangle cake instead of round layers.
What you need:
- 9×13-inch pan
- Any sturdy cake flavor (vanilla, chocolate, funfetti)
- Two cakes if you want stacked layers
Bake and cool completely.
Pro tip:
Wrap and chill (or freeze) the cake for 30–60 minutes before cutting. Cold cake is:
- easier to carve
- less crumbly
- cleaner looking
This one step makes a huge difference.
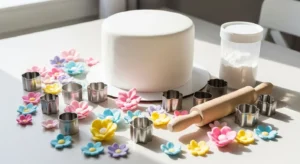
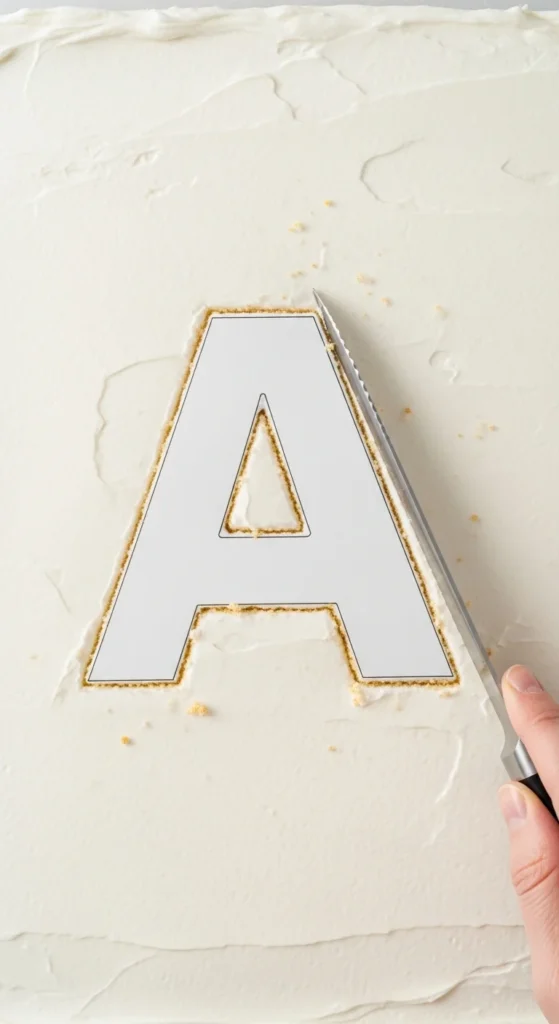
Step 2: Trace and Cut Your Letter Template
Here’s where the transformation happens.
How to cut letters cleanly:
- Print or draw your letter on paper
- Cut out the template
- Place on chilled cake
- Trace around it with a knife
- Cut slowly with a serrated knife
Use long, gentle sawing motions instead of pressing down.
Helpful tips:
- Wipe knife between cuts
- Keep cake cold
- Don’t rush corners
Smart shortcut:
For letters with holes (A, O, P, Q, R), leave the centers intact and frost them later. It saves time and keeps the cake sturdy.
Step 3: Attach the Cake to the Board
Before stacking, secure everything.
Spread small buttercream dots:
- Under each cake piece
- Press gently onto the board
These act like edible glue and stop sliding while decorating.
Choose the right board:
- Single letter → square board
- Names or multiple letters → long rectangle board
Stable foundation = stress-free decorating.
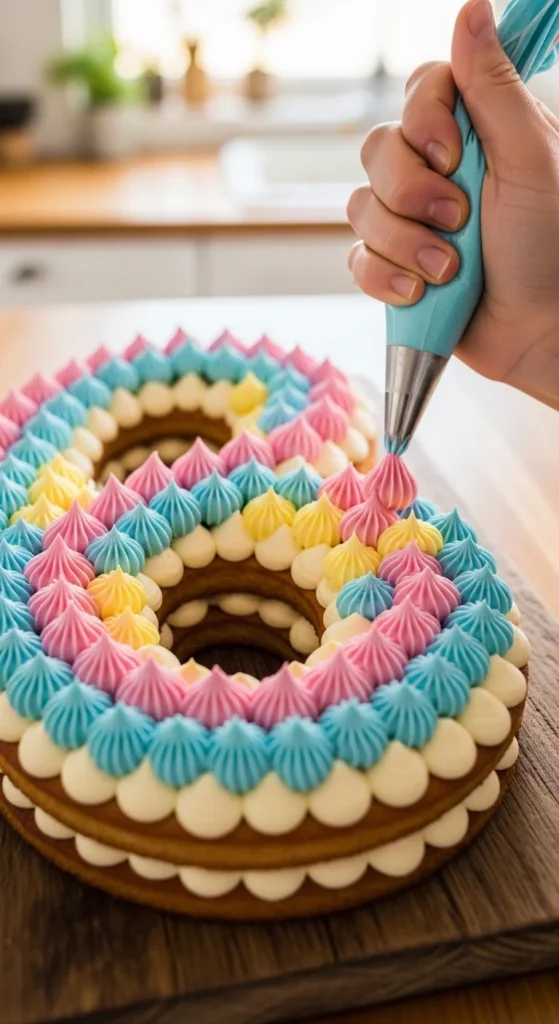
Step 4: Pipe Buttercream “Kisses” Between Layers
This is the signature letter cake look.
Instead of spreading frosting flat, you pipe small round dollops.
Why it works:
- Even height
- Easy stacking
- No crumbs
- Pretty texture
How:
- Fill piping bag halfway
- Use round tip (#125 or cut bag tip)
- Pipe evenly spaced “kisses”
Place the second cake layer gently on top, then repeat the piping on the surface.
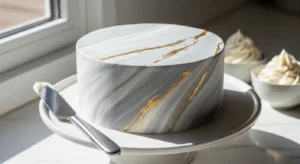
Step 5: Pick the Right Frosting
Because letter cakes hold lots of toppings, you need stable frosting.
Best options:
- Italian meringue buttercream
- Swiss meringue buttercream
- Firm American buttercream
These keep their shape and support decorations like macarons and fruit.
Avoid soft whipped frostings — they collapse easily.
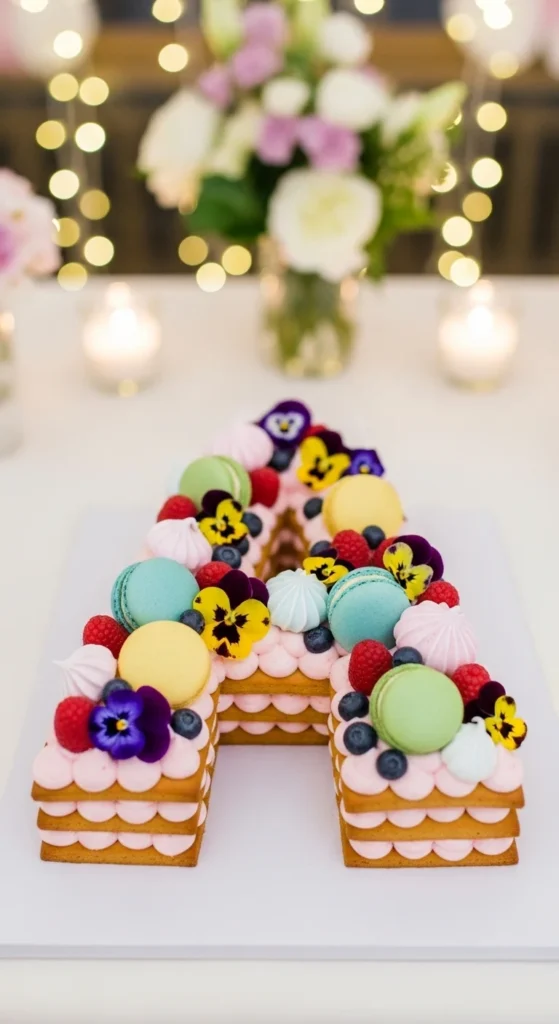
Step 6: Decorate with Texture and Color
Now comes the fun part.
Letter cakes look best with clusters, not evenly spaced toppings.
Popular decorations:
- Macarons
- Mini meringues
- Strawberries or raspberries
- Chocolate pieces
- Sprinkles
- Edible flowers
- Gold flakes
Styling tips:
- Mix large + small items
- Leave some frosting visible
- Decorate diagonally or in corners
- Stick to 2–3 colors for a clean look
Less is often more.
Step 7: Chill and Serve
After decorating:
- Chill 20–30 minutes
- Let frosting firm up
- Slice with a warm knife for clean cuts
If transporting, keep the cake cold and use a sturdy board.
Quick Troubleshooting Tips
Crumbly edges?
→ Freeze cake before cutting
Sliding pieces?
→ Add more buttercream “glue dots”
Uneven height?
→ Space dollops evenly
Toppers falling?
→ Use firmer buttercream
Messy look?
→ Decorate in clusters, not straight lines
Fun Design Ideas to Try
- Baby name cake with pastel florals
- Chocolate letter with gold leaf
- Rainbow sprinkle birthday theme
- Rustic berries + cream style
- Mini individual letter cakes
You can match any party vibe easily.
Final Thoughts
Letter cakes look fancy, but they’re surprisingly simple:
Sheet cake + template + buttercream kisses + toppings.
That’s it.
Once you try one, you’ll want to make them for every celebration — birthdays, graduations, weddings, even just because.
Save this guide and spell out your next sweet message in cake form. 🎂✨