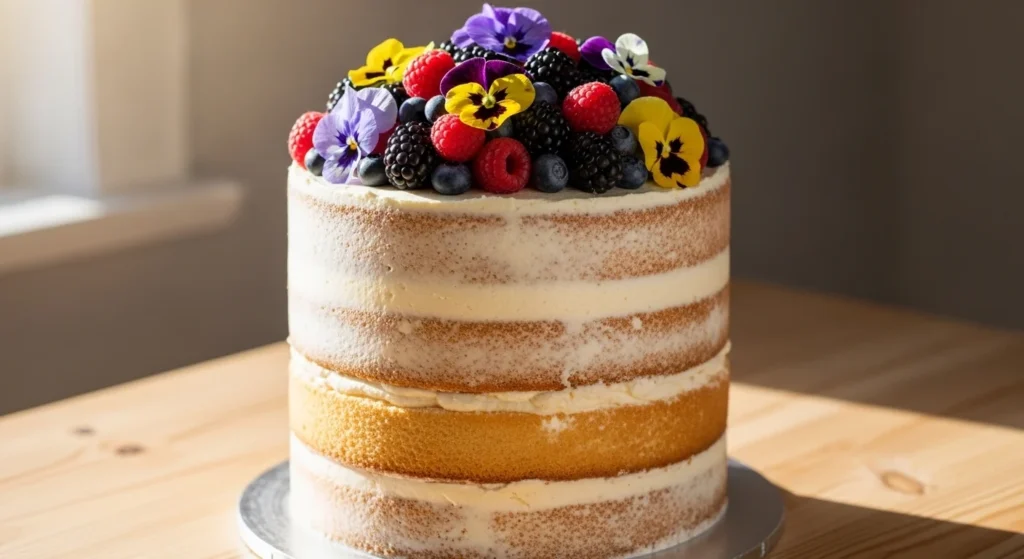
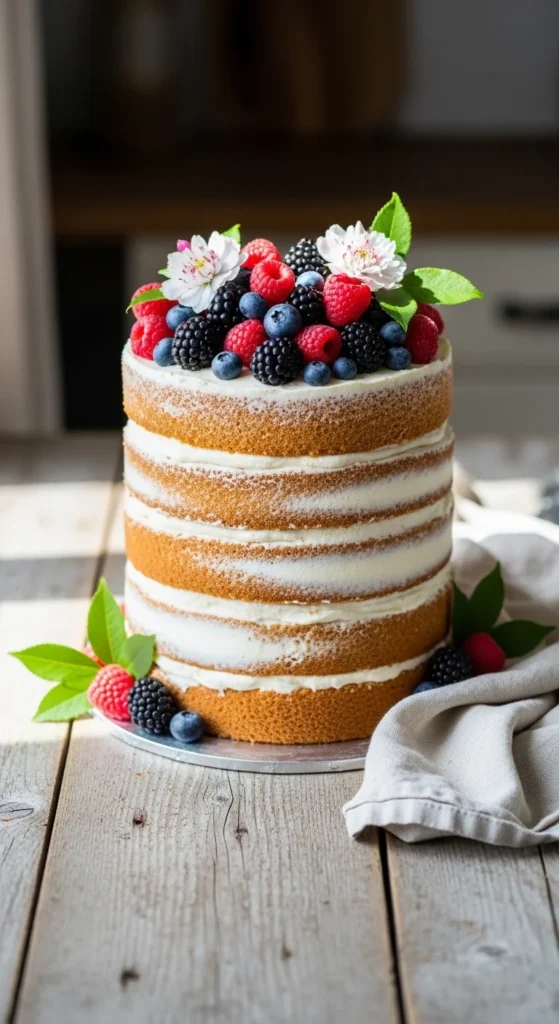
There’s something effortlessly beautiful about a naked cake. No heavy frosting. No perfect edges. Just soft layers peeking through with creamy filling, fresh fruit, or delicate flowers on top. It feels rustic, romantic, and modern all at once — which is exactly why naked cakes are everywhere at weddings, birthdays, and celebrations.
The best part? They’re actually easier than fully frosted cakes once you know the technique.
Let’s walk through how to build one step by step so your cake looks polished, not messy.
Step 1: Start with Flat, Even Layers
Structure is everything with naked cakes. Since the sides are exposed, any leaning or uneven stacking is very noticeable.
Do this first:
- Cool cakes completely
- Level off domes with a serated knife or cake leveler
- Aim for perfectly flat tops
Flat layers = stable stack = clean look.
Quick tip:
Flip each layer upside down when stacking. The bottom is usually flatter than the top.

Step 2: Choose the Right Frosting
Not all frostings work well for naked cakes.
You want something that:
- Holds its shape
- Doesn’t melt easily
- Scrapes thin without tearing
Best options:
- Cream cheese frosting (classic choice)
- Swiss meringue buttercream
- Ermine frosting
Cream cheese frosting is especially popular because it gives that soft, rustic texture and stays stable between layers.
Avoid super-soft frostings — they’ll squish out.
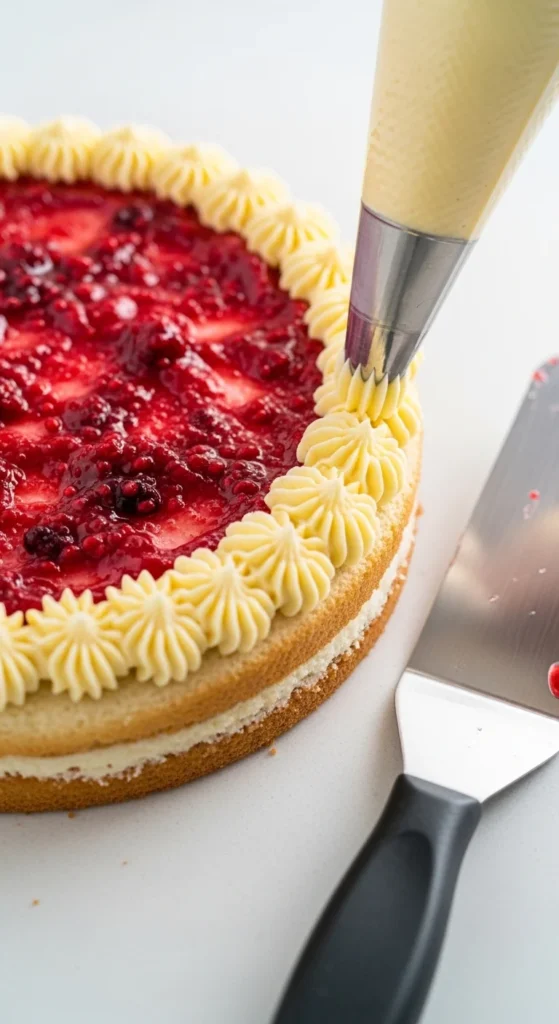
Step 3: Pipe a Frosting Dam (Prevents Bulging)
This is the secret most beginners skip.
When you add filling between layers, it can squeeze out and ruin your clean edges. A frosting dam keeps everything in place.
How:
- Pipe a thick ring of frosting around the edge
- Add filling inside the ring
- Spread evenly
Think of the dam like a wall holding everything together.
Great fillings:
- Berry compote
- Lemon curd
- Chocolate ganache
- Jam or cream
Step 4: Fill Heavy, Frost Light
Here’s the main naked cake rule:
More frosting between layers, less frosting on the outside.
You want thick, beautiful stripes inside and barely-there frosting outside.
Stacking steps:
- Layer cake
- Frosting dam
- Generous filling
- Repeat
Don’t worry if frosting squeezes slightly — you’ll scrape later.
Step 5: Apply a Thin Crumb Coat
Now it’s time for the signature look.
Spread a very thin layer of frosting over the whole cake. This isn’t for coverage — it’s just to seal crumbs and lightly coat the sides.
Then chill for 15–20 minutes.
Cold frosting scrapes much cleaner.
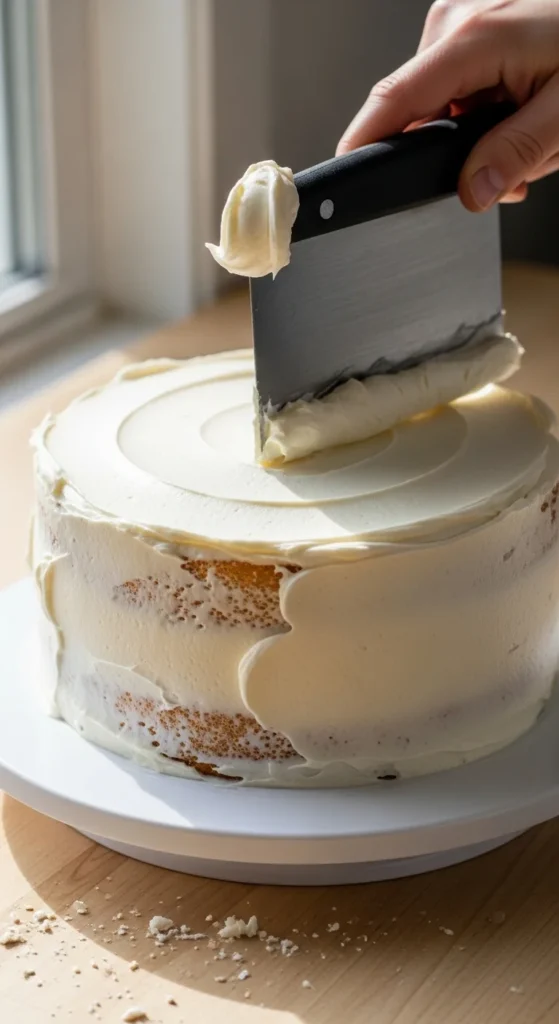
Step 6: Scrape to Reveal the Texture
This is where the naked magic happens.
Tools:
- Turntable
- Bench scraper
Technique:
- Hold scraper at 90°
- Keep it steady
- Spin the turntable
- Gently remove excess frosting
You’ll start to see cake layers peek through.
Stop when you like the look.
Some people prefer:
- Semi-naked → thin frosting veil
- Fully naked → almost bare sides
There’s no wrong answer — it’s all style.
Pro tip:
If you see gaps, patch lightly with frosting and scrape again.
Step 7: Smooth the Top for a Clean Finish
Even though the sides are rustic, the top should look neat.
Use an offset spatula to smooth just the top surface.
This creates a polished contrast that makes the cake feel intentional, not unfinished.
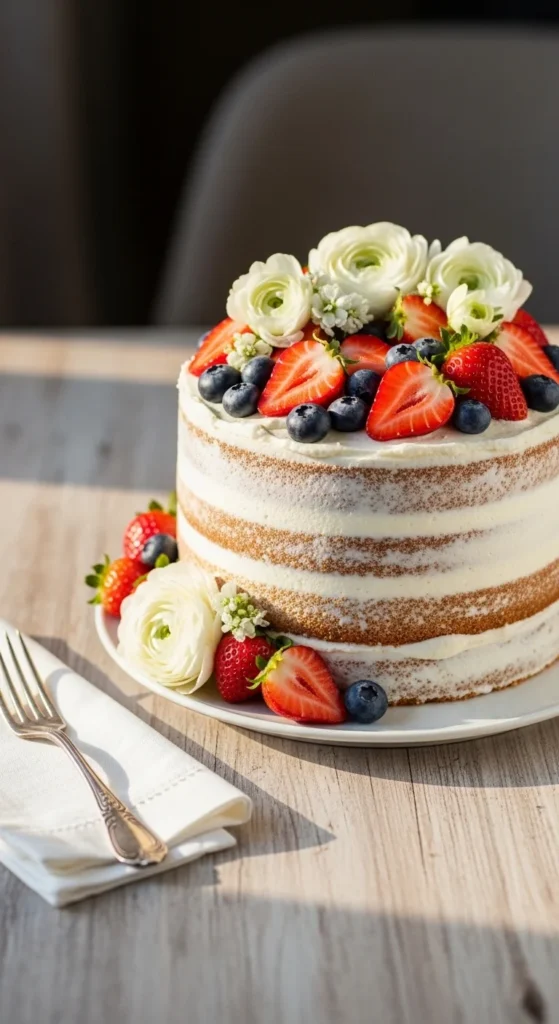
Step 8: Decorate with Fresh, Light Toppers
Naked cakes shine with simple decorations.
Popular choices:
- Fresh berries
- Flowers or greenery
- Meringues
- Macarons
- Chocolate shards
- White chocolate sails
Avoid heavy decorations on the sides — the beauty is in the exposed layers.
For fruit or flowers, always add them after chilling so they don’t slide.
Extra Pro Tips for a Polished Look
Chill between steps
Cold cakes scrape cleaner and hold shape better.
Keep frosting thin
Thick sides defeat the naked look.
Blend seams
Pipe tiny dots of frosting to fill visible gaps.
Transport safely
Chill well before moving. Naked cakes are softer than fully frosted cakes.
Embrace imperfection
Tiny textures and scrapes add charm.
Final Thoughts
Naked cakes are all about balance:
- Flat layers
- Strong filling dams
- Thin frosting
- Gentle scraping
- Fresh, simple decorations
That’s it.
Once you try it, you’ll realize naked cakes are actually one of the easiest ways to create an elegant, bakery-style centerpiece without complicated decorating.
Save this guide for your next celebration and enjoy making a cake that looks effortlessly beautiful every time. 🎂