Perfectly smooth cakes are beautiful… but textured buttercream cakes?
They feel artsy, modern, and effortlessly chic.
Think soft spatula swipes, rustic ridges, painterly strokes, and combed stripes that look like they came straight from a boutique bakery window. The best part is you don’t need flawless smoothing skills. In fact, little imperfections make these cakes even prettier.
If you can spread frosting, you can create stunning texture.
Let’s walk through the simple tools and techniques that turn plain frosting into a design statement.
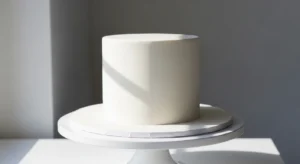
Start with the Right Base
Texture works best on a stable foundation.
Before you add any patterns, your cake should be:
- Stacked and filled
- Fully chilled
- Covered in a crumb coat
Why crumb coat first?
- Locks crumbs in
- Prevents tearing
- Gives tools something smooth to glide on
Chill for 20–30 minutes until firm.
Then apply your final buttercream layer.
👉 Important: Add texture immediately while buttercream is fresh. Once it crusts, tools drag and tear.
Gather Your Texture Tools
You don’t need fancy equipment. Many designs use everyday tools.
Basic kit:
- Offset spatula
- Palette knife
- Cake comb (straight or scalloped)
- Spoon
- Paper towel
- Turntable
Each tool creates a completely different look.
Think of buttercream like paint — these are your brushes.
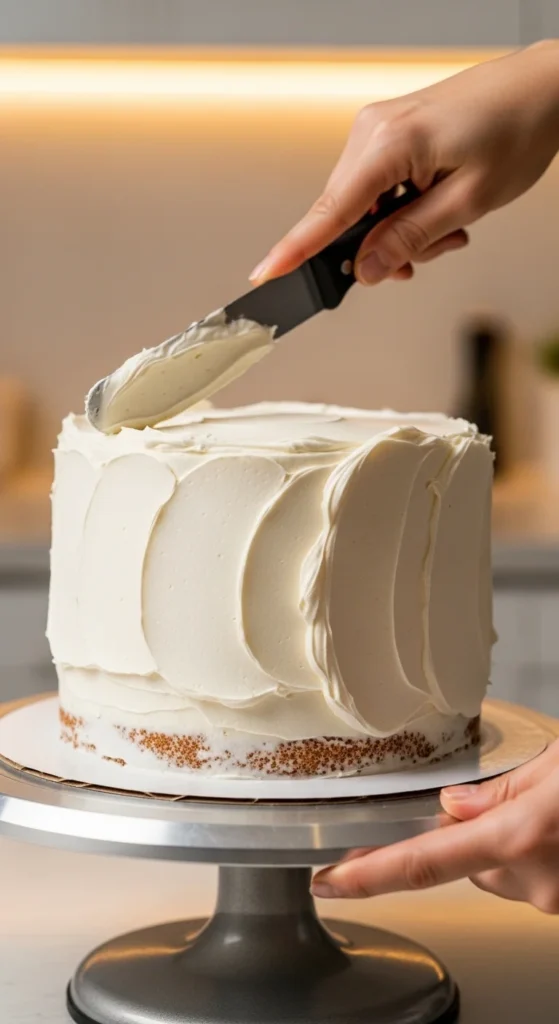
Technique 1: Rustic Spatula Swipes (C & S Shapes)
This is the easiest and most popular texture style.
It gives that soft, organic “bakery wedding cake” look.
How to do it:
- Hold offset spatula at an angle
- Press lightly into fresh buttercream
- Swipe in C or S shapes
- Overlap strokes naturally
Don’t aim for perfection. Randomness looks better.
Pro tips:
- Vary pressure
- Change directions
- Leave some areas smoother than others
It creates depth and movement.
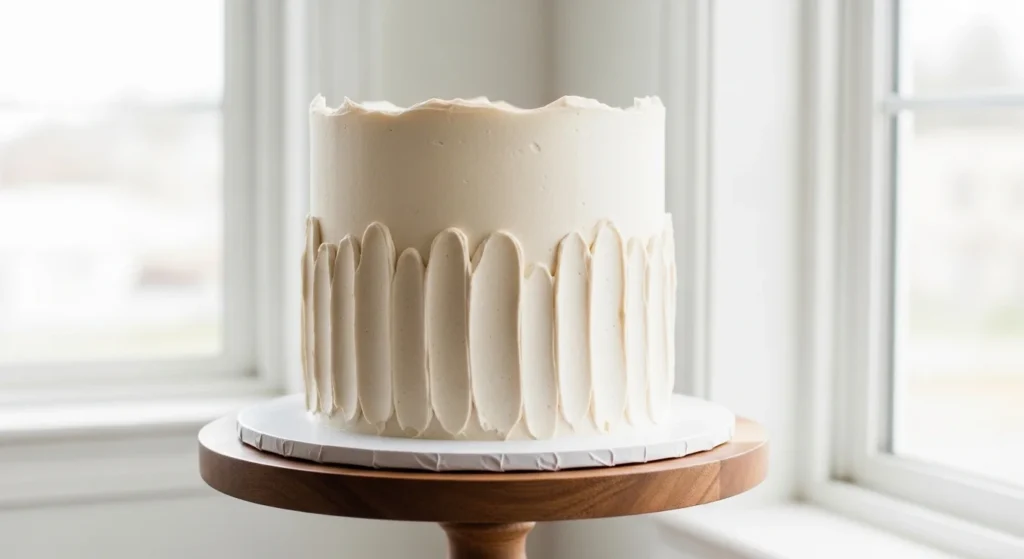
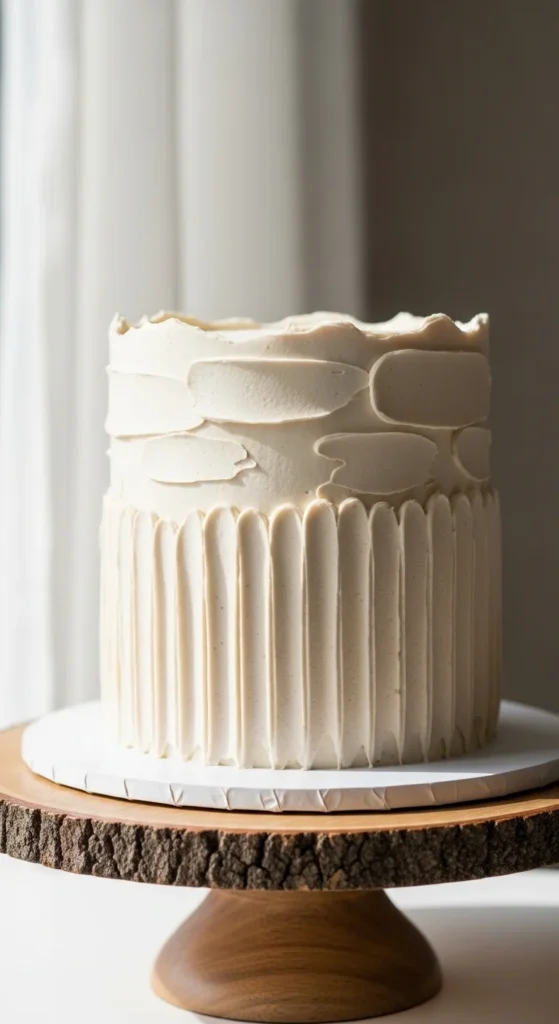
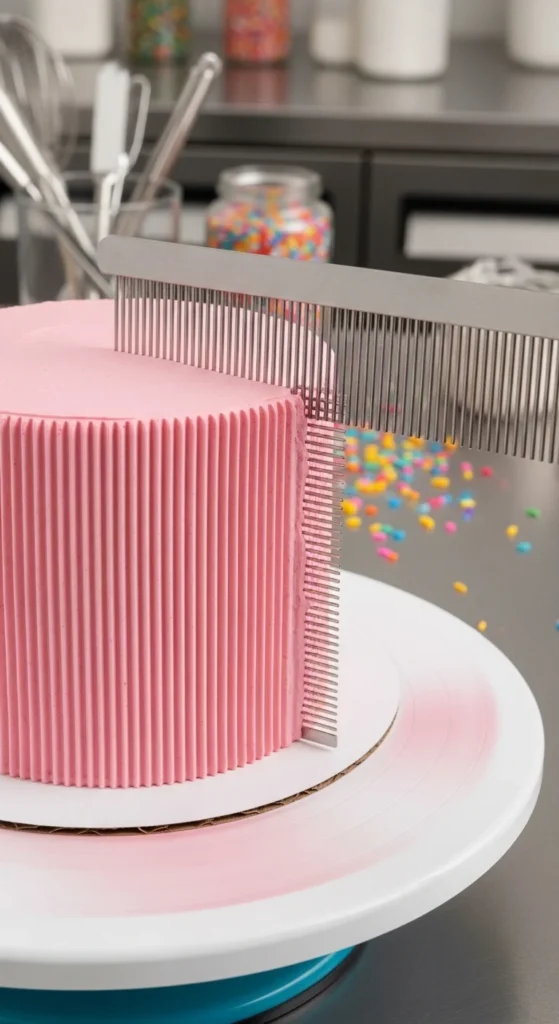
Technique 2: Comb Ridges & Stripes
Want something cleaner and more modern?
Use a texture comb.
These create crisp vertical or horizontal ridges that look super professional.
How:
- Hold comb straight against cake
- Spin turntable slowly
- Keep hand steady
- Clean comb between passes
Styles to try:
- Vertical stripes
- Horizontal rings
- Scalloped waves
- Geometric patterns
Usually 3–4 rotations give full coverage.
This technique is great for minimalist cakes or bold color designs.
Technique 3: Palette Knife “Smear Art”
This one feels like painting.
It’s trendy for birthdays, weddings, and modern celebrations.
How:
- Dab small amounts of frosting
- Smear with palette knife
- Layer strokes randomly
You can:
- Use one color
- Mix multiple shades
- Add metallic accents
It looks abstract and artsy.
Try blending white with soft pinks, beiges, or chocolate tones for a dreamy finish.
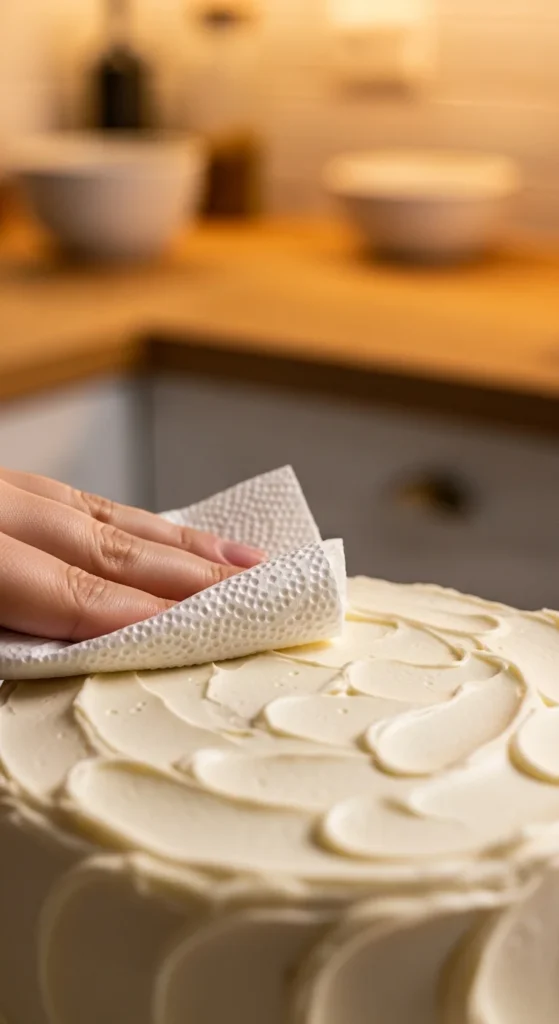
Technique 4: Paper Towel Stipple (No-Tool Hack)
Yes — a simple paper towel works!
This creates a subtle stucco or stone-like texture.
Perfect if you want something soft and understated.
How:
- Lightly press towel onto fresh buttercream
- Lift straight off
- Repeat around cake
Result:
Tiny bumps and texture that catch light beautifully.
It hides imperfections instantly and is very beginner-friendly.
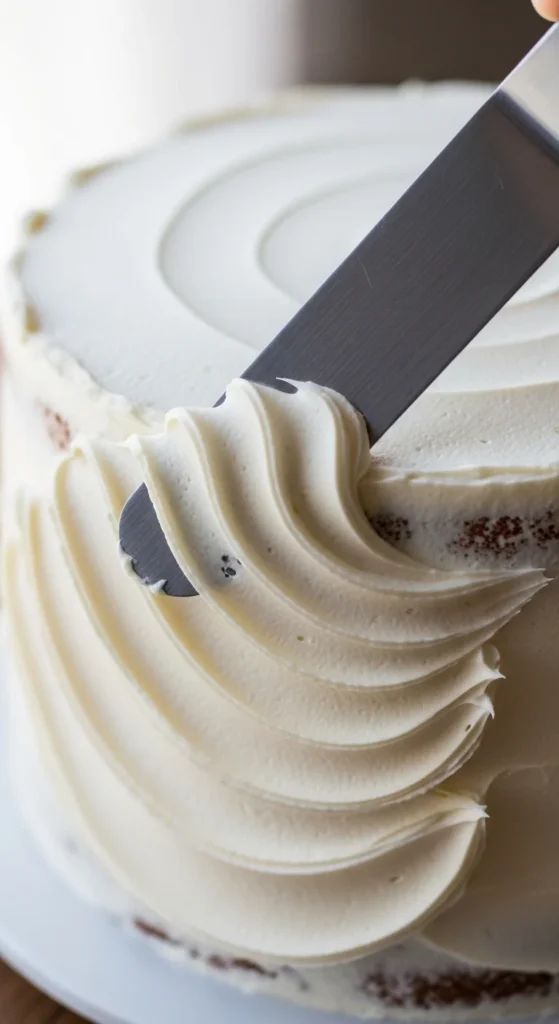
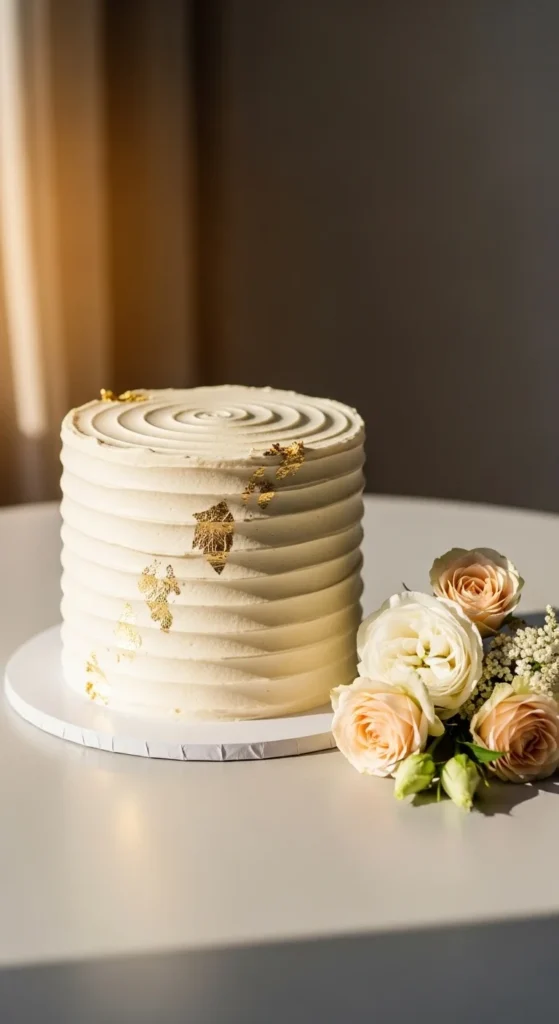
Technique 5: Spiral Waves
For a more elegant look, try a horizontal spiral.
Steps:
- Place spatula lightly on cake
- Slowly spin turntable
- Move tool upward as cake turns
This creates flowing ribbon waves around the cake.
It’s simple but looks super refined.
Great for:
- Weddings
- Anniversaries
- Minimalist themes
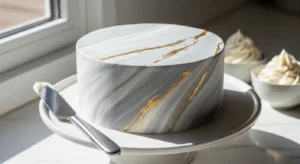
Add Color & Dimension
Texture really shines with subtle color play.
Easy ideas:
- Ombre shades
- Two-tone spatula swipes
- White base + gold leaf
- Blush + ivory blend
- Cocoa dusting
Even tiny contrasts make texture pop.
Avoid too many colors — textured cakes look best when calm and cohesive.
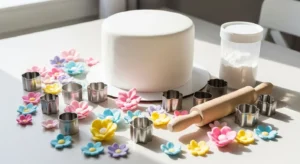
Optional Decorative Touches
Once texture is done, you can add simple accents:
- Fresh flowers
- Berries
- Chocolate shards
- Sprinkles
- Edible gold flakes
- Rice paper sails
Keep decorations minimal so the texture stays the star.
Common Mistakes (And Easy Fixes)
Buttercream tearing?
→ Work while frosting is fresh
Uneven stripes?
→ Slow turntable speed
Tool dragging crumbs?
→ Chill crumb coat first
Too perfect looking?
→ Add more random strokes
Gaps in texture?
→ Patch with fresh buttercream and re-texture
Final Thoughts
Textured buttercream cakes are wonderfully forgiving.
You don’t need perfectly smooth sides or advanced piping skills.
Just:
- Chill your base
- Add fresh buttercream
- Pick a tool
- Play with patterns
That’s it.
Each cake turns out unique — like edible art.
Save this guide and try a textured design for your next celebration. You might never go back to perfectly smooth cakes again. 🎂✨