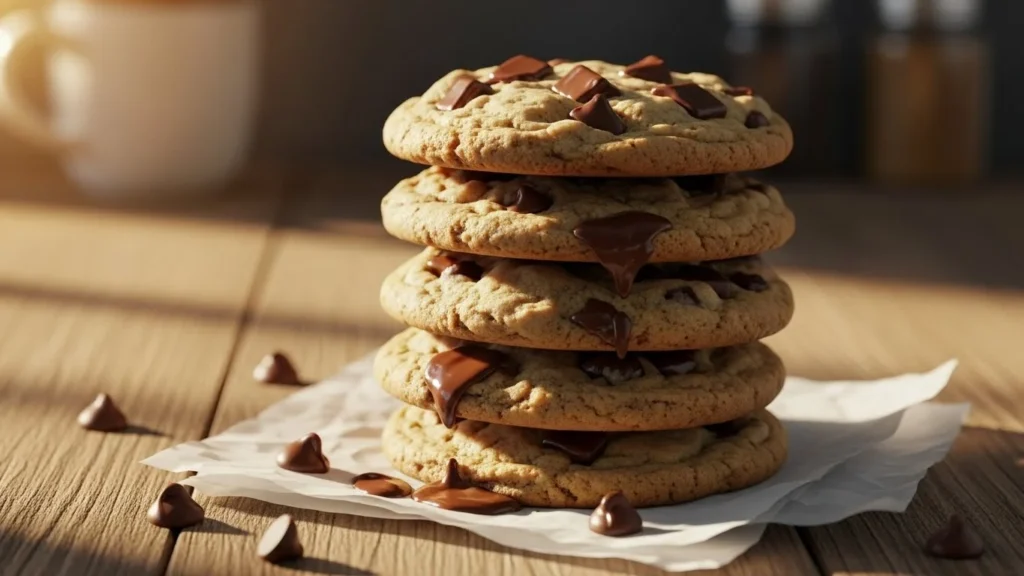
There’s a reason bakery chocolate chip cookies hit different. They’re thick but tender, loaded with chocolate, golden on the outside, and soft in the middle. You can smell them before you see them—and once you do, resisting is basically impossible.
The good news? You don’t need professional ovens or secret ingredients to get bakery-style results at home. You just need the right techniques, a little patience, and a few smart upgrades to your usual cookie routine. Let’s get into it.
What Makes Bakery Chocolate Chip Cookies Different?
Bakery cookies aren’t just bigger—they’re better balanced. They nail three things home bakers often miss:
- Thick centers that stay soft
- Deep, rich flavor
- Chocolate in every bite
This comes down to ingredient ratios, dough handling, and baking timing. Once you understand those, bakery-style cookies become totally achievable.
Start with the Right Ingredients
Simple ingredients still matter—but how you use them changes everything.
Butter: Melted vs. Softened
Most bakeries use butter for flavor, but not always fully softened.
- Melted butter = chewiness
- Softened butter = structure
For bakery-style cookies, many recipes use melted butter cooled slightly. It helps create that dense, chewy center without making cookies greasy.
Sugar Balance Is Key
- Brown sugar adds moisture and chew
- White sugar helps cookies spread and crisp
A higher brown sugar ratio gives that classic bakery softness.
Chocolate: Don’t Skimp
Forget tiny chips. Bakeries use:
- Chocolate chunks
- Chopped chocolate bars
- A mix of dark and semi-sweet
This creates pools of melted chocolate instead of evenly scattered specks.

Mixing the Dough Like a Pro
How you mix your dough directly affects the final texture.
Don’t Overmix
Once flour goes in:
- Mix gently
- Stop as soon as no dry flour remains
Overmixing creates excess gluten, which leads to tough cookies instead of soft, bakery-style ones.
Add Chocolate at the End
Fold chocolate in last so it stays evenly distributed without breaking or melting into the dough.
Pro tip: Save a handful of chocolate chunks to press into the tops before baking. This gives cookies that bakery display look.
Chill the Dough (This Is Non-Negotiable)
If there’s one step that separates bakery cookies from average ones, it’s chilling.
Chilling the dough:
- Prevents excessive spreading
- Concentrates flavor
- Helps cookies bake thicker
Even 1–2 hours helps, but overnight is even better if you can plan ahead.

Shape Cookies for Bakery Thickness
Bakeries don’t roll perfect balls—and neither should you.
Instead:
- Scoop large portions (2–3 tablespoons)
- Keep them tall, not flat
- Rough, uneven shapes create better texture
Tall dough mounds bake upward instead of outward, giving you that thick center.
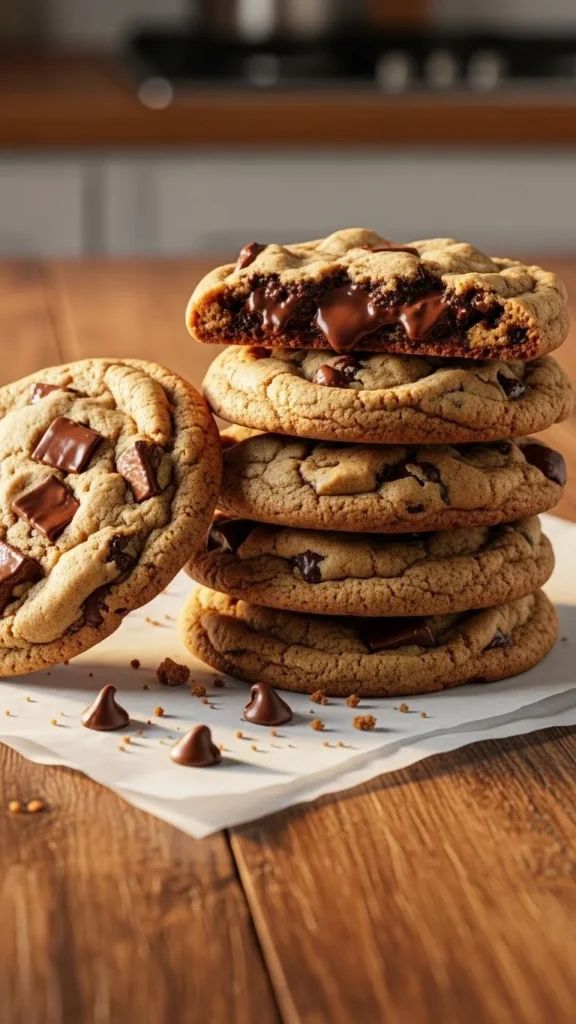
Bake for Soft Centers, Not “Done” Cookies
This is where most people go wrong.
Bake until:
- Edges are set and lightly golden
- Centers look soft and slightly underbaked
They should not look fully done in the oven. Residual heat finishes the job on the tray.

Remove cookies early and let them rest on the baking sheet for 5–10 minutes before transferring.
Finishing Touches That Scream “Bakery”
Small details make a big difference.
Try this:
- Sprinkle flaky sea salt on warm cookies
- Add extra chocolate chunks on top right after baking
- Gently reshape with a spatula for round edges
These finishing touches elevate homemade cookies instantly.

Store Them the Bakery Way
To keep cookies soft for days:
- Store in an airtight container
- Add a slice of bread to the container
- Keep at room temperature
The bread helps maintain moisture without changing flavor.
Final Takeaway: Bakery Cookies Are Totally Doable at Home
Making chocolate chip cookies like a bakery isn’t about fancy tools—it’s about technique. Chill your dough, use better chocolate, pull cookies early, and trust the process. Once you do, you’ll wonder why you ever settled for flat, dry cookies.
Save this recipe for later, pin it to your baking board, and get ready to bake cookies that disappear faster than they cool. 🍪


