
Custard has a reputation for being fussy—and honestly, it’s earned it. One minute you’re stirring a smooth, creamy mixture, and the next it’s scrambled eggs in a saucepan. 😬 But here’s the truth: silky custard isn’t hard, it’s just precise. Once you understand what causes curdling (and how to avoid it), custard becomes one of the most satisfying things you can make.

Let’s walk through how to make custard that’s velvety, pourable, and completely lump-free—every single time.
Understand What Makes Custard Curdle
Custard is a delicate balance of eggs, dairy, sugar, and heat. Curdling happens when egg proteins tighten too quickly.
The main culprits:
- Heat that’s too high
- Uneven heating
- Skipping tempering
- Overcooking by just a few seconds
Eggs begin to coagulate around 160–170°F (71–77°C). Push past that too fast, and the proteins squeeze out moisture, turning silky custard into grainy chaos.
Knowing this is half the battle.
Choose the Right Ingredients (They Matter More Than You Think)
Simple ingredients are best—but proportions and quality count.
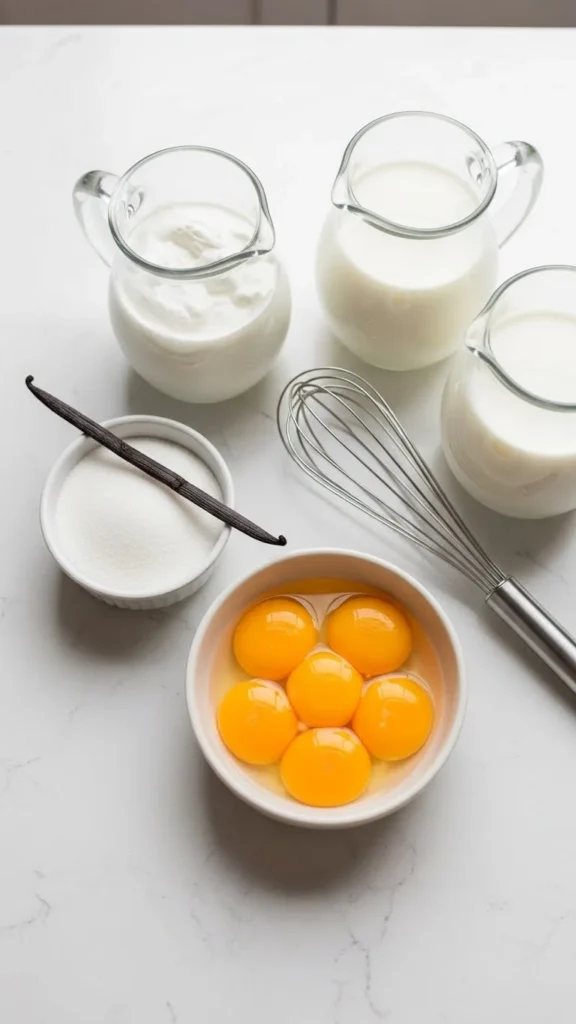
For ultra-smooth custard:
- Use egg yolks, not whole eggs (less risk of curdling)
- Combine whole milk + cream for balance
- Use fine sugar so it dissolves easily
- Add vanilla after heating, not before
More yolks = thicker custard. More cream = softer, silkier texture. Adjust depending on whether you want pouring custard or pastry-cream thickness.
Temper the Eggs Slowly (This Step Is Non-Negotiable)
Tempering gently raises the temperature of the eggs so they don’t scramble when added to hot milk.
How to temper properly:
- Heat milk and cream until steaming, not boiling
- Whisk yolks and sugar in a separate bowl
- Slowly drizzle hot milk into the yolks while whisking
- Add about 1 cup total before returning everything to the pan
This gradual warming relaxes the egg proteins and keeps them smooth.
Rush this step, and curdling is almost guaranteed.
Cook Low and Slow (Medium Heat Is Still Too Hot)
Custard doesn’t like drama. Gentle heat is your best friend.
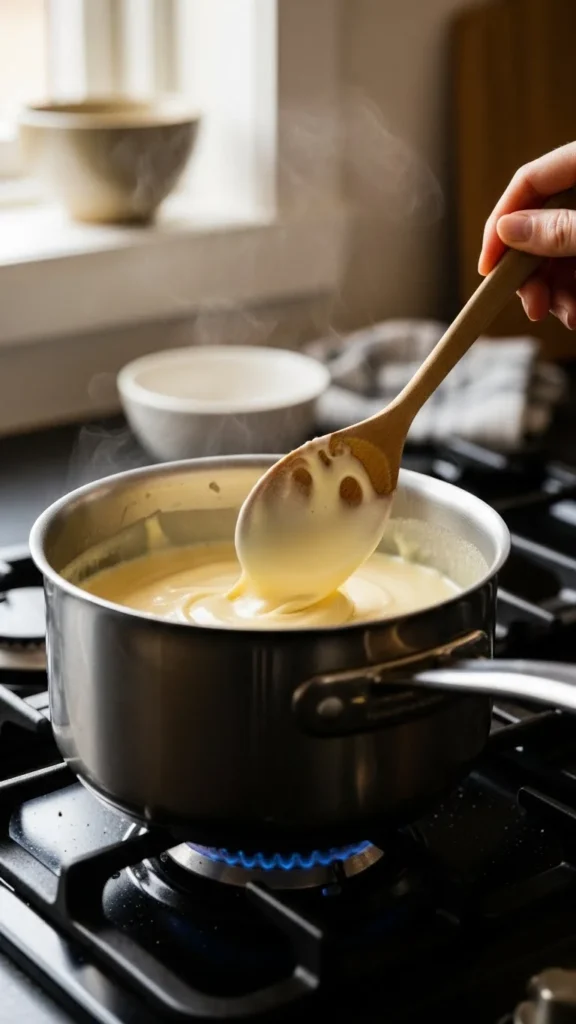
Best practices:
- Use low to medium-low heat only
- Stir constantly, scraping the bottom and sides
- Use a wooden spoon or silicone spatula
Watch the texture—not the clock. Custard thickens suddenly near the end, and those last 30 seconds are where most curdling happens.
Know When It’s Done (Visual Cues Beat Timers)
Custard doesn’t need to boil. Ever.
Perfect doneness signs:
- Coats the back of a spoon
- A finger drawn through leaves a clean line
- Texture looks glossy, not foamy
If you have a thermometer, pull the custard at 170–175°F (77–80°C). Going higher risks curdling even if it looks fine in the pan.
Strain Immediately for Insurance
Even careful cooks strain custard—it’s not cheating, it’s smart.
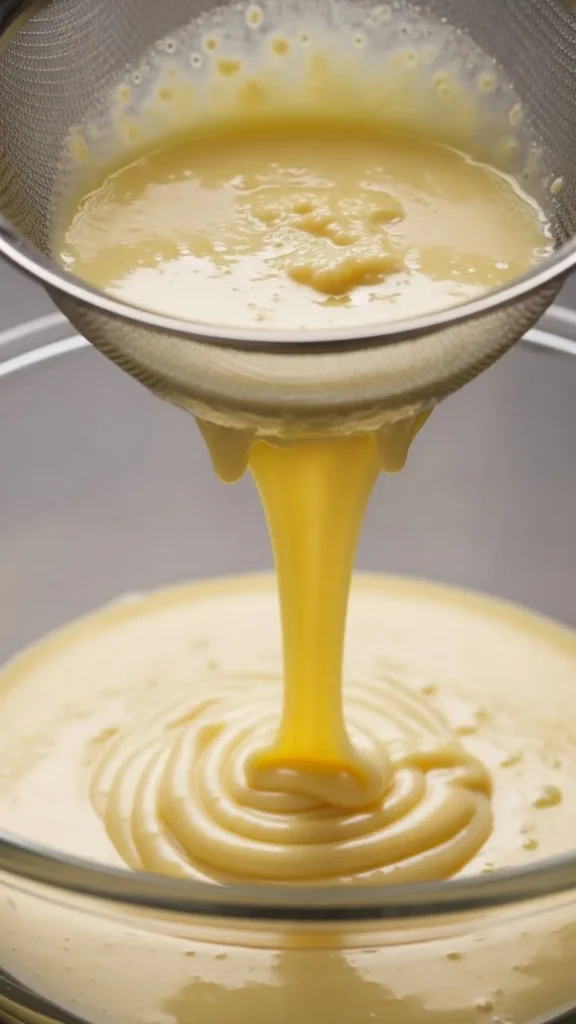
Straining:
- Removes tiny egg bits
- Guarantees a silky final texture
- Fixes minor overcooking instantly
Do this while the custard is hot for best results.
Stop the Cooking Fast
Custard continues cooking from residual heat unless you stop it.
Easy cooling methods:
- Pour into a cool bowl
- Set the bowl over an ice bath
- Stir gently for the first minute
This step alone can save custard that’s right on the edge.
If It Starts to Curdle, Act Fast
Yes—you can rescue custard.
Quick fixes:
- Remove from heat immediately
- Whisk vigorously
- Blend briefly with an immersion blender
- Strain again
If the curdling is mild, this usually restores smoothness completely.
How to Store Custard Without Ruining Texture
Custard thickens as it cools, but it shouldn’t form a skin or turn gluey.
Storage tips:
- Press plastic wrap directly on the surface
- Refrigerate promptly
- Stir gently before serving
For reheating, warm slowly over low heat or a water bath—never microwave aggressively.
Final Takeaway: Silky Custard Is About Control, Not Luck
Perfect custard comes down to a few calm, repeatable habits:
- Gentle heat
- Slow tempering
- Constant stirring
- Pulling it off the stove early
Once you respect how eggs behave, custard becomes smooth, luxurious, and totally reliable.
Save this guide for later—and the next time you make custard, you’ll nail it. 🍮✨


