
Lemon bars are the kind of dessert that disappear fast—bright, tangy filling on top of a buttery crust that snaps just enough when you bite in. But too often, the crust turns soft or soggy, and the magic is lost. The secret to lemon bars with a truly crisp crust isn’t complicated—it’s all about technique, timing, and a few smart ingredient choices.

In this guide, you’ll learn how to build a crust that stays crisp, pair it with a smooth lemon filling, and slice clean bars that look as good as they taste.
What Makes a Lemon Bar Crust Crisp?
A crisp crust isn’t just about butter—it’s about structure. Lemon filling is moist and acidic, which means the crust needs to be strong enough to hold its own.
A great crust:
- Is firmly packed and evenly baked
- Uses enough fat to repel moisture
- Is pre-baked before the filling goes in
Skip any of these steps, and the crust absorbs moisture instead of staying crisp.
Ingredients That Matter Most
You don’t need a long ingredient list, but quality counts.
For the crust
- All-purpose flour
- Powdered sugar (creates a tender, crisp bite)
- Cold unsalted butter
- Pinch of salt
For the lemon filling
- Fresh lemon juice (never bottled)
- Lemon zest
- Granulated sugar
- Eggs
- A small amount of flour or cornstarch

Why powdered sugar in the crust?
It dissolves more easily than granulated sugar, helping the crust bake up crisp without being gritty.
Step 1: Build and Bake the Perfect Crust
Start by lining a metal baking pan with parchment paper, leaving overhang on two sides. This makes removal easy and keeps edges clean.
To make the crust:
- Mix flour, powdered sugar, and salt
- Cut in cold butter until crumbly
- Press firmly and evenly into the pan
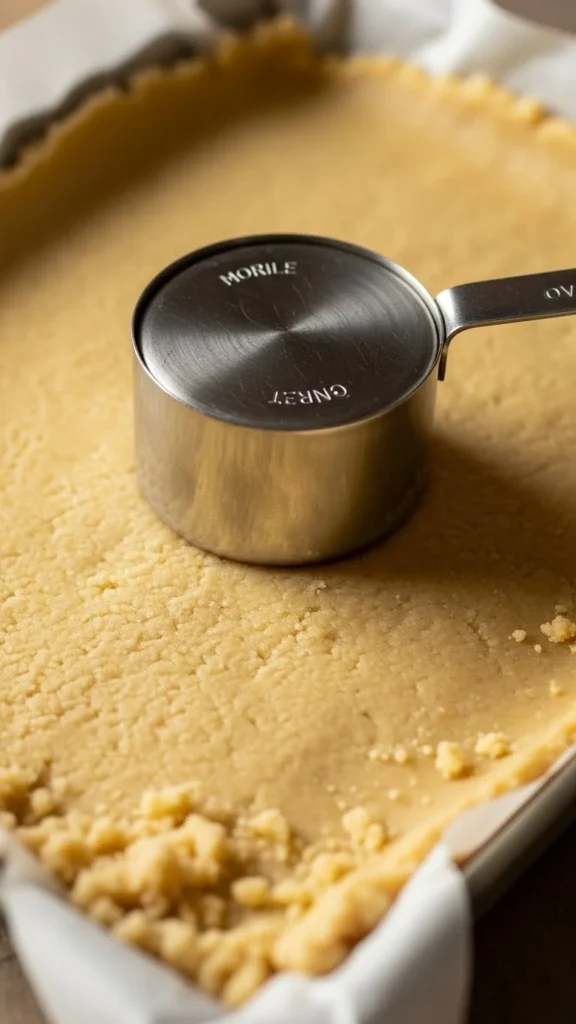
Bake the crust alone at 350°F (175°C) for about 18–22 minutes, until lightly golden. This pre-bake is non-negotiable—it seals the crust and prevents sogginess.
Step 2: Mix a Bright, Balanced Lemon Filling
While the crust bakes, prepare the filling.
In a bowl:
- Whisk eggs and sugar until smooth
- Add lemon juice and zest
- Whisk in flour or cornstarch just until combined
Avoid overmixing. Too much air can cause bubbles or a foamy top.
Flavor tip:
Zest the lemons before juicing. The oils in the zest add aroma and depth without extra acidity.
Step 3: Pour and Bake at the Right Moment
As soon as the crust comes out of the oven, pour the lemon filling directly onto the hot crust. This helps the two layers bond properly.

Return the pan to the oven and bake for 20–25 minutes, until:
- The center is set but slightly soft
- The edges don’t jiggle
- The top looks matte, not wet
Overbaking causes cracks and a rubbery texture, so watch closely near the end.
Step 4: Cool Slowly, Then Chill
Once baked, let the lemon bars cool at room temperature for about an hour. Then transfer to the refrigerator for at least 2 hours.
Why chilling matters:
- The filling firms up for clean slices
- The crust finishes setting
- Flavors mellow and balance
Warm lemon bars are tempting—but patience pays off.
Step 5: Slice Cleanly Without Cracking the Crust
Remove the bars from the pan using the parchment overhang. Place on a cutting board.
For sharp slices:
- Use a long, sharp knife
- Wipe the blade clean between cuts
- Press straight down—don’t saw

Dust with powdered sugar just before serving for the classic finish.
Common Lemon Bar Mistakes to Avoid
- Skipping the crust pre-bake
- Using bottled lemon juice
- Underbaking the filling
- Cutting before fully chilled
- Using a glass pan (leads to softer crusts)
Each of these can compromise that crisp base you’re aiming for.
Optional Upgrades for Extra Crispness
If you want an even firmer crust:
- Brush the hot crust lightly with egg white and bake 2 more minutes
- Add a tablespoon of cornstarch to the crust mixture
- Chill the crust briefly before pre-baking
These small tweaks can make a noticeable difference.
Final Takeaway: Crisp Crust, Bright Bite
Perfect lemon bars are all about contrast—a crisp, buttery crust beneath a silky, tangy filling. With proper pre-baking, fresh lemons, and enough chill time, you’ll get bars that slice clean and taste bakery-worthy every time.
Once you master this method, lemon bars become a reliable go-to for gatherings, gifts, or sunny afternoon treats.
Save this recipe for later and enjoy lemon bars with a crust that finally stays crisp! 🍋✨


