
There’s something instantly joyful about a homemade popsicle—especially when it’s made with real fruit, not artificial syrups or mystery flavors. These are the popsicles that taste bright, fresh, and naturally sweet, with vibrant colors that come straight from nature. Best of all, they’re incredibly easy to make at home, even if you’ve never tried before.
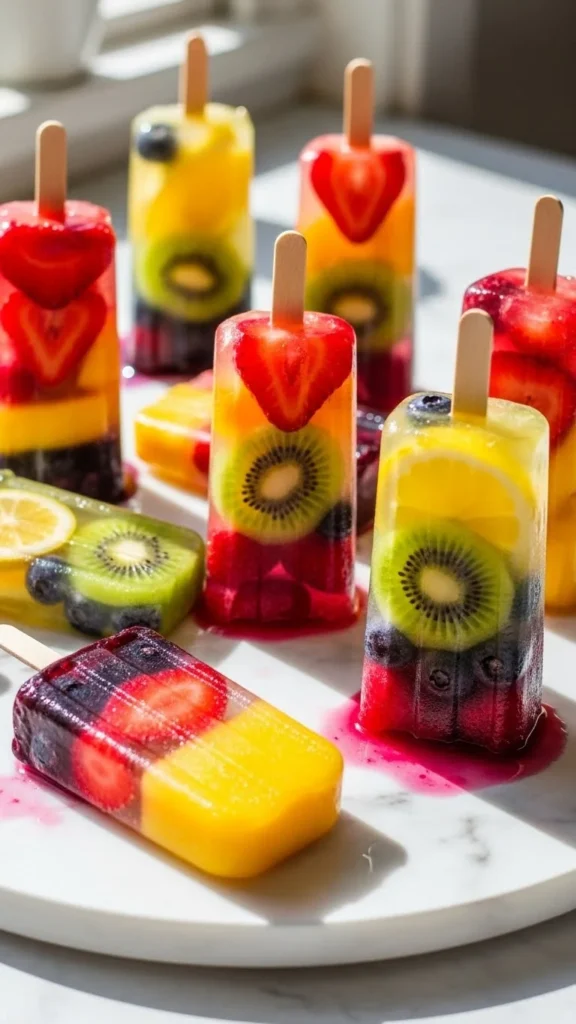
If you’re looking for a fun warm-weather treat, a healthier dessert, or a creative way to use ripe fruit, this guide will walk you through everything you need to know.
Why Homemade Popsicles Are Worth Making
Store-bought popsicles often rely on artificial flavors, excessive sugar, and dyes. Homemade versions let you control every ingredient—and the flavor difference is dramatic.
When you make popsicles at home, you get:
- Fresh, natural fruit flavor
- Adjustable sweetness (or none at all)
- Endless flavor combinations
- A fun activity kids and adults can enjoy
They’re also perfect for using fruit that’s just past peak ripeness.
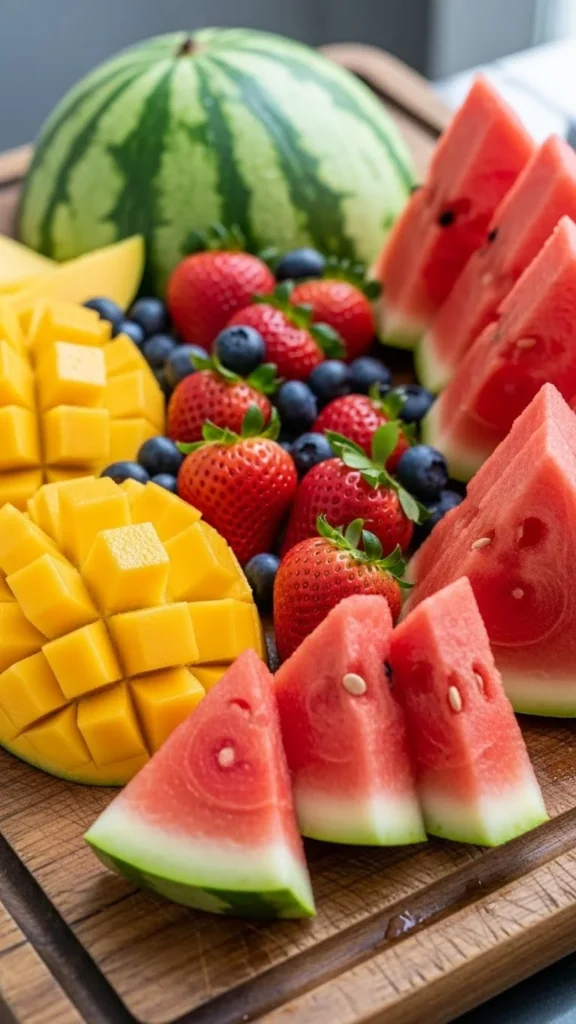
Choosing the Best Fruit for Popsicles
The key to great popsicles starts with fruit selection. The riper the fruit, the sweeter and more flavorful your popsicles will be.
Great fruit options
- Strawberries, raspberries, blueberries
- Mango, pineapple, peach
- Watermelon, cantaloupe
- Kiwi, oranges, cherries
Tip: Frozen fruit works too. Just thaw slightly before blending so it mixes smoothly.
Step 1: Prep and Blend Your Fruit
Wash, peel, and chop your fruit into small pieces. For most popsicles, blending creates the smoothest texture.
Basic fruit base:
- 2–3 cups chopped fruit
- 2–4 tablespoons liquid (water, coconut water, juice, or yogurt)
Blend until smooth. If the fruit is very juicy (like watermelon), you may not need extra liquid.
Texture choices:
- Blend fully for smooth pops
- Blend partially for a chunky, rustic feel
Step 2: Sweeten (Only If Needed)
Taste your fruit puree before adding anything else. Many fruits are sweet enough on their own.
If needed, try:
- Honey or maple syrup (1–2 tablespoons)
- Agave syrup
- A splash of fruit juice
Avoid white sugar—it flattens fruit flavor instead of enhancing it.

Step 3: Add Flavor Boosters
This is where homemade popsicles become truly special. A few small additions can transform simple fruit into something memorable.
Popular additions:
- Lemon or lime juice (brightens flavor)
- Greek yogurt (creaminess)
- Coconut milk (tropical feel)
- Fresh mint or basil
- Vanilla extract
Mix gently after blending or pulse briefly to combine.
Step 4: Fill the Molds Like a Pro
Pour the mixture into popsicle molds, leaving a little space at the top for expansion as they freeze.
If you don’t have molds:
- Use small paper cups
- Cover with foil and insert sticks once partially frozen
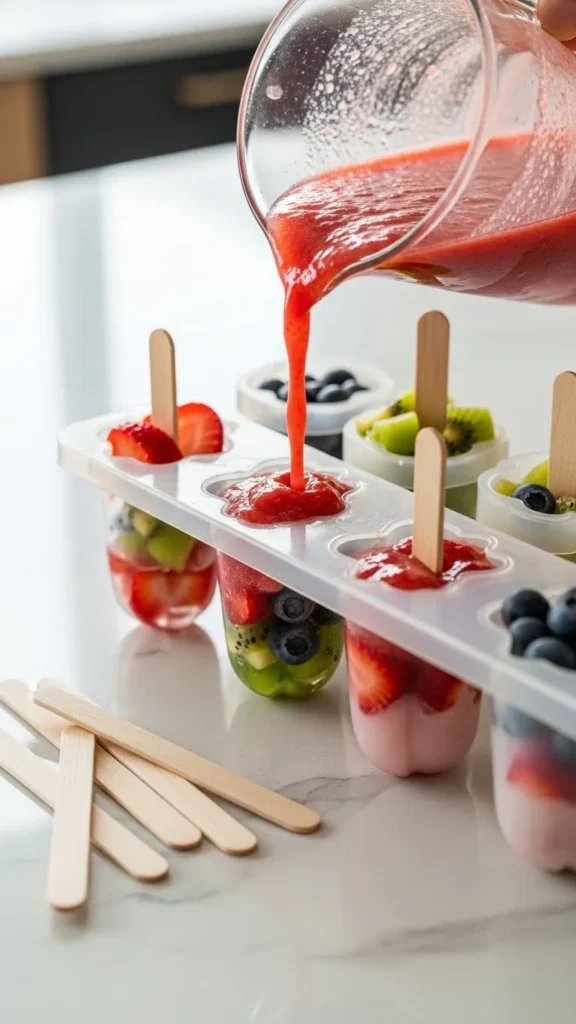
To create layered or swirled popsicles:
- Freeze one layer for 30–45 minutes
- Add the next flavor and swirl gently
Step 5: Freeze and Unmold Easily
Freeze for at least 4–6 hours, or until completely solid.
To remove popsicles cleanly:
- Run warm water over the outside of the mold for 10–15 seconds
- Gently wiggle the stick—don’t pull hard
Flavor Combinations to Try
Need inspiration? These combinations are always crowd-pleasers:
- Strawberry + banana + yogurt
- Mango + pineapple + coconut milk
- Watermelon + lime
- Blueberry + peach
- Orange + raspberry
Mix and match based on what’s in season.
Common Popsicle Mistakes to Avoid
- Using underripe fruit → bland pops
- Adding too much liquid → icy texture
- Over-sweetening → masks fruit flavor
- Not freezing long enough → broken pops
Keep it simple, and let the fruit shine.
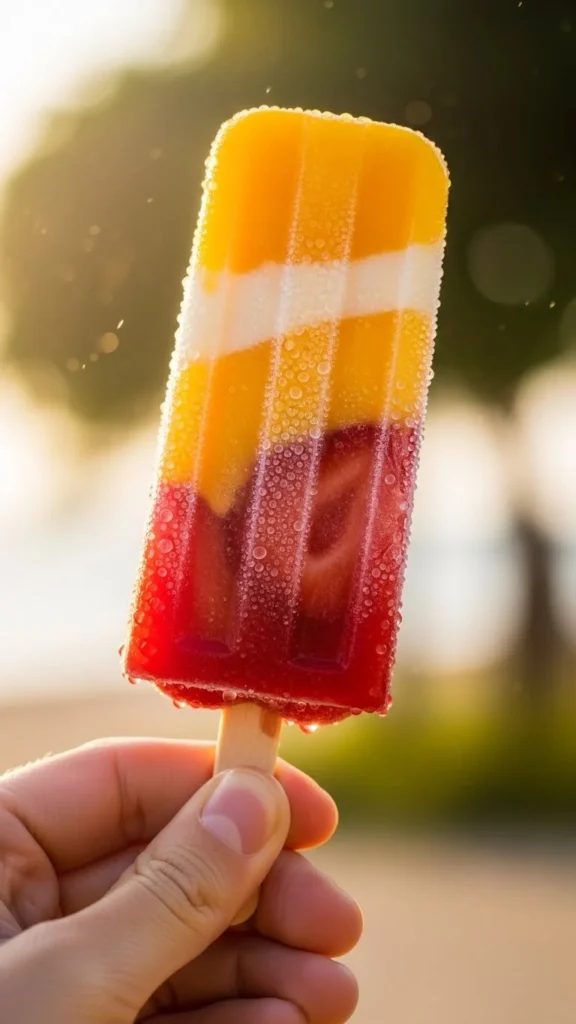
Final Thoughts: Make Popsicles Your Own
Homemade popsicles with real fruit are refreshing, flexible, and endlessly customizable. Whether you’re making them for kids, guests, or just yourself, they’re a simple way to turn fresh produce into something special.
Once you get the hang of it, you’ll never look at store-bought popsicles the same way again.
Save this recipe for later and keep your freezer stocked with fruity goodness all summer long! 🍓🍑🍍


