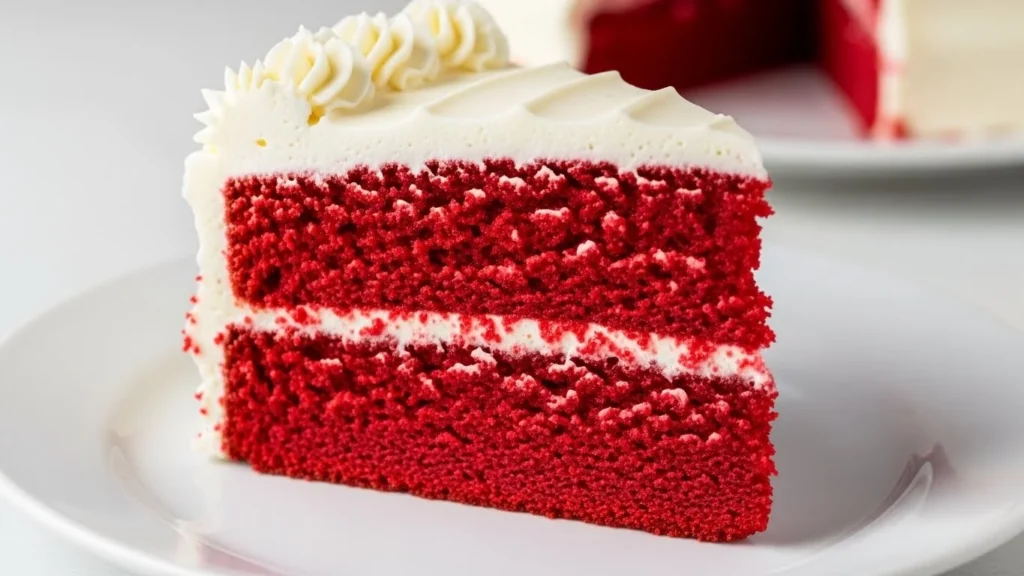
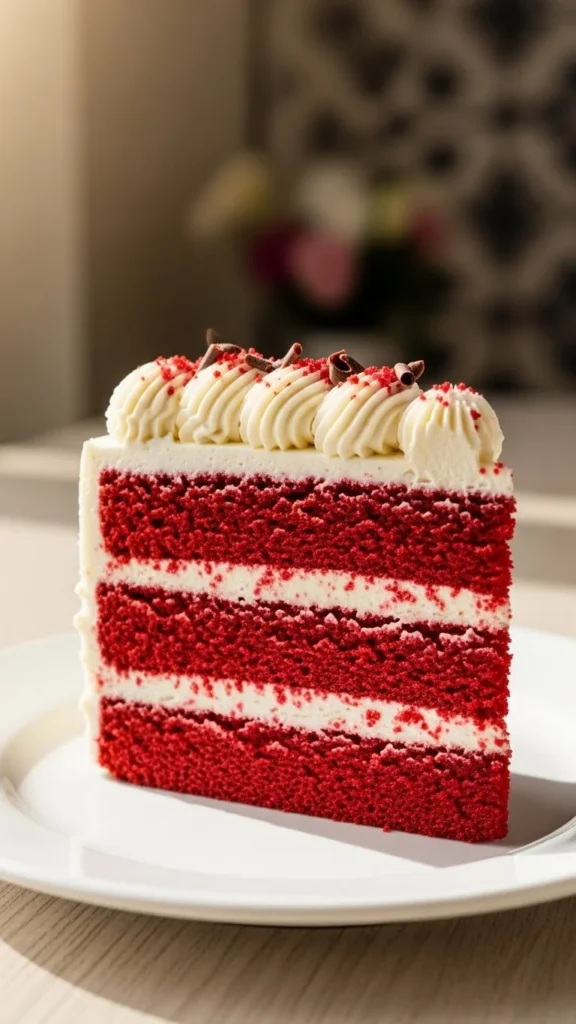
Red velvet cake is instantly recognizable. That deep, rich red crumb paired with creamy frosting feels dramatic, luxurious, and a little bit magical. But if you’ve ever baked one that turned brownish, dull, or oddly pink, you know how tricky that “perfect red” can be. The good news? Getting the color right isn’t about dumping in more food coloring—it’s about balance, chemistry, and timing.
Let’s walk through exactly how to make red velvet cake with bold, bakery-worthy color and a tender, classic texture.
What Makes Red Velvet Cake Red (Really)
Traditionally, red velvet wasn’t neon red. The color came from a reaction between cocoa powder, vinegar, and buttermilk. Modern cocoa is less acidic, so that reaction isn’t strong enough on its own anymore—this is where food coloring comes in.
Perfect red velvet color comes from:
- The right cocoa powder
- A controlled amount of food coloring
- Proper acidity in the batter
When these work together, you get a deep red hue instead of muddy brown.
Choose the Right Cocoa Powder
This step is huge and often overlooked.
Use:
- Natural (non-Dutched) cocoa powder
Avoid:
- Dutch-processed cocoa (it neutralizes acidity and dulls color)

Natural cocoa reacts better with acidic ingredients and keeps the red color vibrant instead of darkening it.
Pro tip: Red velvet uses very little cocoa—just enough for flavor, not chocolate cake territory.
Use Gel Food Coloring (Not Liquid)
If you want bold, even color without ruining the texture, gel food coloring is your best friend.
Why gel works better:
- More concentrated color
- Less liquid added to the batter
- More consistent results
How much to use:
- 1–2 teaspoons of red gel coloring (brand strength varies)
Mix the coloring with the liquid ingredients so it disperses evenly—never dump it straight into dry flour.
Balance the Acidic Ingredients
Red velvet cake relies on acidity for both color and texture.
Key acidic players:
- Buttermilk
- White vinegar
- Natural cocoa powder

Don’t skip or substitute these casually. They:
- Enhance red color
- Tenderize the crumb
- Activate baking soda for lift
If you don’t have buttermilk, make a quick substitute with milk and vinegar—but real buttermilk gives better results.
Mix the Batter the Right Way
Overmixing can dull color and toughen the cake. Gentle mixing keeps the red bright and the crumb soft.
Best approach:
- Cream butter and sugar until light
- Add eggs one at a time
- Mix cocoa, coloring, and buttermilk together
- Alternate dry and wet ingredients on low speed
Stop mixing as soon as everything is combined. Smooth, not airy, is what you want.
Bake at the Right Temperature
High heat can darken the cake and mute the red.
Ideal baking setup:
- Oven at 325–350°F (165–175°C)
- Light-colored cake pans
- Center rack placement

Bake just until:
- The center springs back lightly
- A toothpick comes out with a few moist crumbs
Overbaking is one of the fastest ways to lose that vibrant color.
Let the Cake Cool Completely Before Frosting
Warm cake can:
- Darken slightly from trapped steam
- Smear frosting and ruin contrast
Cool the layers fully on a wire rack before frosting.
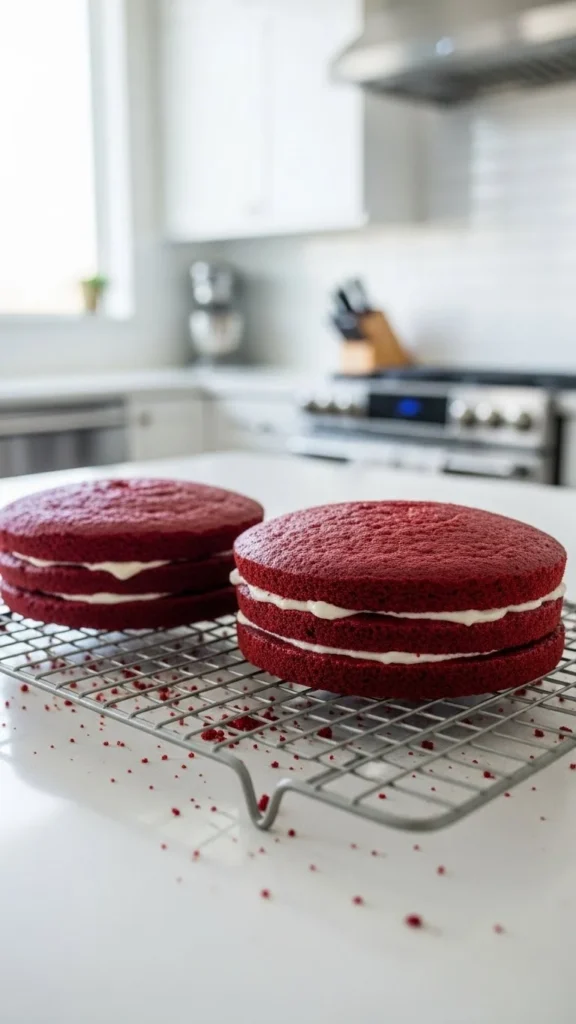
That bright red against white frosting is part of the magic—patience pays off here.
Choose the Right Frosting for Maximum Contrast
Classic red velvet deserves cream cheese frosting.
Why it works:
- Bright white color
- Slight tang balances sweetness
- Highlights the red crumb visually
Avoid tinted or yellow-toned frostings if color contrast matters to you.
Common Color Problems (And How to Fix Them)
If your cake color isn’t right, here’s why:
- Brownish cake → Too much cocoa or Dutch-processed cocoa
- Dull red → Not enough food coloring or low acidity
- Pink cake → Too little coloring or overmixed batter
- Uneven color → Food coloring not fully blended
Small tweaks make a big difference here.
Final Takeaway
Perfect red velvet cake color isn’t about excess—it’s about intention. Use natural cocoa, gel food coloring, and acidic ingredients wisely. Mix gently, bake evenly, and let the contrast shine with a creamy white frosting.
Once you nail the color, you’ll never go back to washed-out red velvet again.
Save this recipe for later—and bake a cake that looks just as stunning as it tastes ❤️🍰


