There’s something magical about really good vanilla ice cream. Not the icy, bland kind—but the scoop that melts slowly, coats your tongue, and tastes rich without being heavy. The good news? You don’t need fancy equipment or secret ingredients. Creaminess comes down to a few smart techniques you can absolutely master at home.
Let’s break down exactly how to make vanilla ice cream extra creamy, step by step, so every batch feels scoop-shop worthy.
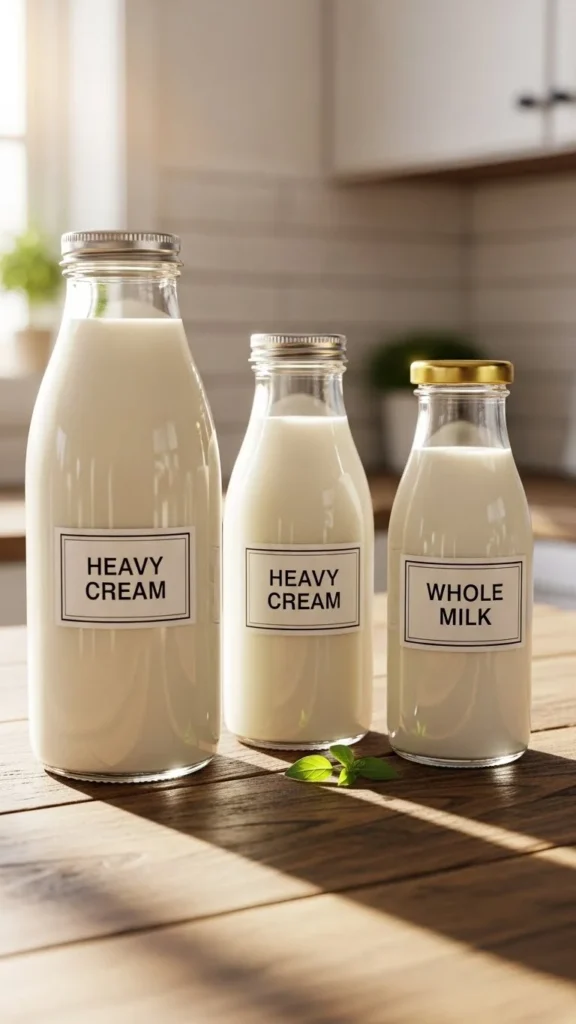
Start With the Right Dairy Ratio
Creaminess begins before you ever turn on the stove. The balance between fat and liquid is what determines whether your ice cream is silky or icy.
The golden ratio
For ultra-creamy vanilla ice cream, aim for:
- 2 parts heavy cream
- 1 part whole milk
Heavy cream brings fat (which prevents ice crystals), while whole milk keeps the texture from feeling greasy.
Avoid these mistakes:
- Using low-fat milk
- Replacing cream with half-and-half
- Adding extra milk “to lighten it”
If you want creamy, don’t fear the fat—it’s doing the hard work for you.
Use Sugar Strategically (Not Just for Sweetness)
Sugar doesn’t just sweeten ice cream—it controls texture.
Why sugar matters
Sugar lowers the freezing point of your base, which means:
- Softer scoops
- Fewer ice crystals
- Smoother mouthfeel
Best sugar combo
Instead of using only white sugar, try:
- ¾ cup granulated sugar
- 1–2 tablespoons corn syrup or honey
That small amount of liquid sugar makes a big difference in creaminess without changing the flavor.
Tip: Don’t reduce sugar too much. “Less sweet” often equals “more icy.”
Build a Custard Base for Maximum Creaminess
If you want truly luxurious vanilla ice cream, a custard base is the way to go.
What makes custard special?
Egg yolks add:
- Natural emulsifiers
- Richness
- A thicker, creamier structure
Simple custard method
- Heat cream, milk, and sugar until steaming (not boiling).
- Whisk egg yolks in a bowl.
- Slowly pour hot dairy into yolks while whisking.
- Return everything to the pan and cook gently until it coats a spoon.
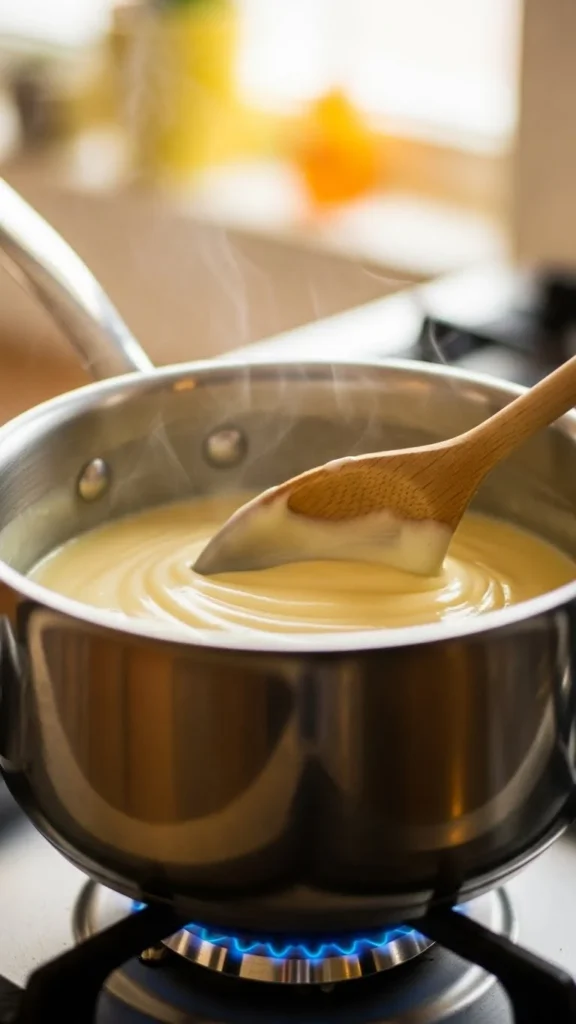
Pro tip: Low heat and patience are key. If it curdles, the texture will suffer.
Don’t Skip the Chill (It’s Non-Negotiable)
Churning warm ice cream base is one of the biggest mistakes home cooks make.
Why chilling matters
A fully chilled base:
- Freezes faster
- Creates smaller ice crystals
- Produces a creamier final texture
Best practice
- Chill the base at least 4 hours
- Overnight is even better
- Cover the surface with plastic wrap to prevent skin formation
If your base is cold to the touch, you’re ready to churn.
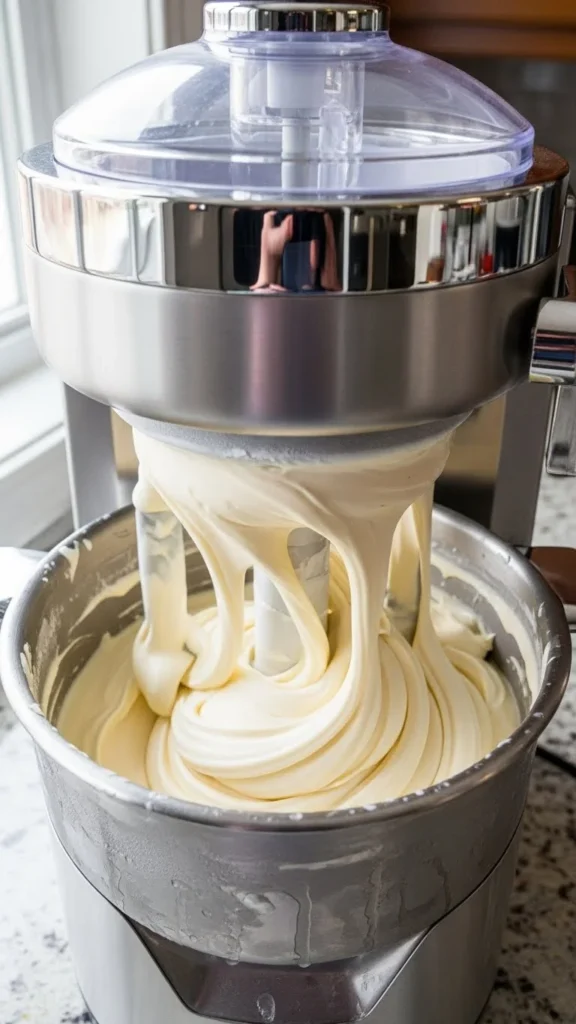
Churn Smart, Not Hard
Churning isn’t about whipping—it’s about controlled freezing.
Churning tips
- Pre-freeze your ice cream bowl for 24 hours
- Churn just until thick and soft-serve consistency
- Stop before it looks stiff or grainy
Over-churning knocks air out and encourages ice crystals.
Add Vanilla the Right Way
Vanilla should taste warm and aromatic, not flat.
Best vanilla options
- Vanilla bean paste – richest flavor and visible specks
- Pure vanilla extract – reliable and balanced
- Whole vanilla bean – luxurious but optional
Add vanilla after cooking, once the base has cooled slightly. High heat can dull its flavor.
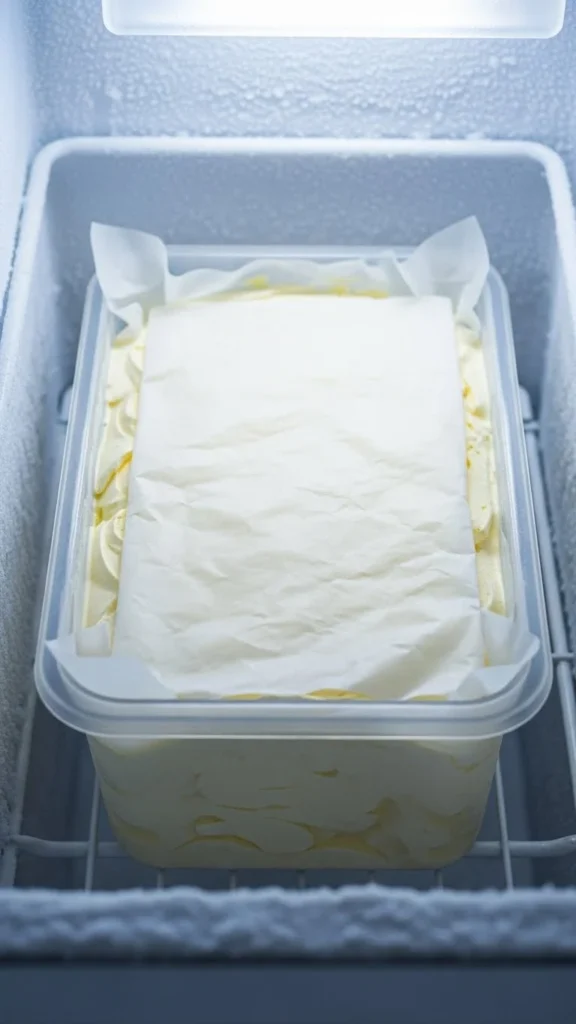
Freeze Like a Pro
Once churned, your ice cream isn’t done yet—it needs a final freeze to set properly.
For best texture
- Transfer to a shallow container
- Press parchment or plastic wrap directly on the surface
- Freeze for 2–4 hours before scooping
Bonus Creaminess Boosters (Optional but Powerful)
If you want next-level results, try one of these:
- 1–2 tablespoons cream cheese, blended into the base
- ½ teaspoon vodka, which softens texture without taste
- Milk powder, for extra body and richness
Use only one at a time—you want enhancement, not overload.
Final Scoop
Extra-creamy vanilla ice cream isn’t about shortcuts—it’s about small choices that add up. Rich dairy, smart sugar use, gentle custard cooking, and proper chilling all work together to create that dreamy, scoopable texture everyone loves.
Once you master this base, you can build endless variations on top of it.
Save this recipe for later—and don’t forget to let your ice cream soften for a few minutes before serving. Creamy scoops are worth the wait 🍨


