There’s something magical about watching plain frosting transform into elegant swirls, fluffy rosettes, and vintage borders. One minute it’s just buttercream in a bowl… the next, it looks like a bakery window display.
The best part? You don’t need fancy tools or years of training. With one piping tip, steady pressure, and a little practice, you can decorate like a pro at home.
Let’s break it down step by step so you can master the most popular buttercream designs with confidence.
Start With the Right Buttercream
Before we talk tips and techniques, your frosting has to be pipe-ready. If it’s too soft, shapes droop. Too stiff, and your hand hurts.
Look for this texture:
- Smooth and creamy
- Holds peaks
- Not greasy or runny
Quick fixes:
- Too thick → add 1 tsp milk or cream
- Too soft → chill 10 minutes
- Air bubbles → stir slowly with a spatula
Pro tip: Swiss meringue buttercream holds details beautifully and feels silkier, but American buttercream works great for beginners too.
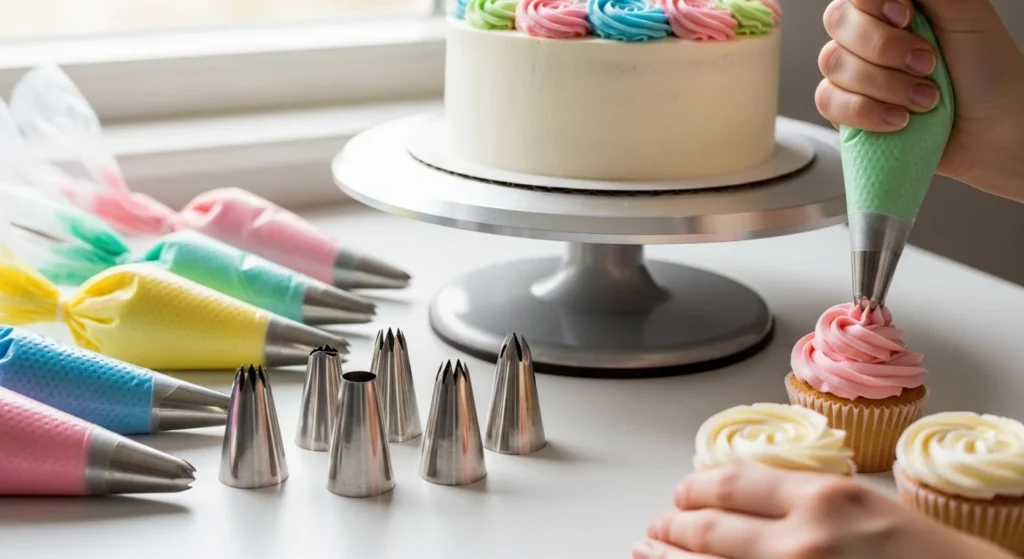
Gather Your Beginner Tool Kit
You really only need a few essentials.
Must-haves:
- Piping bags
- Coupler (lets you swap tips without refilling)
- Offset spatula
- Practice board (parchment or acetate)
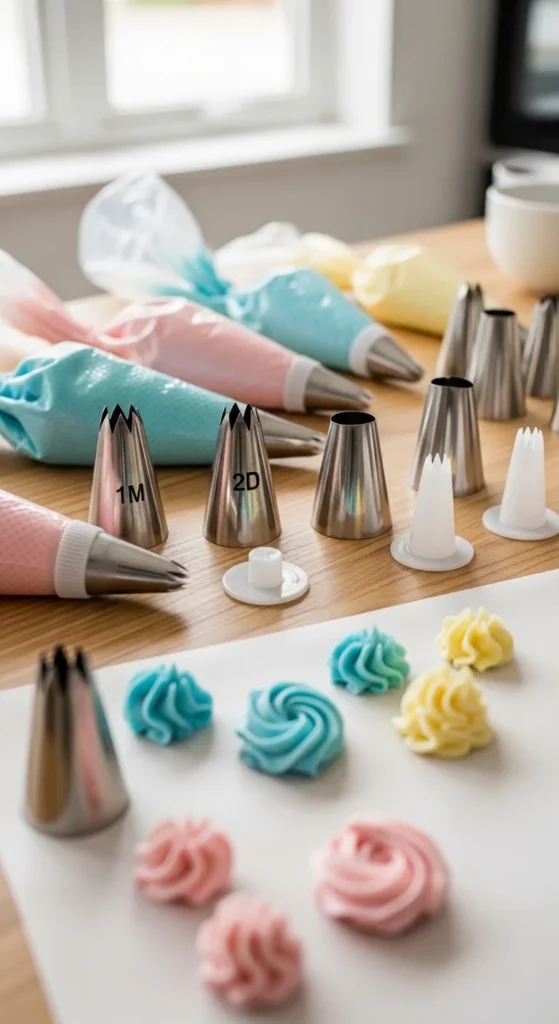
- Wilton 1M or 2D closed star tip
The Wilton 1M tip is the ultimate beginner tool. It creates multiple designs using the same tip.
Fill bags only halfway full, twist the top tight, and squeeze from the top—not the middle.
Master Pressure First (The Real Secret)
Beautiful piping isn’t about speed—it’s about consistent pressure.
Most messy shapes come from squeezing too hard, then too soft.
Practice drill:
- Hold bag at 90°
- Squeeze evenly
- Count “1-2-3” while piping
- Keep wrist steady
Try this on parchment before touching your cake. Fifteen minutes of practice a day can make a huge difference in just a week or two.
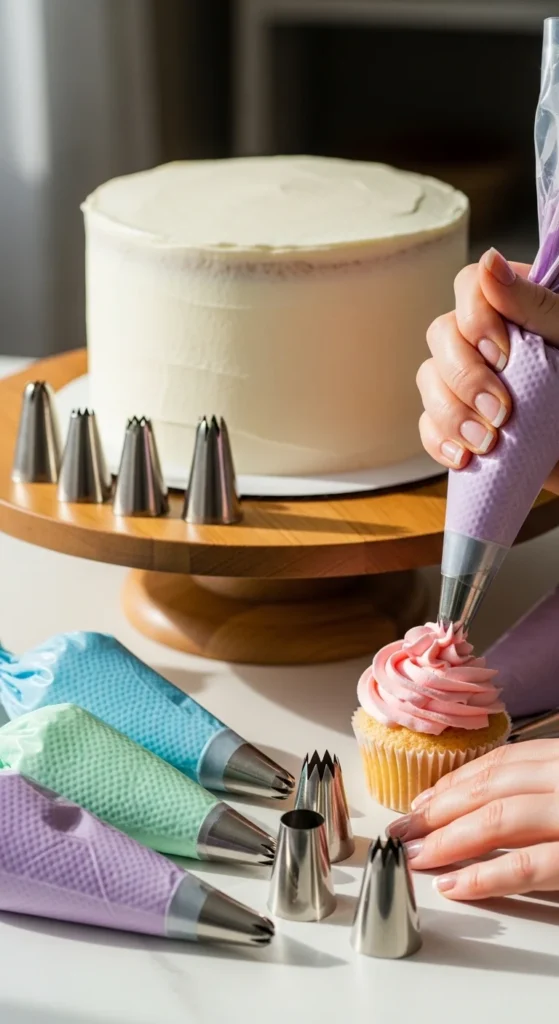
Design 1: Classic Swirls (Cupcake Style)
This is everyone’s first love—and it’s super easy.
How to pipe:
- Hold tip straight up (90°)
- Start in the center
- Squeeze steadily
- Circle outward
- Finish with a gentle lift
Keep your wrist moving in one smooth circle.
Great for:
- Cupcakes
- Mini cakes
- Simple birthday cakes
Design 2: Rosettes (Bakery Roses)
Rosettes look fancy but are just small spirals.
Steps:
- Start in the middle
- Pipe outward in one tight spiral
- Stop squeezing before lifting
Use the same 1M tip—just smaller circles.
Rosettes are perfect for:
- Covering entire cakes
- Hiding imperfections
- Quick, textured finishes

Design 3: Shell Borders & Rope Edges
These borders make cakes look polished and professional.
Shell border:
- Hold bag at 45°
- Squeeze → release → pull away
- Repeat overlapping
Rope border:
- Pipe small “S” shapes
- Tuck each into the last
These are perfect for:
- Cake bottoms
- Top edges
- Frame-style designs
The 45° angle is key here. Too upright and they look flat.
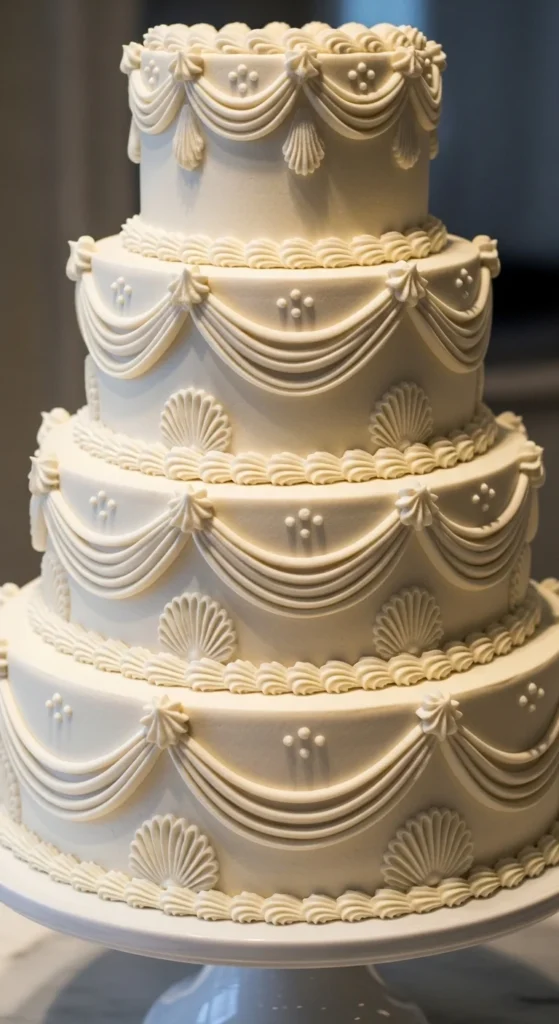
Design 4: Vintage Lambeth-Style Piping
Vintage piping is trending big right now—ruffles, drapes, stacked borders, and layered shells.
It looks complicated, but you can start simple.
Beginner Lambeth look:
- Pipe shells around base
- Add a second smaller shell border above
- Layer swags or loops
- Stack details gradually
Use petal tips like 102 or 103 for drapes and ruffles if you want to experiment.
Think “layered and ornate,” not perfect.
Practice Like a Pro (Without Wasting Frosting)
Don’t practice on cakes—practice on boards.
Try this:
- Tape parchment over cardboard or acetate
- Pipe designs
- Scrape frosting back into bowl
- Repeat
This builds muscle memory fast and saves ingredients.
Bonus drills:
- Straight lines
- Dots
- Circles
- Figure-eights
These basics improve control for every design.
Quick Troubleshooting Tips
Blobby shapes?
→ Pressure uneven
Hand cramps?
→ Bag too full
Frosting melting?
→ Room too warm or buttercream too soft
Designs tearing?
→ Buttercream too stiff
Want faster swaps?
→ Use a coupler so you can change tips instantly
Small adjustments make a huge difference.
Put It All Together on a Cake
Once you’re comfortable:
- Frost cake smoothly
- Add borders top and bottom
- Fill center with rosettes or swirls
- Mix tip styles for texture
Layering simple designs often looks better than trying one complicated technique.

Final Thoughts
Buttercream piping isn’t about perfection—it’s about rhythm and pressure.
Start with:
- One tip (1M)
- One design
- Daily practice
Then build from there.
Soon you’ll be decorating cakes that look straight out of a bakery case.
Save this guide for your next bake and start practicing tonight—you’ll be surprised how quickly your skills grow. 🎂