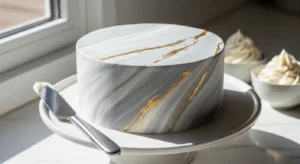
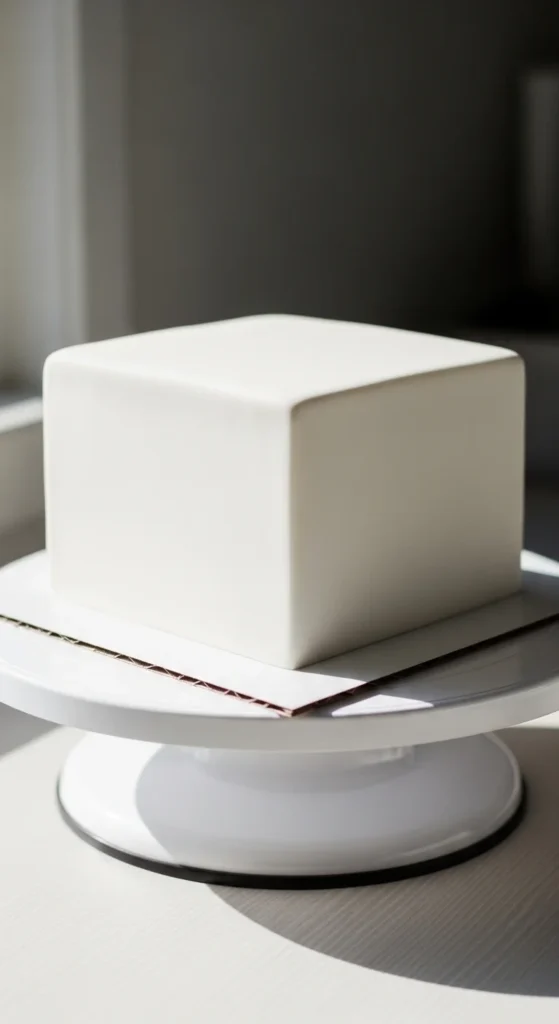
There’s something magical about a perfectly smooth fondant cake.
No crumbs. No swirls. No bumps. Just clean lines and sharp edges that look straight out of a professional bakery.
If you’ve ever wondered how decorators get that flawless finish, here’s the secret: it’s not fancy tools or years of experience — it’s simple prep, proper rolling, and a few smart techniques.
Once you learn the basics, covering a cake with fondant becomes surprisingly easy (and honestly kind of satisfying).
Let’s go step by step so you can get that smooth, wrinkle-free look every time.
Step 1: Build a Perfect Buttercream Base
Fondant doesn’t hide problems — it shows them.
So your cake underneath must be smooth first.
Start with two layers of buttercream:
- Thin crumb coat
- Chill 30 minutes
- Final smooth coat
Why two coats?
- Traps crumbs
- Creates adhesion
- Prevents bumps
Use a bench scraper or spatula to get the sides as smooth as possible.
Pro tip: Chill the cake again after the final coat. Cold cakes are easier to cover and don’t dent easily.

Step 2: Knead Your Fondant Until Soft
Fondant straight out of the package is stiff and crackly.
If you skip kneading, you’ll get tears and wrinkles.
How to prep:
- Warm it slightly with your hands
- Knead 3–5 minutes
- Fold and stretch repeatedly
You want it:
- Smooth
- Elastic
- Crack-free
If it feels dry, add a tiny bit of vegetable shortening.
Avoid cornstarch — it can cause that dreaded “elephant skin” texture.
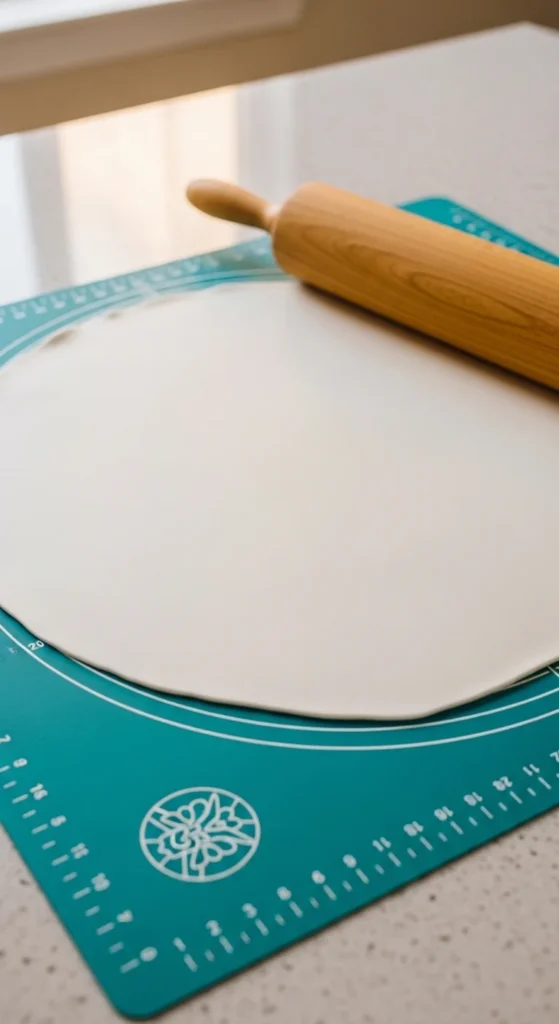
Step 3: Roll to the Right Thickness
Too thin = tearing
Too thick = bulky edges
The sweet spot is:
👉 1/8 inch thick
Rolling method:
- Grease surface lightly with shortening
- Roll from center outward
- Rotate 90° after each roll
- Keep circle even
Also roll it 1–2 inches larger than your cake diameter so it fully covers the sides.
This step makes draping much easier later.
Step 4: Drape the Fondant Gently
Here’s where many beginners panic — but it’s simpler than it looks.
Easy lifting trick:
- Roll fondant loosely around your rolling pin
- Lift carefully
- Center over cake
- Unroll slowly
Gravity helps it fall naturally over the sides.
Avoid pulling or stretching.
Stretching causes thin spots and tears.
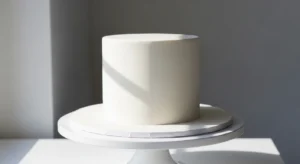
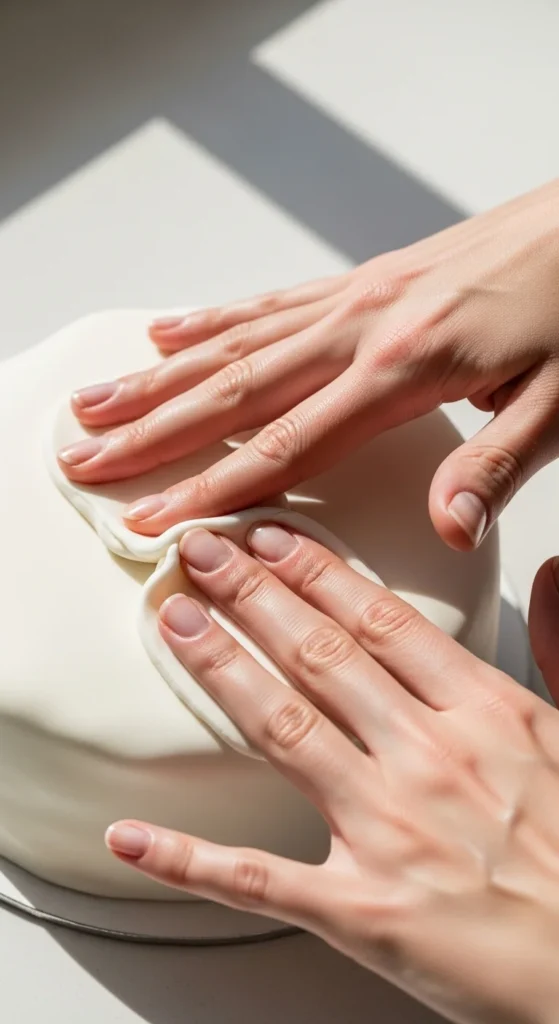
Step 5: Smooth the Top First, Then the Sides
Order matters here.
Start with:
- Smooth top flat with hands
- Work outward from center
Then move to sides.
For sides:
- Lift and smooth downward
- Work section by section
- Let folds relax naturally
Use gentle pressure — not force.
If wrinkles appear, lift slightly and smooth again.
Never drag downward hard.
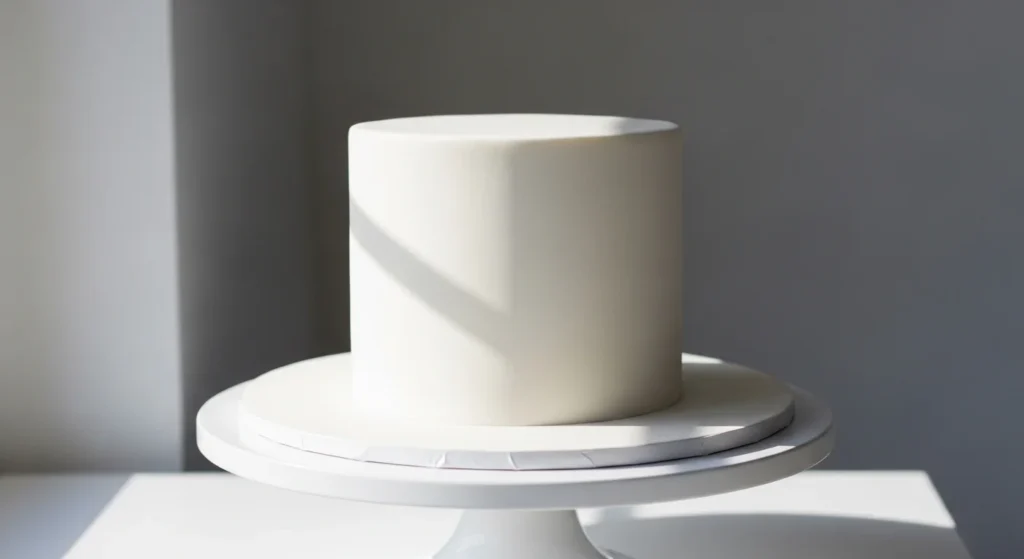
Step 6: Create Sharp, Professional Edges
This is the part that makes your cake look bakery-level.
Use two fondant smoothers.
How:
- One smoother on top
- One on side
- Pinch them together at the edge
Rotate cake slowly while applying light pressure.
This defines crisp corners.
It’s such a small trick, but it makes a huge visual difference.
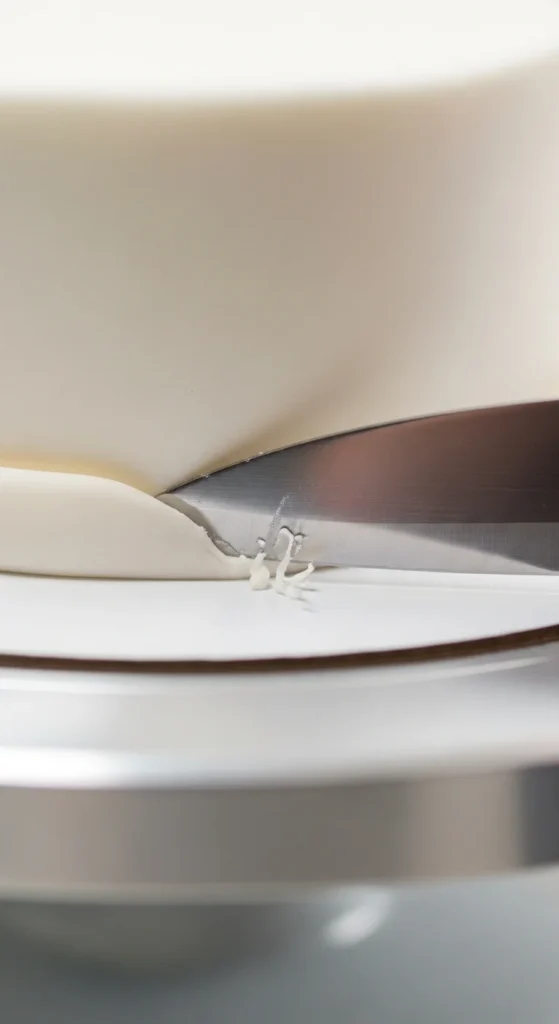
Step 7: Trim the Excess Cleanly
Once everything is smooth:
Trim like this:
- Use sharp knife or X-Acto
- Hold blade flat against base
- Cut slowly around
Clean cuts keep the bottom edge neat and polished.
If small air bubbles appear, pop gently with a pin and smooth over.
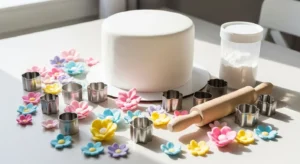
Step 8: Add Decorations Safely
Fondant decorations stick best with minimal moisture.
Use:
- Water
- Piping gel
- Edible glue
Tiny dots are enough.
Too much liquid makes fondant slide.
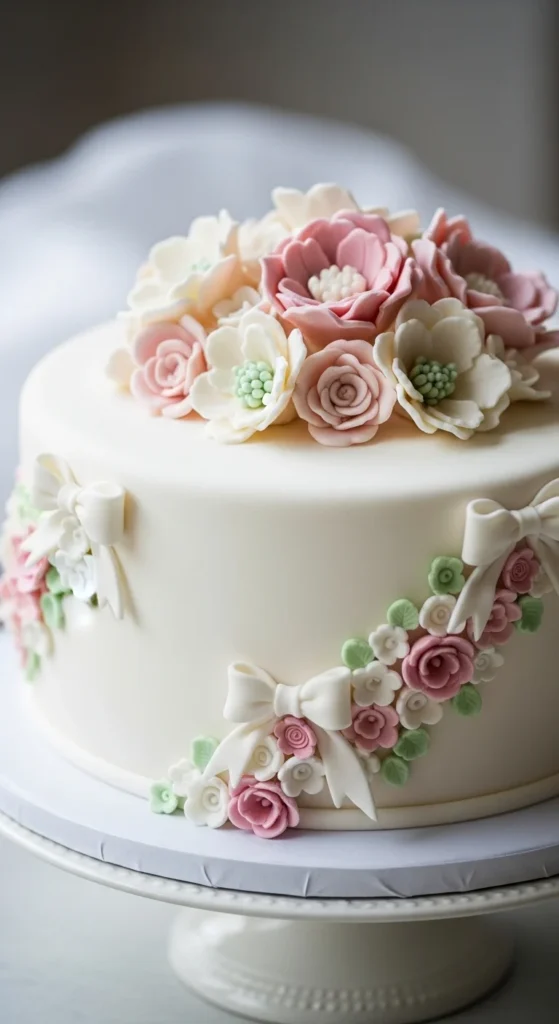
You can now add:
- Bows
- Flowers
- Letters
- Shapes
- Ribbons
Keep the design simple if you want a modern look.
Common Problems (And Quick Fixes)
Wrinkles at bottom?
→ Lift and smooth gently before trimming
Cracks?
→ Knead fondant longer
Sticky surface?
→ Use shortening, not cornstarch
Dents?
→ Chill cake longer before covering
Not enough coverage?
→ Roll bigger circle next time
Final Thoughts
Smooth fondant cakes come down to a simple formula:
- Double buttercream base
- Chill well
- Knead fondant
- Roll evenly
- Smooth gently
- Sharpen edges
That’s it.
Once you try it a couple of times, you’ll realize it’s much easier than it looks.
Save this guide for your next celebration cake — and enjoy that super satisfying moment when the fondant drapes perfectly smooth. 🎂✨