Crispy bacon is one of life’s simplest joys — salty, smoky, perfectly crunchy edges that make breakfast (and sandwiches) instantly better. But let’s be honest: cooking it often feels like a battlefield. Grease splatters, smoky kitchens, and burnt bits are enough to make anyone reach for cereal instead.
Here’s the good news — you can have perfectly crispy bacon every single time, without the mess, without constant flipping, and without a greasy stove to scrub.
Why the Oven Is Your Secret Weapon
The stovetop may feel like the “classic” way to make bacon, but the oven is the real hero here. It gives you:
- Even heat for consistent crispiness
- No splattering oil on your counters
- A hands-free process that lets you multitask
- Perfectly flat, beautiful strips every time
Roasting bacon slowly in the oven renders out the fat evenly, giving you crisp edges and chewy centers — bacon perfection without chaos.
Step 1: Prep Your Pan
Start with a rimmed baking sheet to catch the drippings (no more grease on the floor). Line it for easy cleanup:
- Option 1: Use parchment paper — simple, non-stick, and disposable.
- Option 2: Use aluminum foil — great for trapping grease and tossing afterward.
- Bonus: If you want extra crispness, set a wire rack on top so the bacon cooks above the fat.
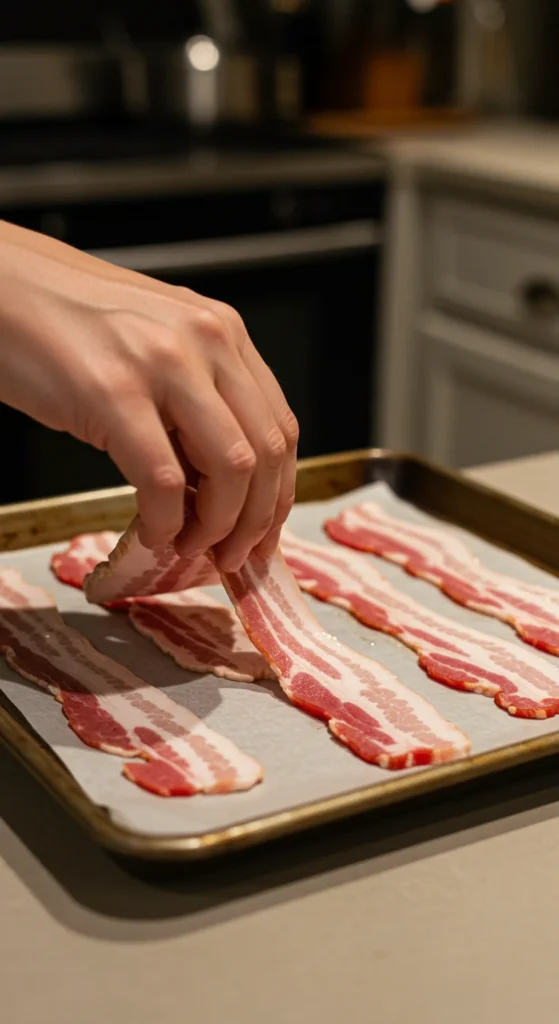
Step 2: Arrange the Bacon
Lay your bacon strips flat in a single layer. Avoid overlapping — that’s the difference between crispy and soggy. If you’re feeding a crowd, use two trays and rotate them halfway through baking for even cooking.
Here’s a quick tip: thick-cut bacon will take longer but offers a more substantial crunch, while regular-cut bacon gets super crispy faster.
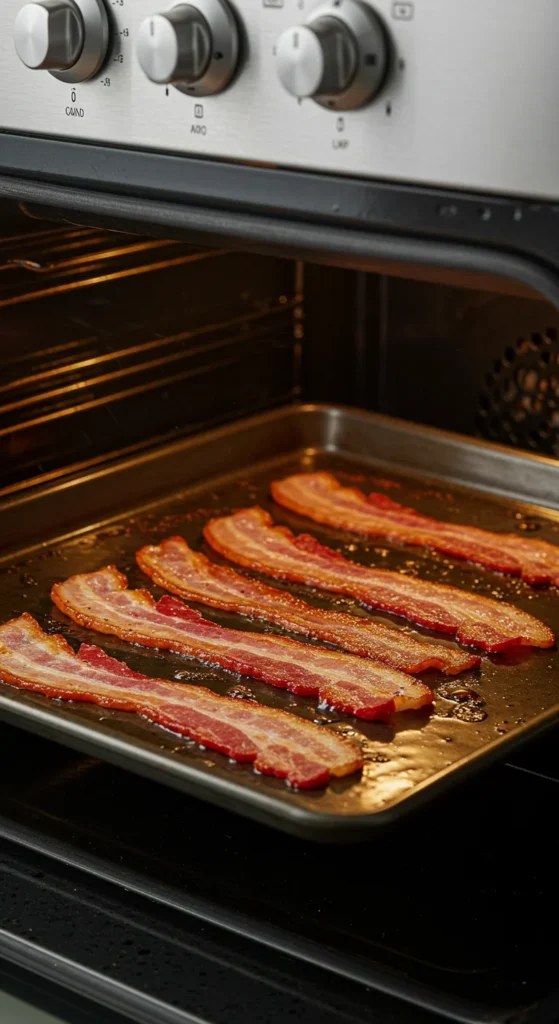
Step 3: Bake (Don’t Fry!)
Now for the magic part — baking low and slow.
- Preheat your oven to 400°F (200°C).
- Bake bacon for 15–20 minutes depending on thickness.
- Start checking around the 12-minute mark. The perfect point is when it’s deep golden with slightly bubbled edges.
No flipping. No splattering. Just pure, even crisping.
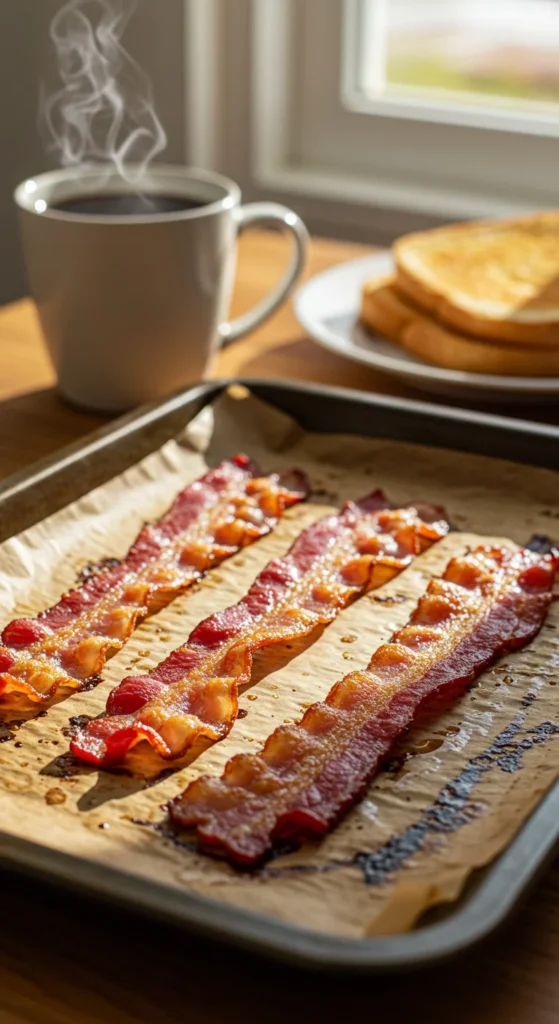
Step 4: Drain and Cool
When your bacon looks irresistible, remove it with tongs and place it on a paper towel–lined plate or a cooling rack. This step keeps it crispy instead of greasy.
Let it rest for 2–3 minutes — the bacon will firm up as it cools, becoming extra crunchy.
Step 5: Save the Bacon Grease (Seriously!)
Don’t toss that liquid gold! Strain the leftover bacon fat into a glass jar while it’s still warm (not hot). Once cooled, you can use it to:
- Roast potatoes for next-level crispiness
- Sauté green beans or Brussels sprouts
- Add smoky flavor to cornbread or biscuits
It lasts for months in the fridge — and makes every savory dish taste better.

Clean-Up Made Easy
If you used foil or parchment, cleanup is a breeze — just fold up the grease and toss it away. Wipe down the pan if needed, and you’re done. No oil splatters, no scrubbing stovetop burners.
Pro tip: Want zero cleanup? Place your lined baking sheet on a large baking tray to catch any drips before they reach the oven floor.
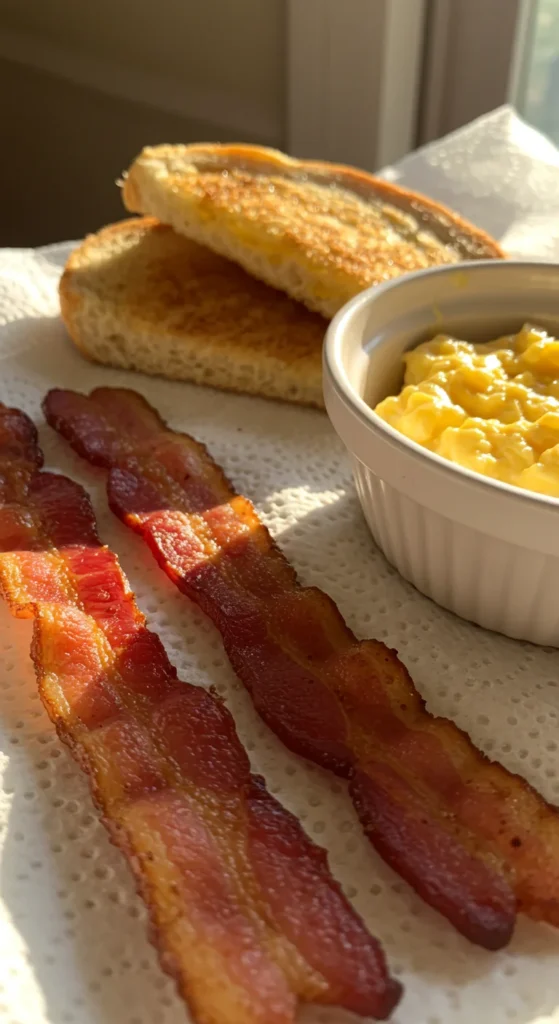
Bonus Ideas: Creative Ways to Use Crispy Bacon
Once you’ve mastered mess-free bacon, you’ll want to use it everywhere. Try these easy ideas:
- Crumble it over salads or baked potatoes.
- Layer it in breakfast sandwiches or burgers.
- Chop it and mix into pasta or roasted veggies.
- Dip it in melted dark chocolate for a sweet-and-salty snack (trust us, it’s amazing).
The possibilities are endless — and all start with mastering this oven technique.
Final Thoughts
Cooking bacon shouldn’t feel like cleaning up after a grease explosion. With the oven method, you get crisp, evenly cooked bacon every time — and the only thing you’ll be wiping down afterward is your satisfied smile.
So next weekend, skip the frying pan, grab a baking sheet, and let your oven do the work.