If you’ve ever tried baking gluten-free bread and ended up with something dense, crumbly, or dry — you’re not alone. Gluten-free baking can feel like a science experiment gone wrong. But don’t give up! With the right ingredients and techniques, you can make a soft, fluffy, and delicious loaf that rivals any bakery’s version.

Why Gluten-Free Bread Is Tricky (and How to Fix It)
Traditional bread gets its soft, stretchy texture from gluten — the protein that traps air bubbles as dough rises. Without it, the dough behaves more like thick batter than elastic bread dough.
The secret? You don’t need gluten to make great bread — you just need the right mix of flours, moisture, and patience.
Here’s what helps:
- Blend of flours: A mix of light (rice, tapioca) and heavy (sorghum, oat) flours gives structure and softness.
- Binders: Ingredients like xanthan gum or psyllium husk mimic gluten’s stretchiness.
- Hydration: Gluten-free dough needs more liquid for a tender crumb.
Once you understand these, making soft gluten-free bread becomes easy and rewarding.
Step 1: Gather the Right Ingredients
Before you begin, make sure you have everything ready. Gluten-free baking works best when you measure precisely.
You’ll Need:
- 2 cups gluten-free all-purpose flour blend (with xanthan gum included)
- 1 tablespoon sugar or honey
- 1 ½ teaspoons salt
- 1 tablespoon active dry yeast
- 1 ¼ cups warm milk or water (around 110°F / 43°C)
- 2 tablespoons olive oil or melted butter
- 2 large eggs, room temperature
Optional but recommended:
- 1 teaspoon apple cider vinegar (adds lift and softness)

Step 2: Activate the Yeast
In a small bowl, combine:
- Warm milk (or water)
- Sugar or honey
- Yeast
Let it sit for 5–10 minutes until foamy. This shows your yeast is alive and ready to help the bread rise. If it doesn’t foam, start over with fresh yeast — it’s the backbone of a good rise.
Step 3: Mix the Batter (Not Dough)
In a large bowl:
- Whisk together your flour blend and salt.
- Add the eggs, olive oil, vinegar, and activated yeast mixture.
- Mix well using a hand mixer or stand mixer for about 3–4 minutes until the batter is smooth and slightly sticky.
Unlike traditional dough, gluten-free bread batter will be much wetter — more like thick pancake batter than kneadable dough. That’s completely normal!

Step 4: Let It Rise
Transfer the batter into a greased 9×5-inch loaf pan and smooth the top with a spatula.
Cover it with a clean kitchen towel and let it rise in a warm, draft-free spot for about 30–40 minutes, or until it has doubled in size.
Tip: You can place it inside a turned-off oven with just the oven light on for a cozy, warm environment.
Don’t overproof — once it’s doubled, it’s ready to bake.
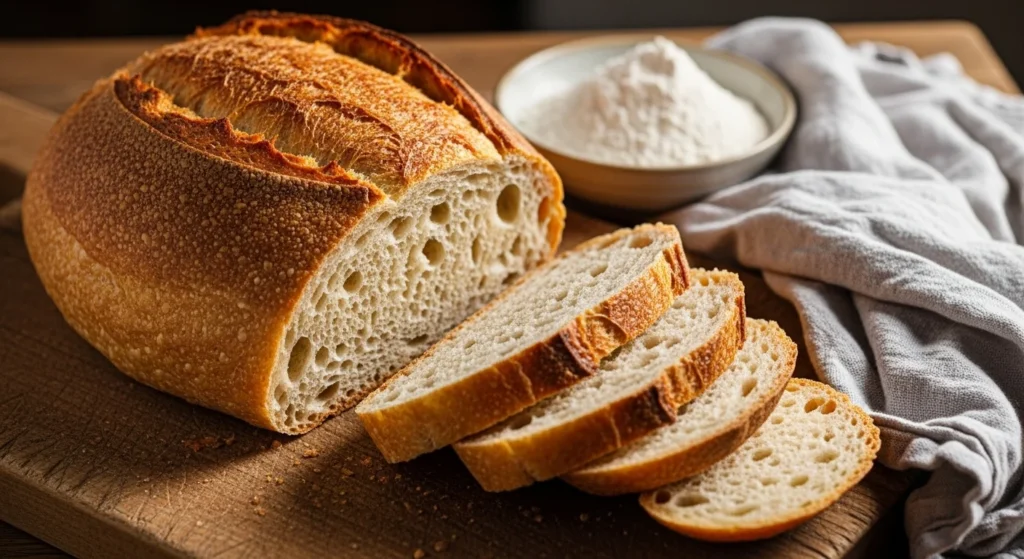
Step 5: Bake to Golden Perfection
Preheat your oven to 375°F (190°C).
Bake the bread for 35–40 minutes, or until:
- The top is golden brown.
- The loaf sounds hollow when tapped.
- A thermometer inserted in the center reads 200°F (93°C).
Let it cool in the pan for 10 minutes, then transfer to a wire rack to cool completely. Cutting too soon can make it gummy — patience pays off here!

Step 6: Store It Right for Lasting Softness
Gluten-free bread tends to dry out faster than regular bread, so proper storage is key.
- At room temperature: Wrap tightly and store for up to 2 days.
- In the fridge: Keeps for up to 5 days, but reheat slices briefly before eating.
- In the freezer: Slice before freezing, then thaw or toast directly from frozen for a quick breakfast.
Pro tip: A quick zap in the microwave (10–15 seconds) brings back that soft, fresh-baked feel!
Troubleshooting Tips
Even the best bakers have a few hiccups. Here’s how to handle common issues:
- Bread is dense: Add an extra tablespoon of liquid next time — gluten-free flours need more moisture.
- Bread didn’t rise: Yeast was old or water was too hot/cold. Always test your yeast first.
- Crumbly texture: Try adding an extra egg or ½ teaspoon xanthan gum for better binding.
- Soggy bottom: Bake on the middle rack and let it cool completely before slicing.

Step 7: Enjoy (and Customize!)
Your fresh gluten-free bread is ready! Serve it warm with butter, toast it for breakfast, or use it to make sandwiches that don’t fall apart.
Want to get creative?
- Add seeds or herbs for extra flavor.
- Mix in shredded cheese or garlic for a savory twist.
- Try substituting part of the liquid with buttermilk for a tender crumb.
Once you master the base recipe, the variations are endless.
Final Thoughts
Making soft gluten-free bread at home doesn’t have to be intimidating. With a few smart tricks and the right blend of ingredients, you can enjoy loaves that are moist, fluffy, and full of flavor — without any store-bought aftertaste.
So grab your mixing bowl, preheat that oven, and get ready to bake bread that tastes every bit as comforting as it looks.


