There’s nothing quite like the smell of freshly baked pizza wafting through your kitchen — golden crust, chewy inside, and that irresistible aroma of yeast and olive oil. While takeout might be convenient, homemade pizza dough is surprisingly simple and infinitely more satisfying. Once you master the basics, you’ll never want to go back to store-bought again.
Step 1: Gather Simple Ingredients
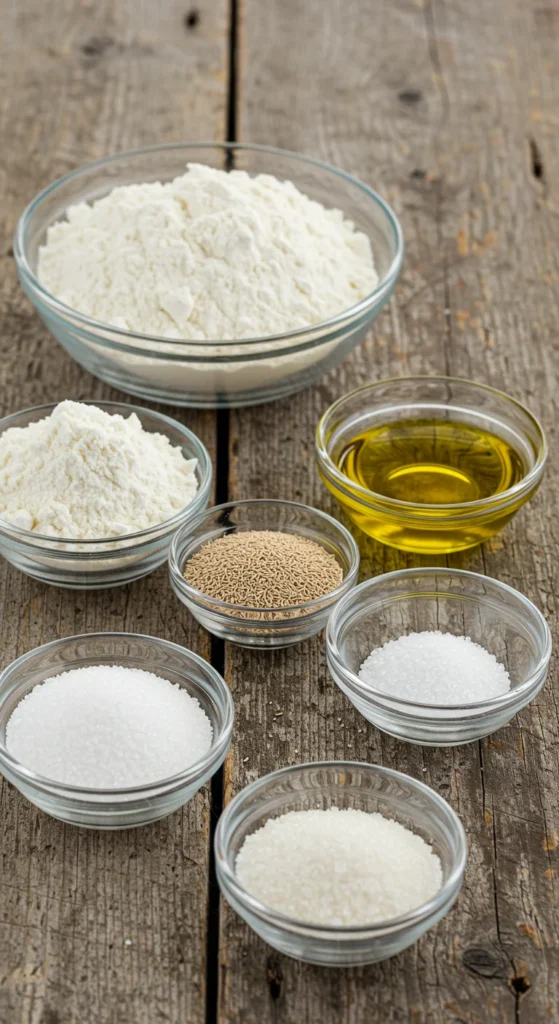
Homemade pizza dough doesn’t need anything fancy — just a few pantry staples and a little time. Here’s what you’ll need:
- 2¼ teaspoons active dry yeast (1 packet)
- ¾ cup warm water (about 110°F / 43°C)
- 2 cups all-purpose flour (plus a little extra for kneading)
- 1 teaspoon sugar (feeds the yeast)
- 1 teaspoon salt
- 1 tablespoon olive oil (plus more for greasing)
That’s it! These simple ingredients come together to create a dough that’s light, stretchy, and full of flavor.
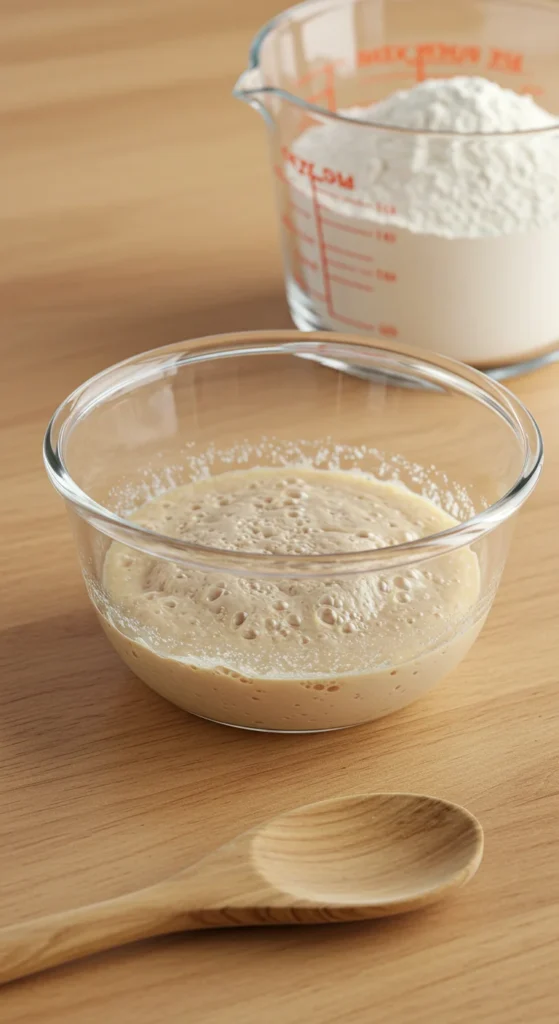
Step 2: Activate the Yeast
Yeast is what gives your dough that soft, airy rise and subtle tang. To activate it properly:
- In a small bowl, combine warm water, sugar, and yeast.
- Stir gently and let it sit for 5–10 minutes until it becomes frothy and bubbly.
If your yeast doesn’t foam up, it might be expired or the water was too hot. Start over with fresh yeast — it’s worth it.
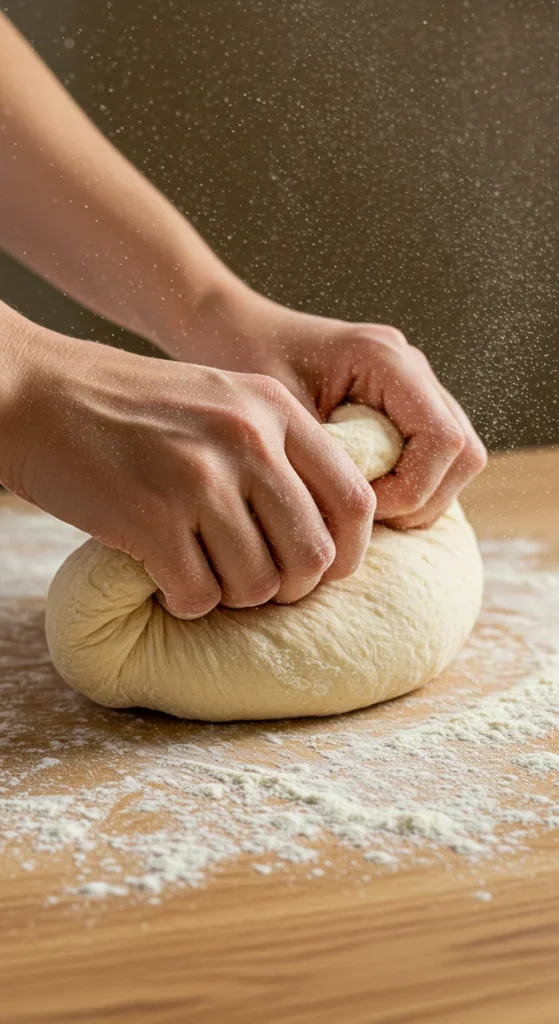
Step 3: Mix and Knead the Dough
Now the fun begins — time to bring your dough to life.
- In a large bowl, combine flour and salt.
- Make a well in the center and pour in the yeast mixture and olive oil.
- Mix with a spoon or your hands until a rough dough forms.
- Transfer to a lightly floured surface and knead for 7–10 minutes until smooth and elastic.
Pro tip: The dough should be soft but not sticky. If it clings to your hands, add a tablespoon of flour at a time until it feels right.
This kneading step builds gluten — the structure that gives pizza dough its chewiness and stretch.
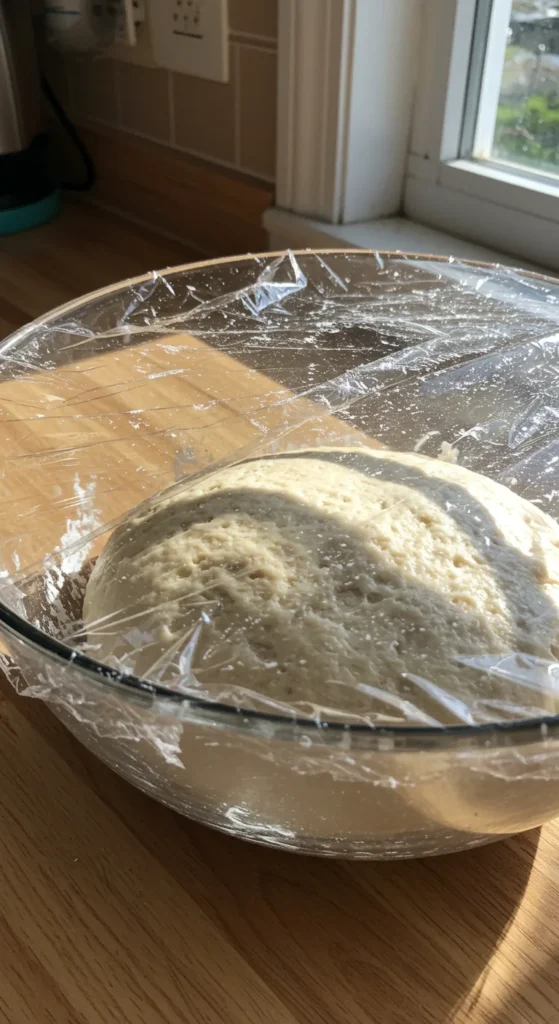
Step 4: Let It Rise
Now it’s time for the dough to rest and grow.
- Lightly oil a clean bowl and place the dough inside, turning it to coat all sides.
- Cover with a damp towel or plastic wrap.
- Let it rise in a warm, draft-free spot for 1 to 1½ hours, or until it doubles in size.
If your kitchen is cool, you can place the bowl inside your (turned-off) oven with the light on — it creates the perfect cozy environment for yeast to work its magic.
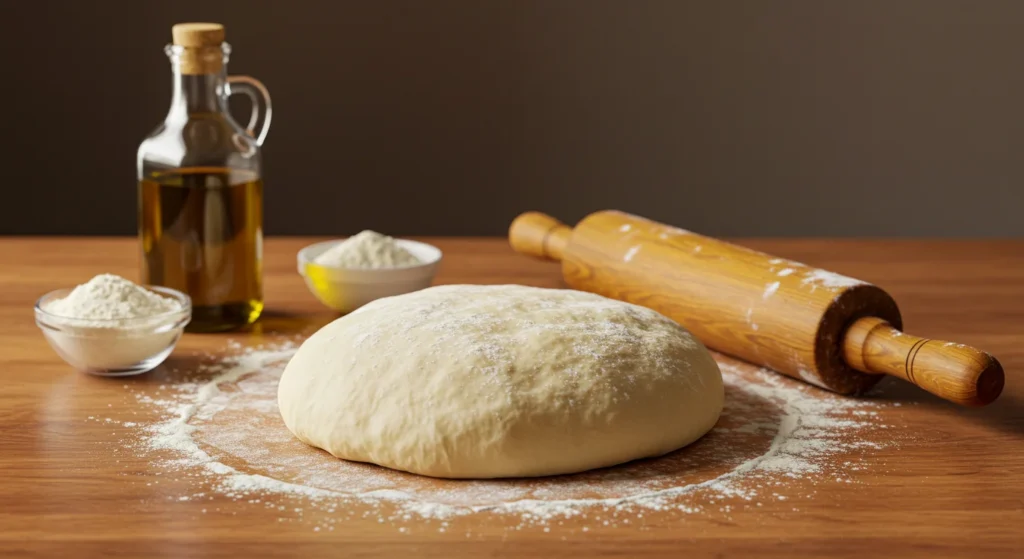
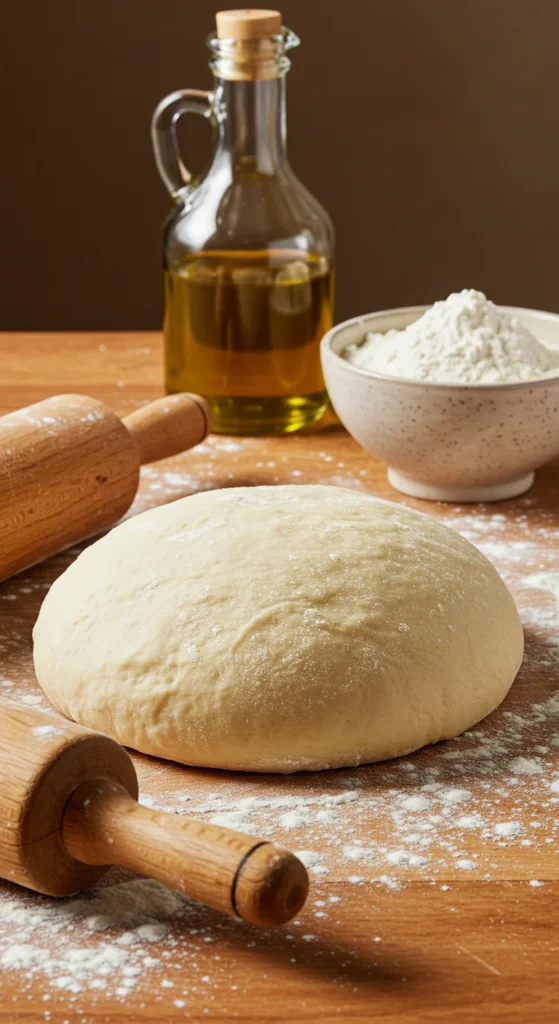
Step 5: Shape and Prepare for Toppings
Once your dough has risen, give it a quick punch-down to release excess air.
- For thin crust: Divide the dough in half and roll each portion into a 12-inch circle.
- For thicker crust: Use the entire dough ball for one pizza.
Dust your work surface and rolling pin with flour or cornmeal to prevent sticking. If you prefer a more rustic shape, skip the rolling pin and stretch the dough by hand for that artisan look.
Transfer your dough to a parchment-lined baking sheet or pizza stone, and you’re ready to top it!
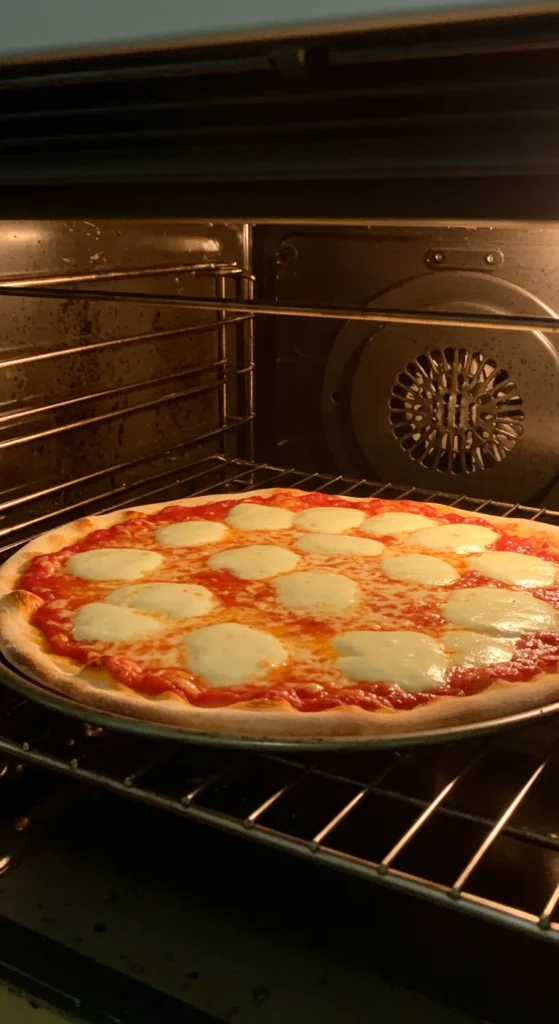
Step 6: Add Toppings and Bake
Here’s where you can unleash your creativity — the dough is your canvas!
Classic combinations include:
- Margherita: Tomato sauce, mozzarella, and fresh basil.
- Pepperoni: Spicy pepperoni slices with a sprinkle of oregano.
- Veggie Delight: Bell peppers, onions, mushrooms, and olives.
Bake at 475°F (245°C) for 12–15 minutes, or until the crust is golden and the cheese is bubbly.
If you have a pizza stone, preheat it with the oven for a crisp, pizzeria-style crust.
Step 7: Serve and Enjoy
Once your pizza is baked to perfection, let it rest for a minute before slicing — this keeps the cheese from sliding off.
Slice with a sharp pizza cutter and serve immediately while the crust is still crisp and the cheese is gooey.
Pair it with:
- A drizzle of olive oil or balsamic glaze
- Fresh basil or chili flakes for extra flavor
- A simple green salad on the side

Final Thoughts
Making homemade pizza dough might sound intimidating, but it’s one of those kitchen skills that quickly becomes second nature. Once you’ve mastered this easy recipe, you can experiment endlessly — whole wheat crusts, garlic-infused bases, or even mini pizzas for family nights.


