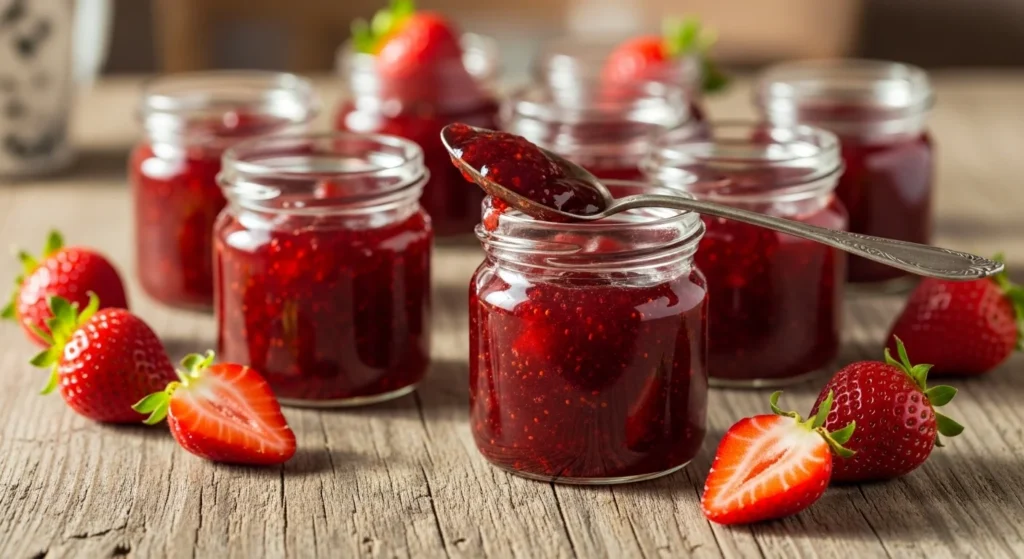
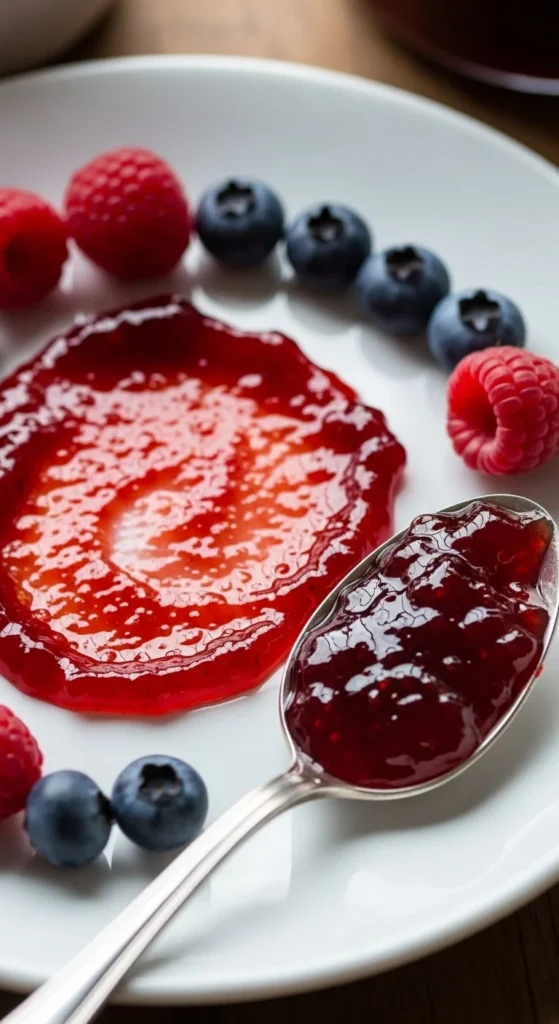
Few things capture the taste of summer like a spoonful of homemade jam. Sweet, fruity, and spreadable, it’s pure nostalgia in a jar. The best part? You don’t need store-bought pectin to make it!
Homemade jam without pectin is easier than it sounds—it just takes a bit of patience, the right fruit, and a good simmer. Whether you’re preserving strawberries, peaches, or raspberries, this simple method will help you make naturally thick, flavorful jam that tastes like sunshine and effort combined.
Why Skip the Pectin?
Commercial pectin helps jam set quickly, but it also requires more sugar—and that can drown out the fruit’s natural flavor. When you make jam the traditional way, you rely on the fruit’s natural pectin and slow cooking to achieve the perfect texture.
That means:
- More fruit flavor and less processed sugar.
- Customizable sweetness (great for low-sugar diets).
- A simpler ingredient list—just fruit, sugar, and lemon juice.
Step 1: Choose the Right Fruit
Not all fruits have the same amount of natural pectin. Fruits like apples, citrus, cranberries, and blackberries are naturally high in it, while strawberries, cherries, and peaches are lower.
If your fruit is low in pectin, no problem—just add a little lemon juice, which helps the jam thicken and balance sweetness.
Best Fruits for No-Pectin Jam:
- Strawberries
- Raspberries
- Blueberries
- Peaches
- Plums
- Apricots
You can even combine fruits (like strawberry-rhubarb or peach-raspberry) for more complex flavors.
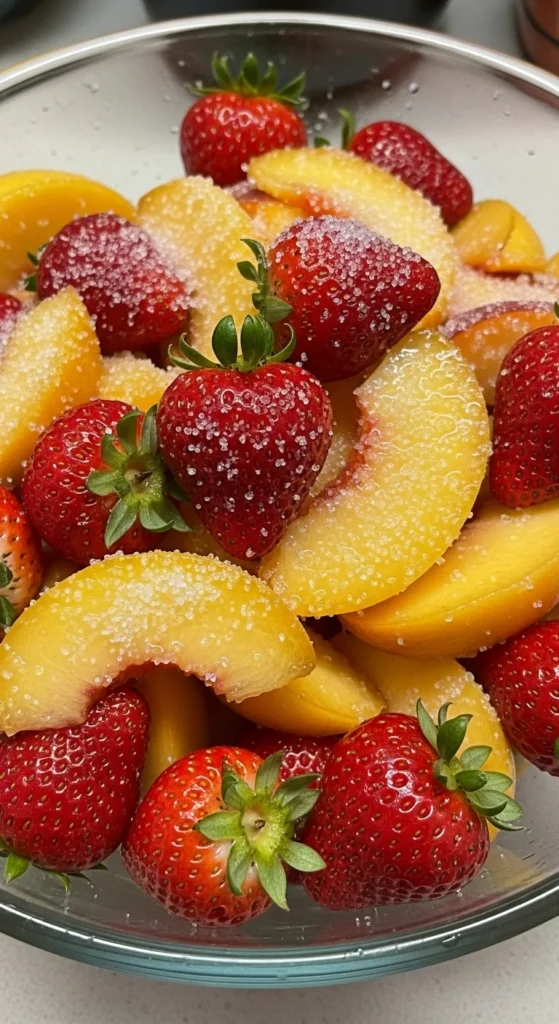
Step 2: Measure Ingredients
Here’s the simple formula that works every time:
- 2 pounds of fruit (about 6 cups, chopped)
- 1½ to 2 cups sugar (adjust to taste)
- 2 tablespoons lemon juice
That’s it! No fancy ingredients or additives required.

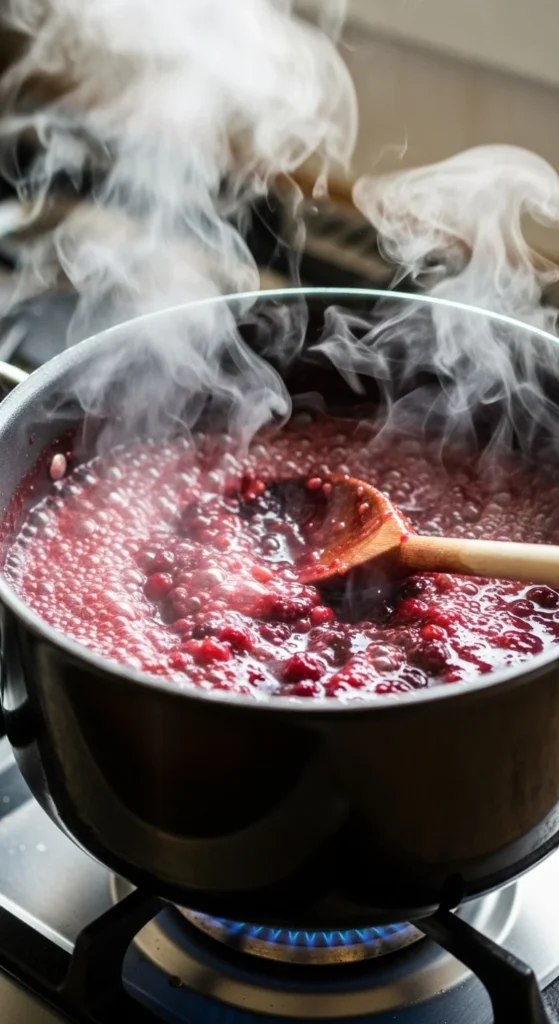
Step 3: Cook It Slow and Steady
Cooking is where the magic happens.
- Combine your fruit, sugar, and lemon juice in a large, heavy-bottomed pot.
- Let it sit for 15–30 minutes to draw out the fruit juices.
- Turn the heat to medium and bring it to a gentle boil, stirring often.
- Once it starts bubbling, reduce the heat and simmer until the mixture thickens.
This can take 30–45 minutes, depending on the fruit and how thick you like your jam. Skim off any foam that forms on top—it’s harmless but not very pretty.
Pro tip: As it cooks, the fruit will break down naturally. You can leave it chunky for rustic jam or mash it gently for a smoother texture.
Step 4: Test for Doneness
The trick to knowing when your jam is ready is the chill test:
- Place a small plate in the freezer for 5 minutes.
- Spoon a little hot jam onto the cold plate and wait 30 seconds.
- Run your finger through it—if the jam wrinkles and holds its shape, it’s done!
- If it’s still runny, cook for a few more minutes and test again.
Be careful not to overcook; jam thickens more as it cools.
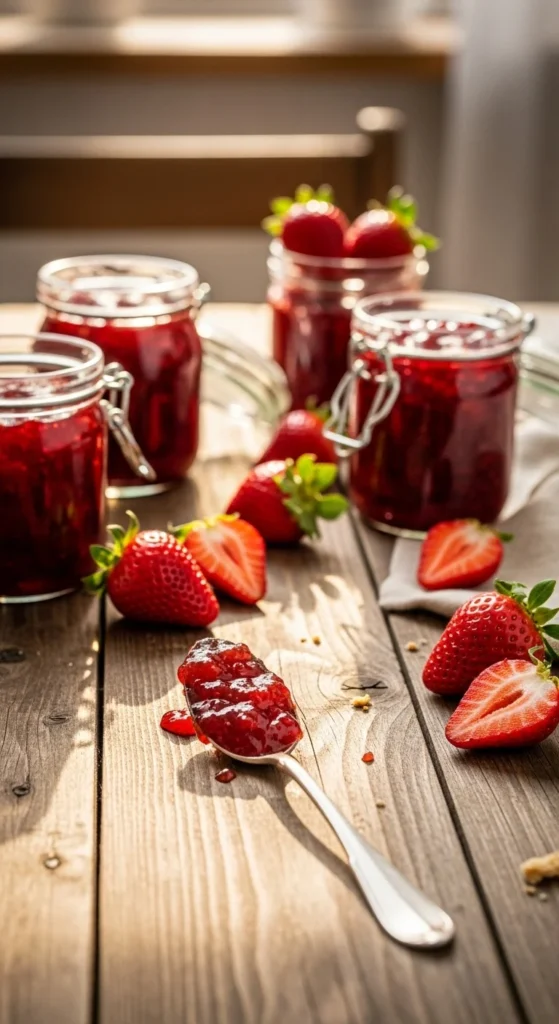
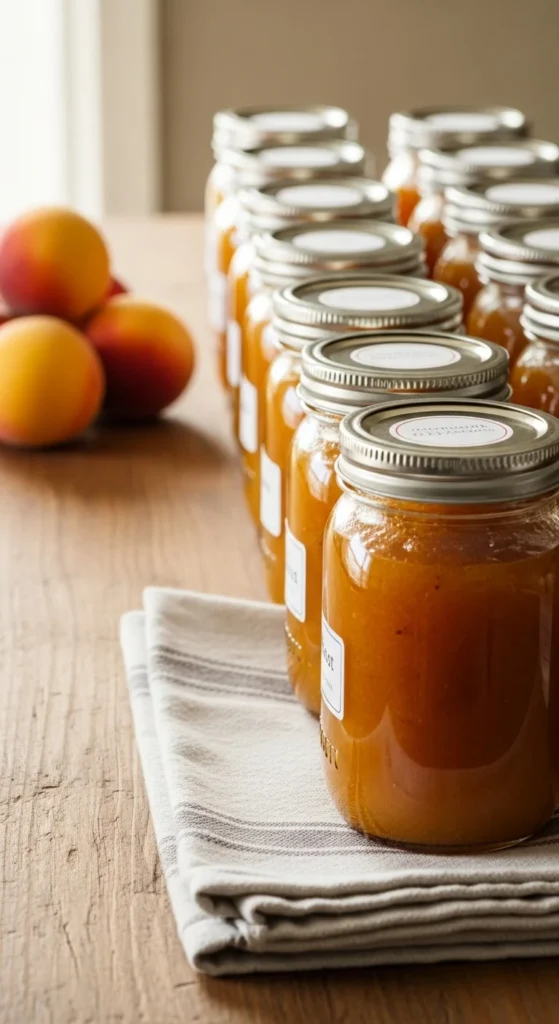
Step 5: Jar and Store
Once your jam is the perfect consistency:
- Pour it into sterilized jars while hot.
- Leave a little space at the top (about ¼ inch).
- Seal tightly with clean lids.
For short-term storage, keep your jars in the refrigerator for up to 3 weeks. For longer storage, process them in a boiling water bath for 10 minutes to make them shelf-stable.
Let the jars cool completely before labeling and storing in a cool, dark place.
Flavor Upgrades to Try
Once you’ve mastered the basics, get creative with flavor combinations! Try adding:
- A dash of vanilla extract or almond extract for warmth.
- A sprig of thyme or basil for herbal notes.
- A pinch of cinnamon or ginger for cozy spice.
- A splash of balsamic vinegar for depth in berry jams.
These small twists can turn a simple jam into something truly gourmet.
The Sweet Takeaway
Making jam without pectin is old-fashioned in the best way—it’s slow, simple, and full of flavor. You don’t need fancy equipment or additives, just good fruit and a little time.
Homemade jam captures the essence of the season and makes the perfect gift (if you can resist keeping it all for yourself).
So grab your favorite fruit, a big pot, and start simmering. Your kitchen will smell like pure happiness.


