There’s something magical about making bread that starts with just flour, water, and a little patience. Creating your own sourdough starter feels like nurturing a tiny, living kitchen pet — one that rewards you with tangy, beautifully risen loaves. The best part? You don’t need any fancy equipment or secret ingredients — just a bit of consistency and curiosity.
Let’s walk through every step to help you make your own sourdough starter from scratch — right in your kitchen.
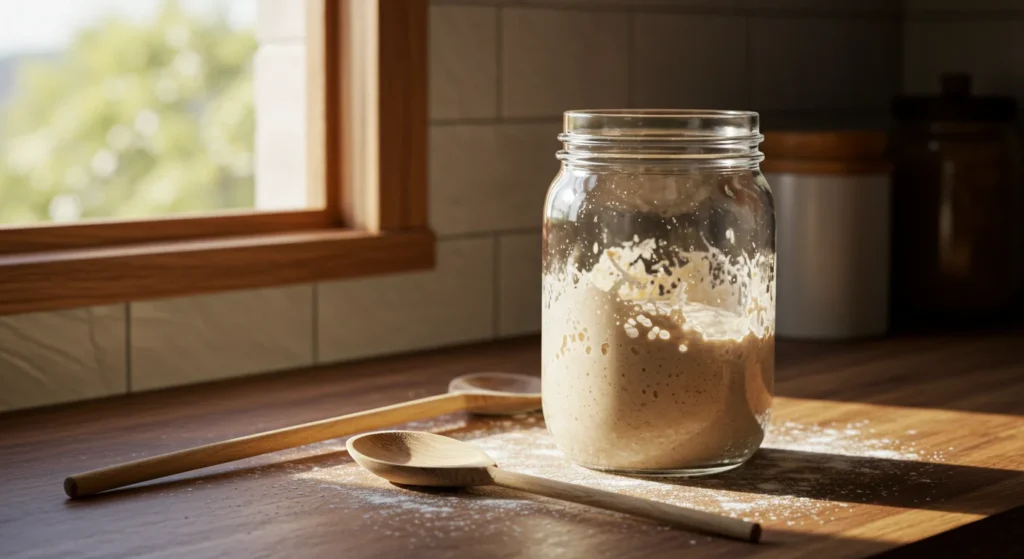
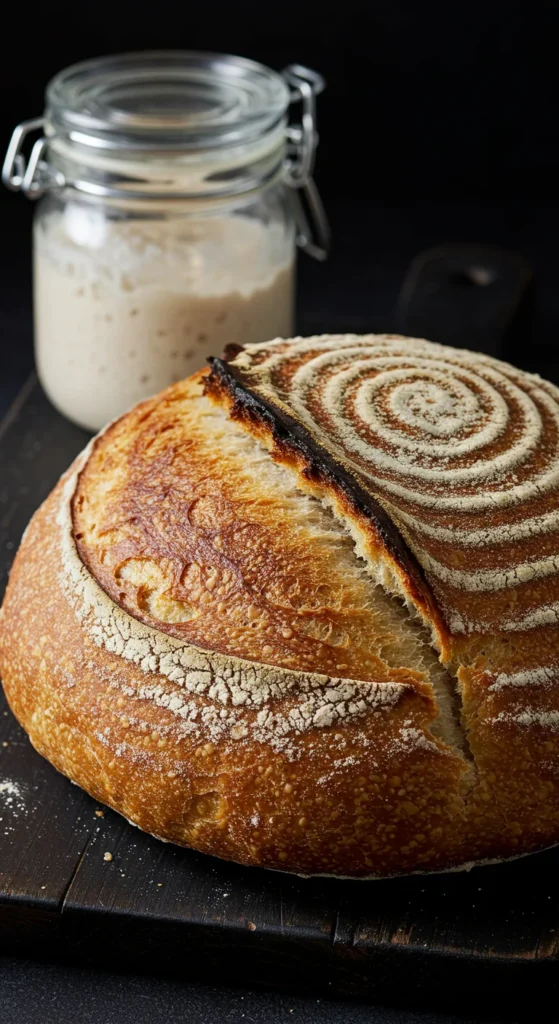
What Is a Sourdough Starter?
A sourdough starter is a natural mix of flour and water that captures wild yeast and bacteria from the environment. Over time, it becomes a bubbly, active culture that gives sourdough bread its unique flavor and rise.
Unlike commercial yeast, which works fast, a starter develops slowly — bringing complexity and depth to your bread. It’s alive, ever-changing, and can last for years if you care for it.
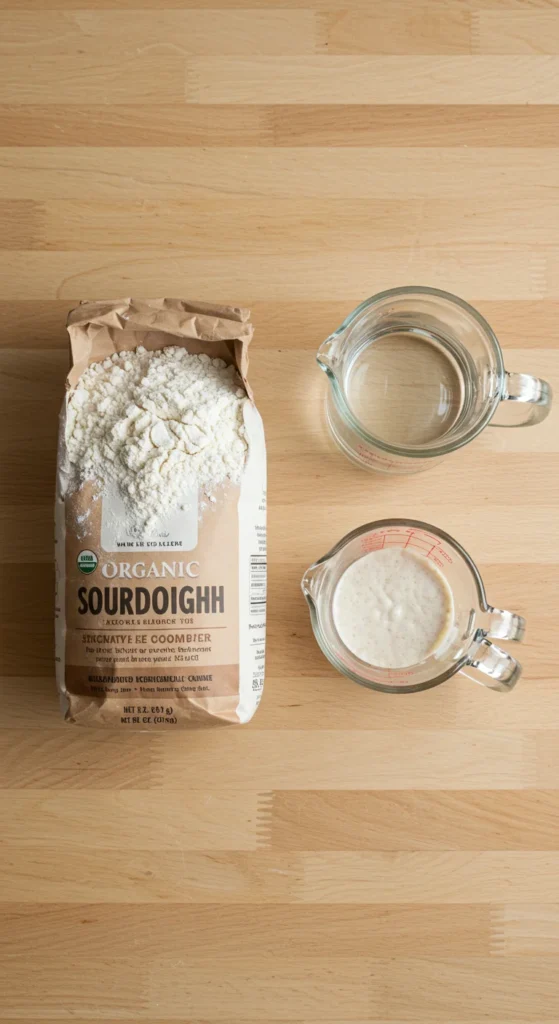
What You’ll Need
You’ll be amazed at how simple the list is:
- Flour: Use whole wheat or rye flour for the first few days; they have more natural yeast.
- Water: Filtered or dechlorinated water works best.
- A clean glass jar or bowl (with a loose-fitting lid).
- A spoon or chopstick for stirring.
That’s it — no yeast packets or sugar required!
Step 1: Combine Flour and Water
Start by mixing equal parts flour and water by weight — for example, 100 grams of flour and 100 grams of water (about ¾ cup flour and ½ cup water if you don’t have a scale).
- Stir until no dry spots remain.
- The consistency should be like thick pancake batter.
- Cover the jar loosely so air can flow.
Now, let it rest at room temperature (70–75°F or 21–24°C) for 24 hours.
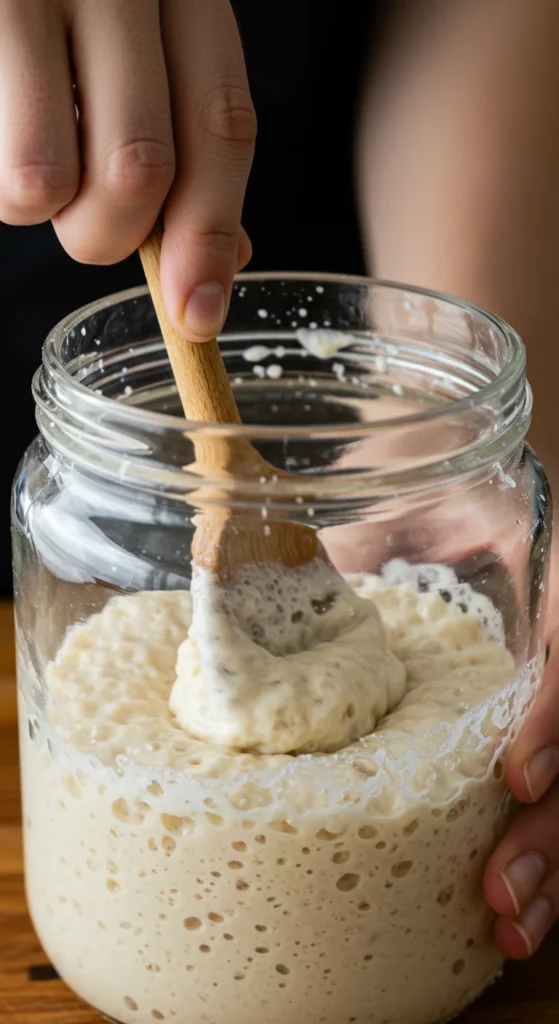
Step 2: Feed It Daily
After the first day, you might see a few bubbles — that’s the start of fermentation! Each day, you’ll “feed” your starter to keep the wild yeast active.
Here’s what to do daily:
- Discard half of your starter (so it doesn’t overflow).
- Add 100 grams flour + 100 grams water.
- Mix until smooth, cover loosely, and let it sit.
You’ll start noticing:
- More bubbles.
- A mild tangy smell.
- Slight expansion in the jar.
That’s your yeast and bacteria doing their job!
Step 3: Watch for Signs of Life
By Day 3 or 4, your starter should be noticeably active — doubling in size, forming bubbles, and giving off a pleasant, slightly fruity aroma.
Signs it’s working:
- The surface is foamy and airy.
- The smell is mildly sour, not funky.
- If you scoop a spoonful, it feels light and spongy.
If it’s sluggish, don’t worry! Cool kitchens may slow things down. Keep feeding daily — it will wake up eventually.
Step 4: Move to a Regular Feeding Schedule
Once your starter doubles in volume within 6–8 hours of feeding, it’s ready to bake with. 🎉
At this point, you can move it to maintenance mode:
- If baking daily: Keep it at room temperature and feed once every 24 hours.
- If baking weekly: Store it in the fridge and feed once a week.
To feed after refrigeration:
- Remove from the fridge.
- Discard half and feed as usual.
- Let it sit at room temperature until bubbly again.

Step 5: Give It a Name (Optional, but Fun!)
Many sourdough bakers name their starters — think of it as your baking companion! Names like “Doughy Parton” or “Bread Pitt” might sound silly, but it makes the process more personal and fun.
A healthy starter becomes your foundation for countless loaves — rustic sourdoughs, pancakes, pizza dough, and even muffins.
Common Troubleshooting Tips
1. No bubbles after a few days?
- Try moving the jar to a warmer spot.
- Switch to whole wheat flour for a few feedings to boost activity.
2. Strong or unpleasant odor?
- That’s normal in the early stages — just keep feeding. It balances out as the yeast overtakes the bacteria.
3. A layer of liquid (“hooch”) on top?
- It’s harmless alcohol formed by fermentation. Stir it in or pour it off before feeding.
Step 6: Put It to Use!
When your starter is active, you can finally bake your first loaf. Use a portion of the starter in your recipe and save a little in the jar to keep it going.
Here’s how to check readiness:
- Drop a spoonful in water — if it floats, it’s ready to use!
Keep It Alive
Think of your starter like a plant — feed it regularly and it will thrive for years. Many families pass down their starters from generation to generation, making every loaf a little piece of history.
Final Thoughts
Making a sourdough starter from scratch connects you to a centuries-old tradition of slow, mindful baking. It’s about patience, observation, and joy — watching something alive come to life in your kitchen.


