Pie baking is one of life’s simple joys—warm, flaky crust, luscious filling, and that irresistible aroma that fills the kitchen. But let’s be honest: rolling out pie dough can be stressful, messy, and downright intimidating. Enter the no-roll pie crust—a foolproof way to get a tender, buttery crust without the floured mess or wrestling with sticky dough.
Ingredients You’ll Need
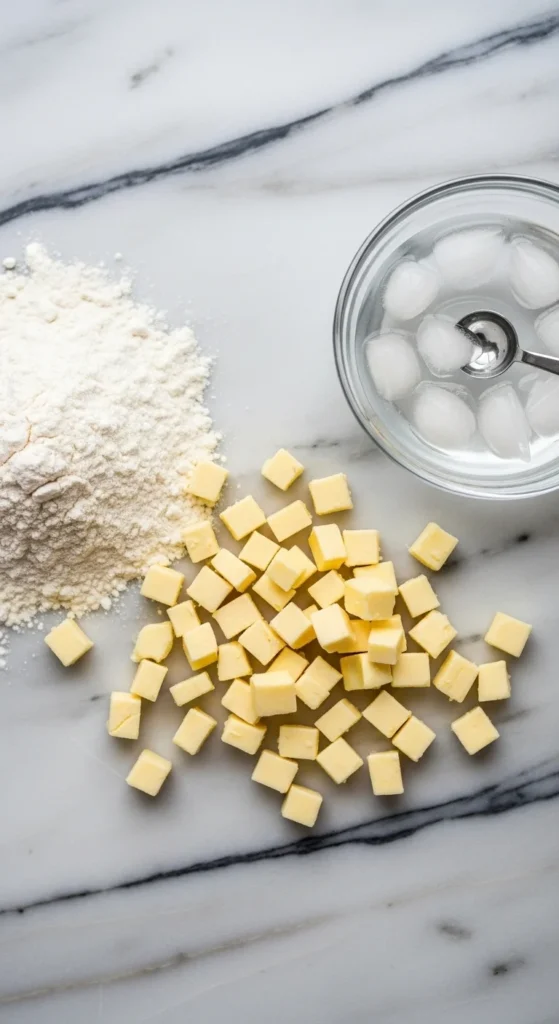
No-roll crusts are simple, requiring just a few basic pantry staples. Here’s what you’ll need:
- 2 ½ cups all-purpose flour
- 1 tsp salt
- 1 cup (2 sticks) unsalted butter, cold and cubed
- ½ cup ice water (add more if needed)
- Optional: 1 tsp sugar for a slightly sweet crust
Tip: Cold butter is key! It creates the flaky layers you love in pie crust.
Step 1: Mix the Dry Ingredients
In a large mixing bowl, whisk together the flour, salt, and sugar (if using). This ensures even distribution of salt and sweetness throughout the crust.
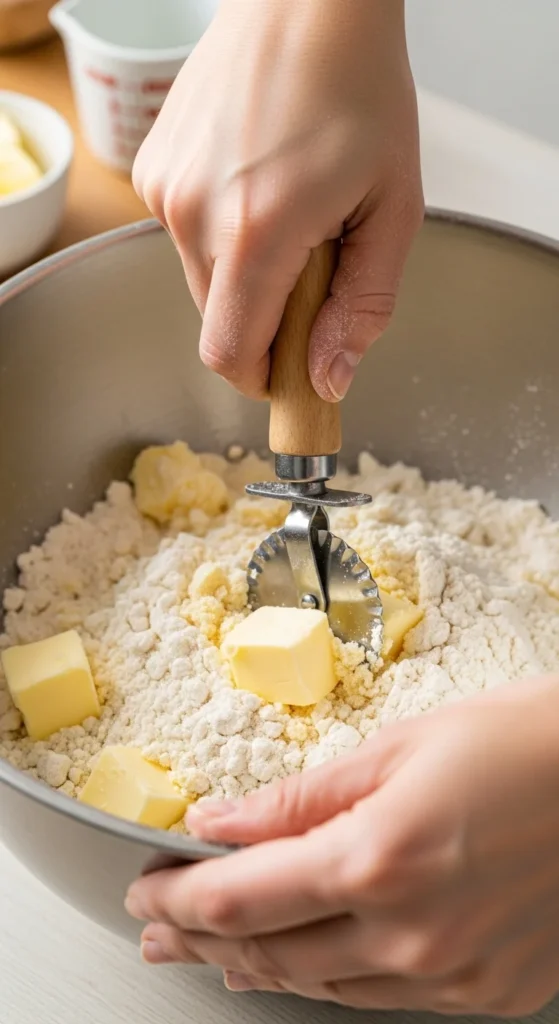
Step 2: Cut in the Butter
Add the cold, cubed butter to the flour mixture. Use a pastry cutter, two forks, or even your hands to work the butter into the flour until the mixture resembles coarse crumbs with pea-sized pieces.
Pro Tip: You want small chunks of butter still visible—they create those coveted flaky layers in the crust.
Step 3: Add Ice Water
Gradually drizzle in ice water, stirring gently with a fork until the dough just comes together. It should be moist but not sticky. Avoid overmixing, or you’ll end up with a tough crust.
Tip: If the dough seems too dry, add water one teaspoon at a time. Too much water will make it sticky and hard to handle.
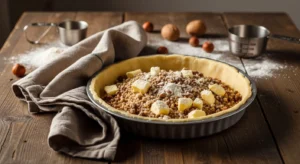
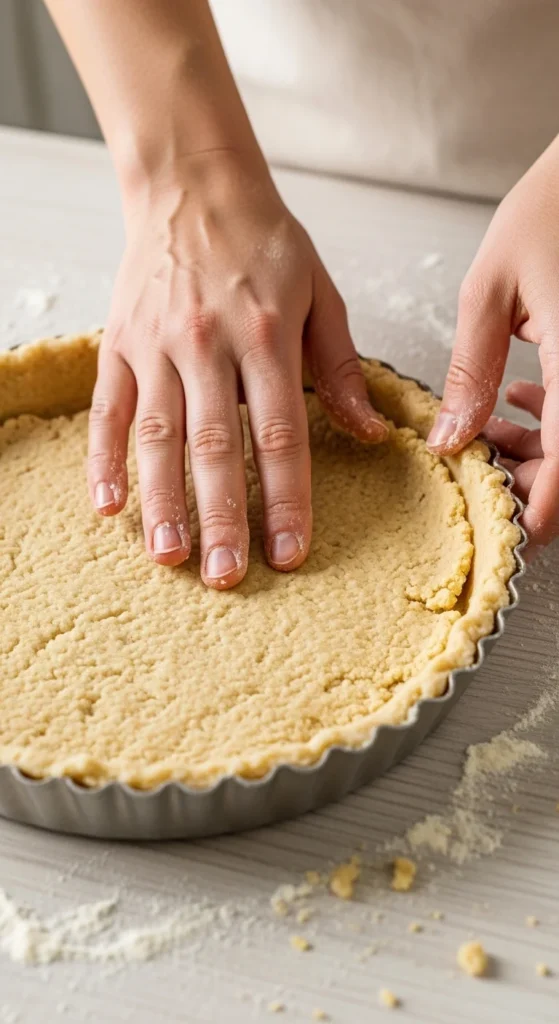
Step 4: Press Into the Pie Pan
Instead of rolling, transfer the dough directly to your pie pan. Use your fingers to press the dough evenly across the bottom and up the sides. Patch any cracks or gaps with extra dough.
Optional: Chill the crust for 15–20 minutes before baking to help it hold its shape and prevent shrinking.
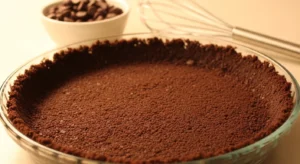
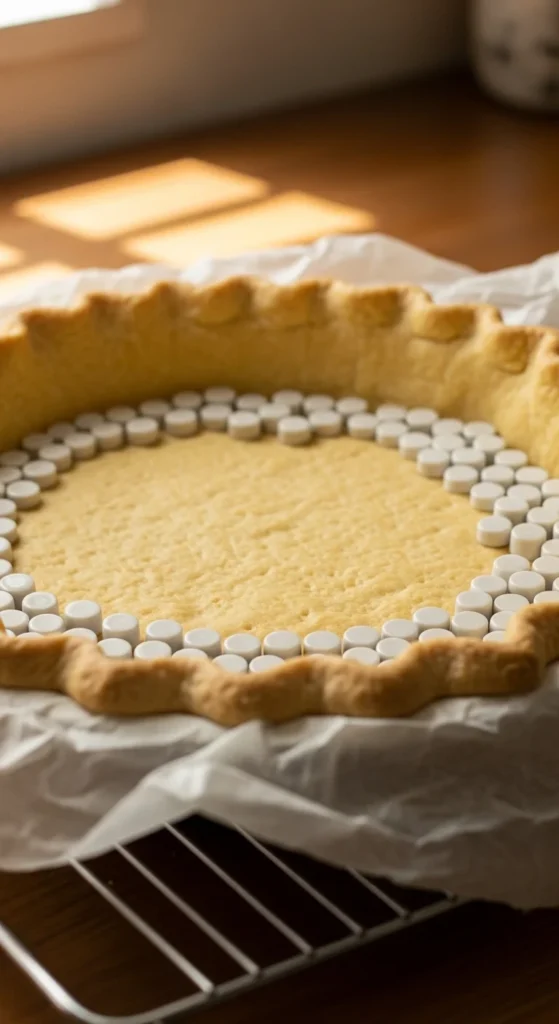
Step 5: Blind Bake (If Needed) or Fill
- For custard or cream pies: pre-bake the crust. Line with parchment paper, fill with pie weights or dried beans, and bake at 375°F (190°C) for 15 minutes. Remove weights and bake another 5–7 minutes until lightly golden.
- For fruit pies: you can fill directly and bake according to your pie recipe.
Tip: No-roll crusts brown beautifully and hold fillings well, even without rolling.
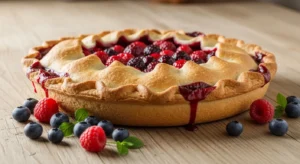
Step 6: Add Filling and Bake
Pour in your favorite filling—apple, pumpkin, cherry, or chocolate cream—and bake as directed in your recipe. Watch the edges for a light golden color, and cover with foil if they brown too quickly.
Optional: Brush the top edge with an egg wash for a glossy, golden finish.
Tips for a Perfect No-Roll Crust
- Keep it cold: Chill all ingredients and handle dough minimally.
- Use your hands: Gently pressing dough into the pan works better than rolling for a no-roll crust.
- Patch wisely: Any cracks can be patched with extra dough, pressed lightly.
- Add flavor: Mix a teaspoon of vanilla or a pinch of sugar into the dough for subtle sweetness.
- Storage: Wrap leftover dough in plastic wrap and refrigerate for up to 3 days, or freeze for up to 1 month.
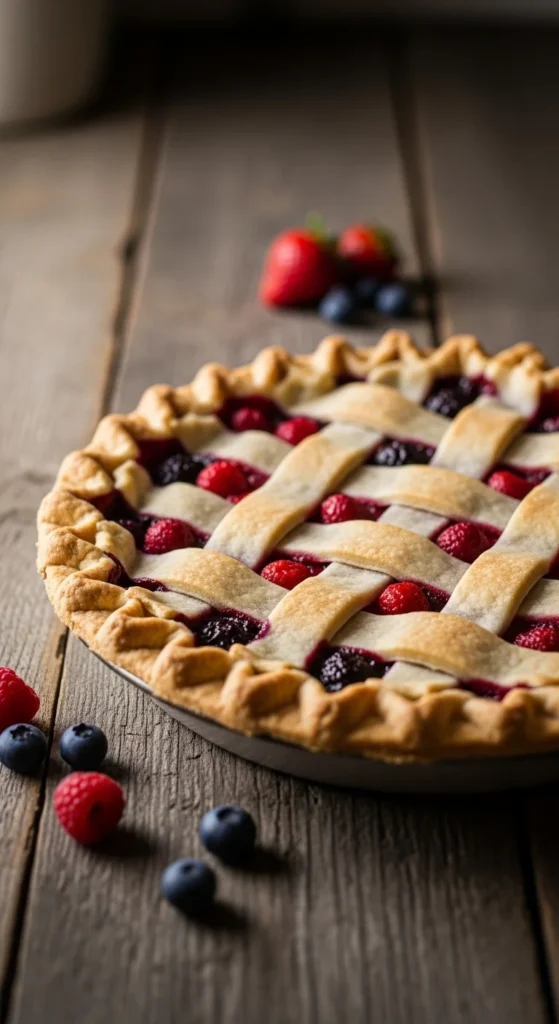
Final Thoughts
With a no-roll pie crust, stress-free baking is finally possible. Tender, flaky, and buttery, this crust is perfect for any pie filling—fruit, custard, or cream. Skip the rolling pin, save yourself time, and still impress everyone with a homemade pie that looks and tastes amazing.
Save this recipe for later and enjoy baking without the fuss!