

Poaching an egg might look intimidating — a delicate orb floating in simmering water, just seconds away from disaster. But with the right technique and a few insider tricks, you can make café-quality poached eggs right in your kitchen — no broken yolks, no mess, just perfection. Whether you’re topping your avocado toast, building eggs Benedict, or adding protein to a bowl of ramen, mastering the poached egg is a skill every home cook deserves.
What You’ll Need
Before diving in, let’s make sure you’ve got the essentials ready:
- Fresh eggs (the fresher, the better — they hold together beautifully)
- A deep saucepan
- White vinegar (just a splash helps the whites set faster)
- A slotted spoon
- A small bowl or ramekin
- Paper towels

Step 1: Start with the Freshest Eggs
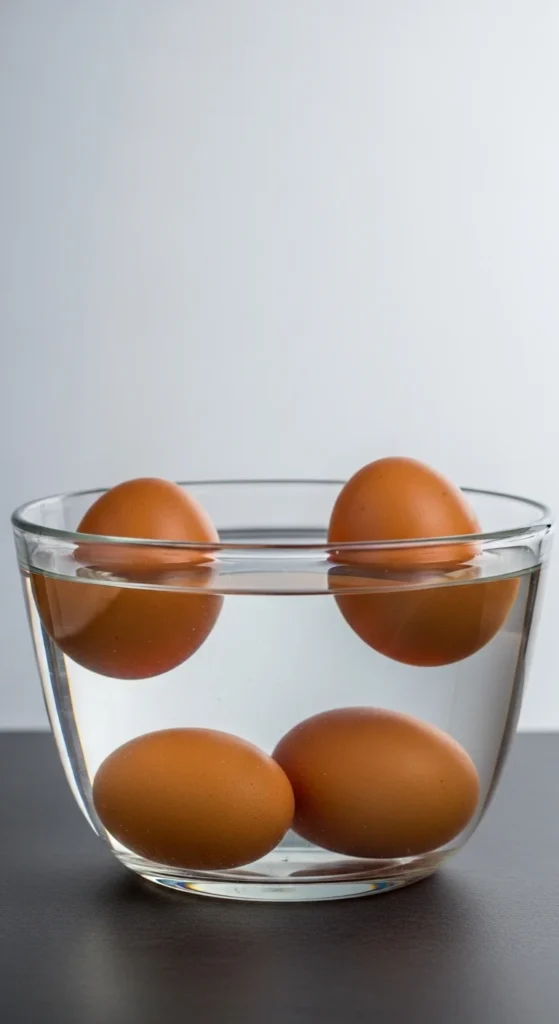
Fresh eggs are key — the whites are firm and compact, which means they won’t spread all over the pot. To test freshness, place an egg in a bowl of water:
- If it sinks and lays flat, it’s perfect.
- If it tilts upward, it’s still okay.
- If it floats, it’s old — save it for scrambled eggs instead.
Step 2: Heat the Water (But Don’t Boil It)
Bring about 3 inches of water to a gentle simmer — not a rolling boil. Tiny bubbles should form at the bottom, but the surface should stay mostly calm.
- Ideal temperature: around 180–190°F (82–88°C)
- Add 1 tablespoon of vinegar to help the egg white set faster.
Boiling water creates too much turbulence, which can tear your egg apart. Think of it like a spa bath, not white-water rafting.
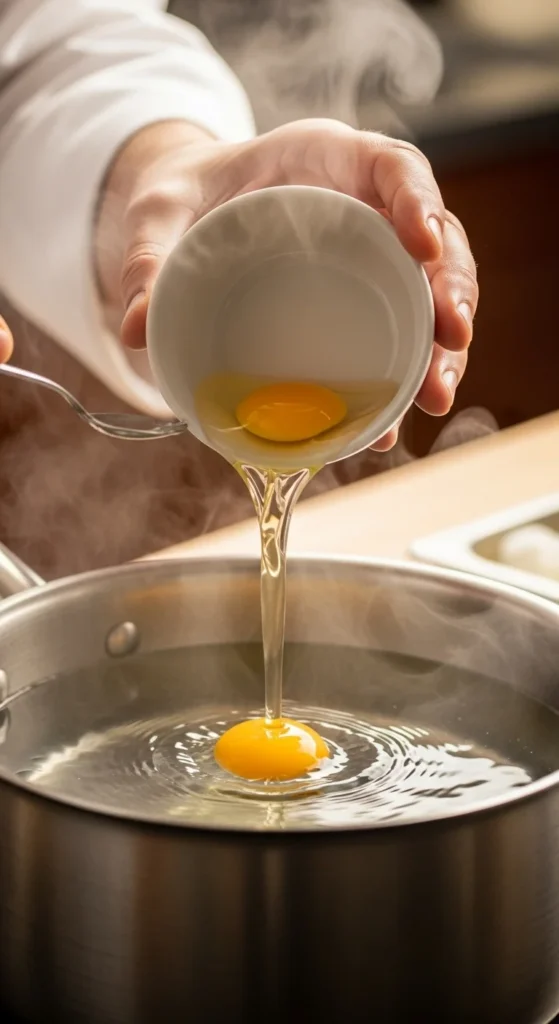
Step 3: Crack Into a Bowl First
Never crack your egg directly into the pot — that’s a recipe for chaos. Instead, crack it into a small bowl or ramekin first. This gives you control when gently sliding it into the water.
Pro tip: Strain the egg through a fine mesh sieve to remove any thin, watery whites before poaching. You’ll be left with a perfectly round egg every time.
Step 4: Create a Gentle Swirl
Before adding your egg, use a spoon to stir the water in one direction, creating a soft whirlpool. This motion helps wrap the egg white around the yolk, forming that signature smooth, teardrop shape.
Then, slowly lower the egg into the center of the swirl. Watch as the white begins to hug the yolk and solidify.
Cook Time:
- Runny yolk: 2½–3 minutes
- Slightly firmer yolk: 3½–4 minutes
Resist the urge to poke or move the egg during this time — just let it float and work its magic.
Step 5: Lift and Drain Carefully
Once the egg is set and the white looks opaque, use your slotted spoon to gently lift it out. Let it rest on a paper towel to absorb extra water — this keeps your toast from getting soggy.
Check doneness: Give it a gentle poke. The white should feel firm, but the yolk should still feel soft beneath.

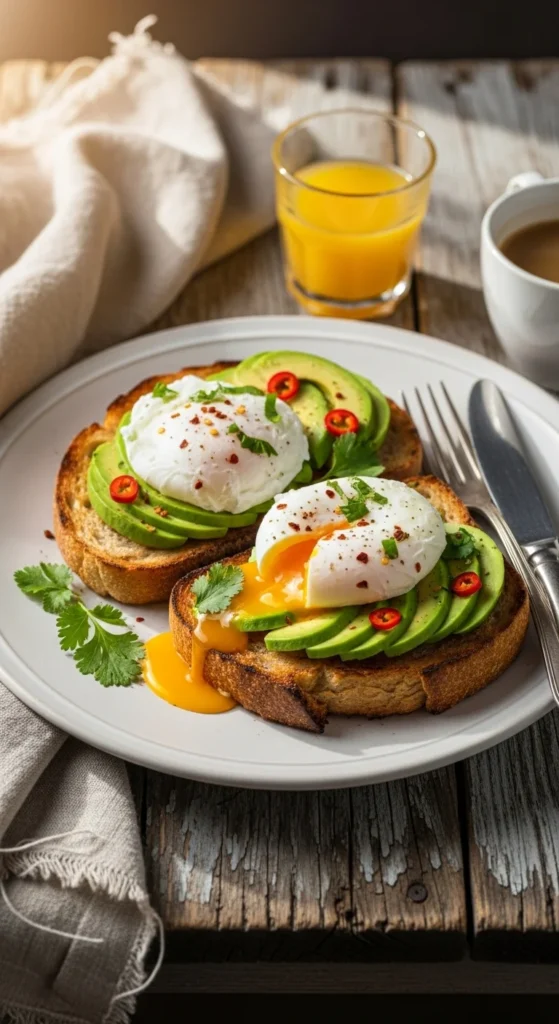
Step 6: Season and Serve Like a Pro
Now comes the best part — serving your creation!
Try one of these simple pairings:
- On buttered sourdough toast with smashed avocado and chili flakes.
- Over a bowl of ramen or sautéed spinach.
- On a Benedict-style English muffin with hollandaise sauce.
Sprinkle with sea salt, cracked black pepper, and maybe a few herbs for that picture-perfect finish.
Common Poaching Mistakes (and How to Fix Them)
Problem 1: Egg whites spreading everywhere
→ Your water was too hot or the egg wasn’t fresh enough.
Problem 2: The yolk breaks
→ The water was boiling too hard, or you dropped the egg too fast.
Problem 3: Rubbery texture
→ Overcooked! Set a timer next time — even 30 extra seconds makes a difference.
Problem 4: Vinegar taste too strong
→ Use just a teaspoon next time — enough to help, but not enough to flavor.
Final Tips for Perfect Poaching
- Poach one egg at a time for best control.
- Keep the water clean by removing stray whites between batches.
- Serve immediately — poached eggs are at their best right after cooking.
- Need to make ahead? Place poached eggs in cold water, then reheat later in hot (not boiling) water for 30 seconds.
The Takeaway
Poaching eggs is one of those small kitchen victories that feels incredibly satisfying once you master it. With a gentle hand, the right water temperature, and a bit of patience, you’ll turn fragile eggs into silky, picture-perfect masterpieces every single time.


