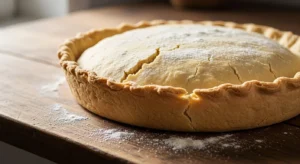
There’s something deeply satisfying about mastering a simple pastry dough. No mixers. No fancy tricks. Just flour, fat, and a light touch.
Classic shortcrust pastry is the foundation of countless pies and tarts — from savory quiches to sweet fruit galettes. When made correctly, it’s short and crumbly, tender yet sturdy enough to hold filling without turning tough.
The secret? A 2:1 flour-to-fat ratio and minimal gluten development.
Let’s break down how to make classic shortcrust pastry from scratch — step by step.
Understand the 2:1 Ratio (The Foundation of “Shortness”)
Shortcrust pastry gets its name from its “short” texture — meaning crumbly and tender.
The magic formula:
2 parts flour : 1 part fat (by weight)
For a standard tart shell, you’ll typically use:
- 250g flour
- 125g cold butter (or butter-lard blend)
- Pinch of salt
- 1–2 tablespoons ice water
That’s it.
For sweet versions (pâte sucrée), you can add:
- 1–3 tablespoons sugar
- 1 egg yolk (for richness and tenderness)
The higher fat content coats flour particles, preventing excess gluten — and that’s what keeps the pastry tender.
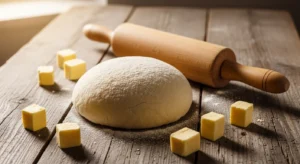
Step 1: Keep Everything Cold
Cold ingredients are non-negotiable.
- Cold butter
- Cool hands
- Even chilled flour if your kitchen is warm
Cold fat creates delicate layers and prevents greasy dough.
Cut butter into cubes and keep it refrigerated until the moment you use it.
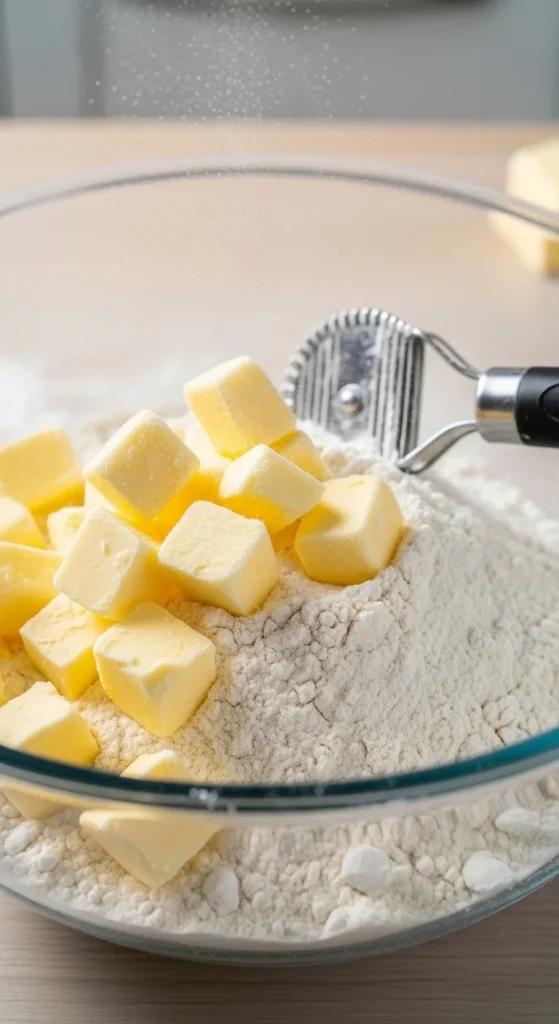
Step 2: Use the “Rub In” Method
This is the classic shortcrust technique.
Add butter to flour and rub it in using your fingertips (or a pastry cutter).
You’re aiming for a breadcrumb texture — fine crumbs with some pea-sized bits remaining.
Tips:
- Lift mixture lightly as you rub
- Don’t press or smear
- Stop before butter warms
If it starts feeling soft, chill the bowl for 10 minutes.
This stage builds structure without overworking the flour.
Step 3: Add Just Enough Water
Water activates gluten — and too much creates toughness.
Start with 1 tablespoon ice water.
Add slowly:
- Sprinkle over mixture
- Toss gently with a fork
- Press lightly to see if it holds
Stop as soon as the dough comes together into a shaggy mass.
It should not be sticky. It should not be smooth. It should look slightly rough and barely cohesive.
Optional modern trick: replace part of the water with vodka. It hydrates the dough but evaporates during baking, limiting gluten formation.
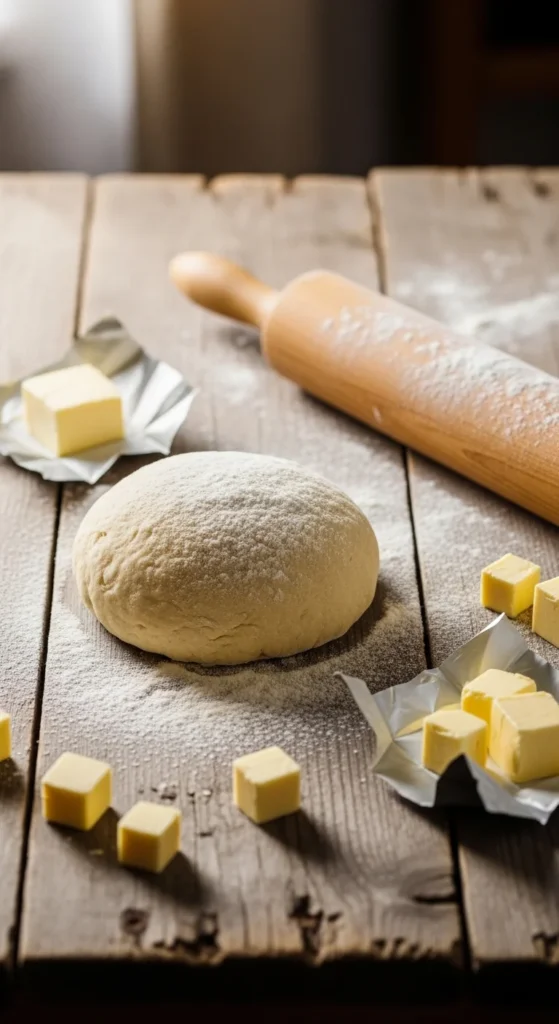
Step 4: Form, Wrap, and Chill
Gently bring the dough together.
Do not knead.
Shape into a flat disk (not a ball — disks chill and roll better), wrap tightly, and refrigerate for 30–60 minutes.
Why chill?
- Firms up fat
- Relaxes gluten
- Prevents shrinking in the oven
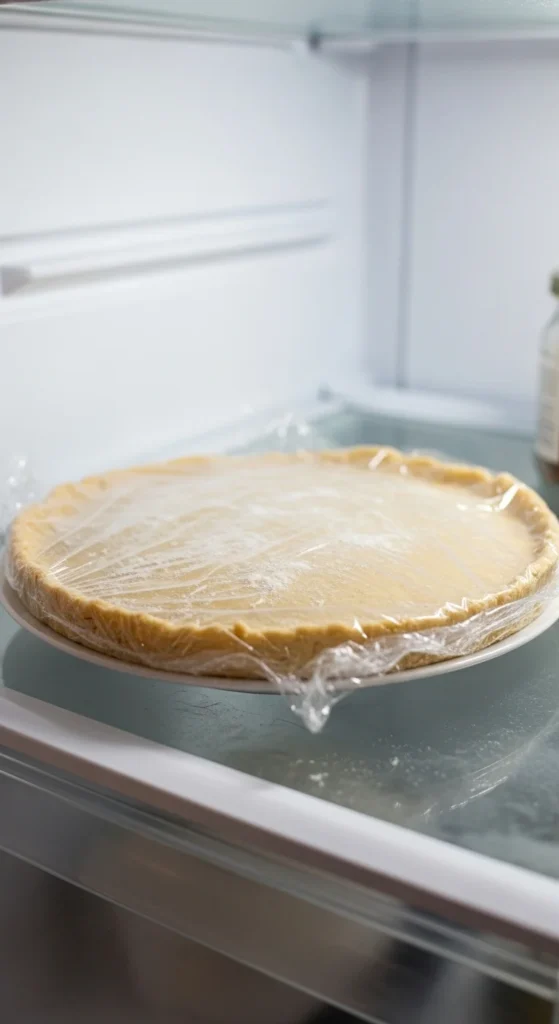
This rest period is essential for clean rolling and tender texture.
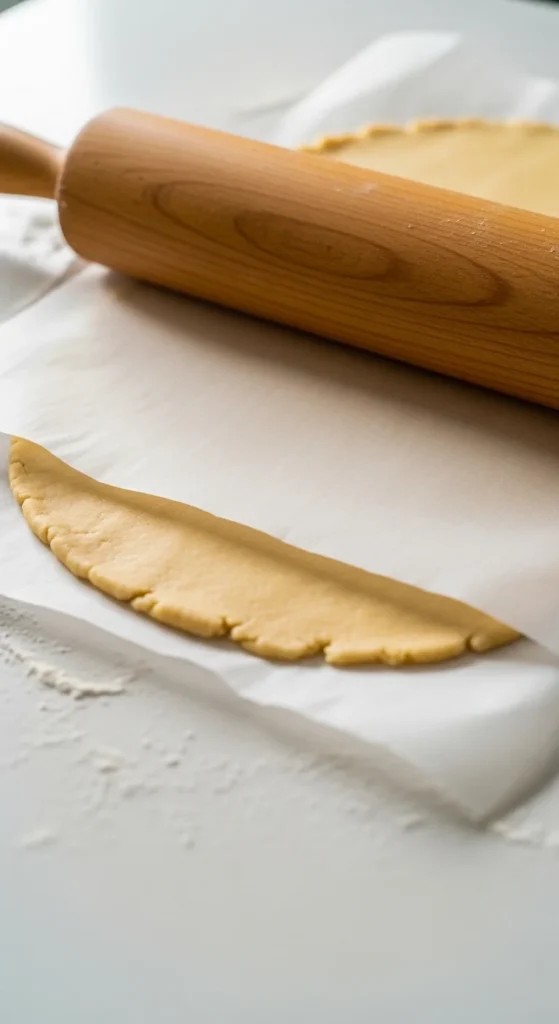
Step 5: Roll to the Right Thickness
After chilling, let dough sit at room temperature for 5 minutes if it feels too firm.
Roll on a lightly floured surface or between parchment sheets to about ⅛ inch thick.
Tips for even rolling:
- Roll from the center outward
- Rotate dough frequently
- Use gentle, even pressure
If cracks appear, gently press them together. If dough sticks, dust lightly with flour.
Transfer carefully to your tart tin or pie dish.
Press into corners without stretching — stretching causes shrinkage later.
Step 6: Dock and Rest Before Baking
Once fitted into your pan:
- Trim edges neatly
- Prick the base with a fork (this is called docking)
- Chill again for 15 minutes
Docking allows steam to escape and prevents puffing.
That short chill helps prevent shrinking and cracking.
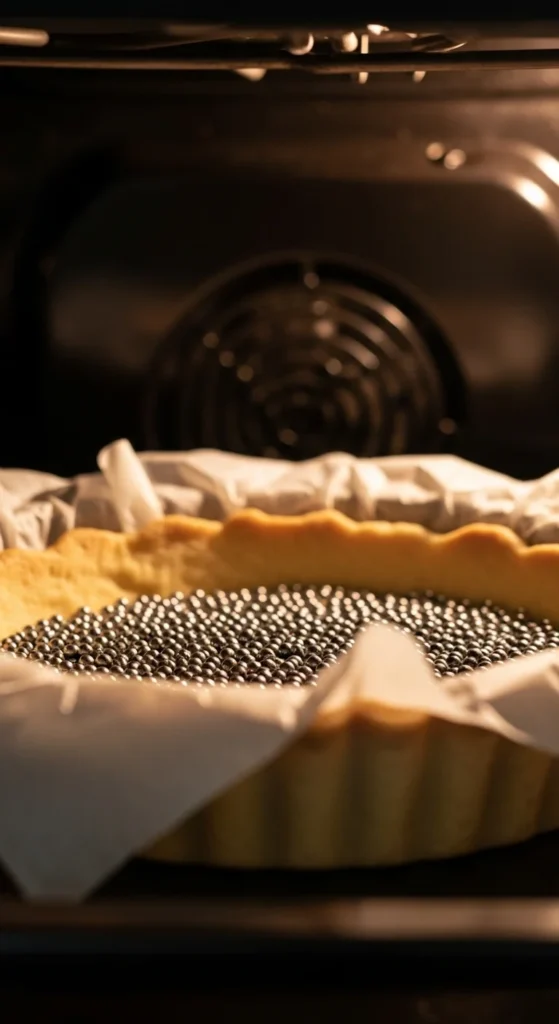
Step 7: Blind Bake for a Crisp Base
If your filling is wet (like custard or fruit), blind baking prevents a soggy bottom.
Here’s how:
- Line chilled crust with parchment.
- Fill with pie weights or dried beans.
- Bake at 375°F (190°C) for 15 minutes.
- Remove weights and bake 5–10 more minutes until lightly golden.
For fully baked shells (like tart bases), bake until golden and crisp.
Sweet vs Savory Variations
Basic Savory (Pâte Brisée)
- No sugar
- Pinch of salt
- Perfect for quiche, meat pies, and savory tarts
Sweet Rich Shortcrust (Pâte Sucrée)
- Add sugar
- Add egg yolk
- Slightly more tender and structured
Butter-Lard Hybrid
Using half butter and half lard:
- Butter = flavor
- Lard = superior flake
It’s a traditional method worth trying.
Troubleshooting Common Issues
Tough Pastry
- Overworked dough
- Too much water
- High-protein flour
Shrinking Edges
- Didn’t chill long enough
- Stretched dough into pan
Crumbly and Dry
- Too little water
- Overbaked
Shortcrust pastry rewards gentle handling and patience.
Make-Ahead and Freezing Tips
Shortcrust freezes beautifully.
- Wrap tightly
- Freeze up to 3 months
- Thaw overnight in the fridge
You can also freeze pre-lined tart shells for easy future baking.
Final Takeaway
Classic shortcrust pastry isn’t complicated — it’s precise.
Remember:
- ✔ Follow the 2:1 flour-to-fat ratio
- ✔ Keep everything cold
- ✔ Rub to breadcrumb texture
- ✔ Add minimal water
- ✔ Chill before rolling
Master these basics, and you’ll have a tender, crumbly pastry base ready for both sweet and savory creations.
Save this guide for later — because once you learn to make shortcrust from scratch, you’ll never go back to store-bought again. 🥧✨