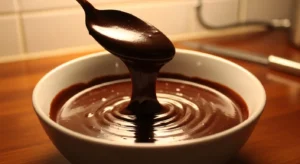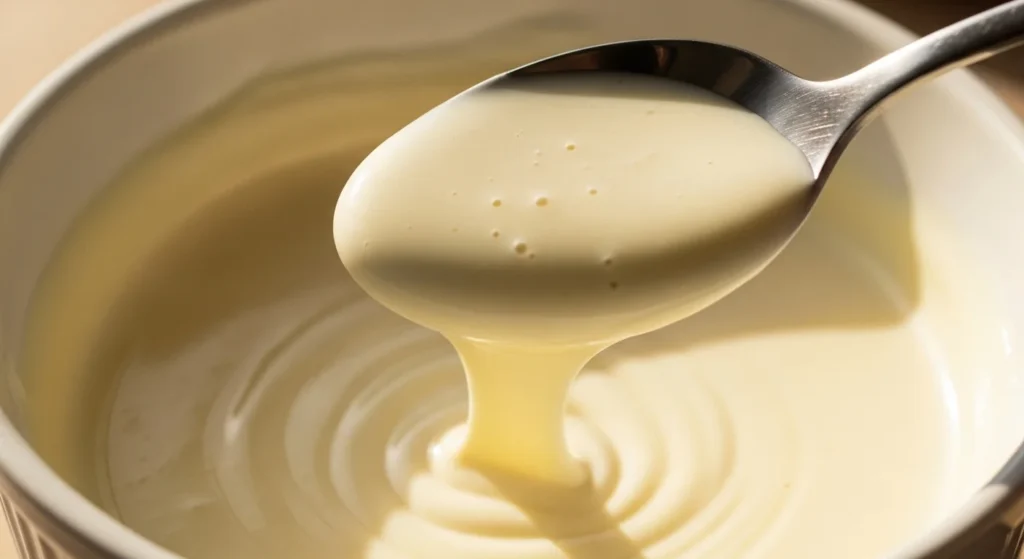
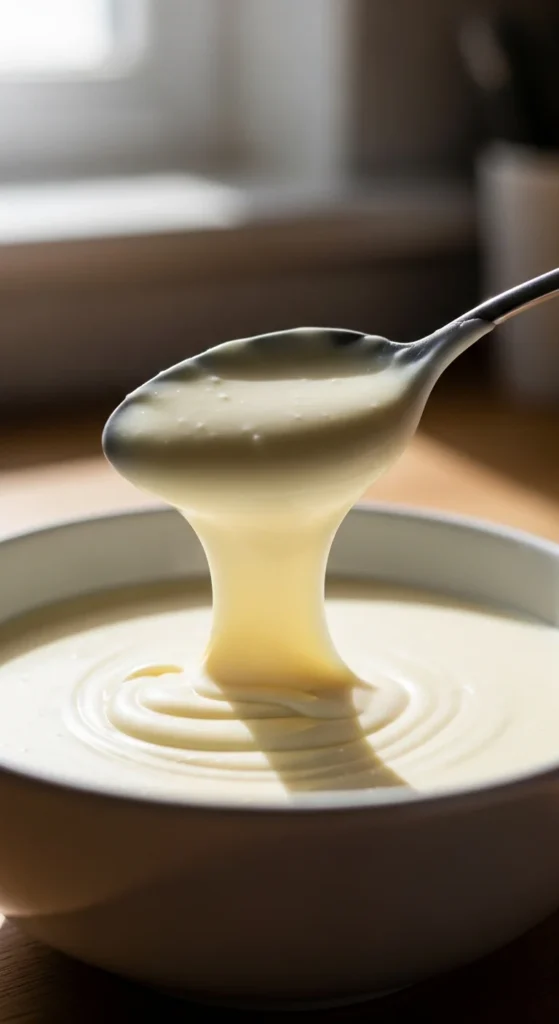
White chocolate ganache looks dreamy when it’s done right — glossy, creamy, and perfectly pipeable. But if you’ve ever ended up with a grainy, oily mess, you know it’s a little more delicate than dark chocolate.
That’s because white chocolate contains cocoa butter but no cocoa solids, which means it needs different ratios and gentler heat to stay stable.
The good news? Once you understand the method, it’s incredibly easy — and even humidity-resistant when done properly.
Let’s break it down step by step.
Why White Chocolate Needs a Different Ratio
Unlike dark chocolate, white chocolate is softer and sweeter, so it needs more chocolate and less cream to firm up properly.
Here’s your cheat sheet:
- 3:1 ratio (standard frosting)
3 parts white chocolate : 1 part heavy cream
→ Ideal for frosting and fillings - 4:1 ratio (hot or humid climates)
4 parts white chocolate : 1 part heavy cream
→ Extra stable in summer heat
Because white chocolate melts at only 100–109°F (38–43°C), it’s much easier to scorch. That’s why precision matters.
Start With Quality White Chocolate
Use high-quality white chocolate bars (not baking chips). Look for real cocoa butter in the ingredient list.
Before heating, ultra-finely chop the chocolate.
Smaller pieces melt more evenly and reduce the risk of graininess.
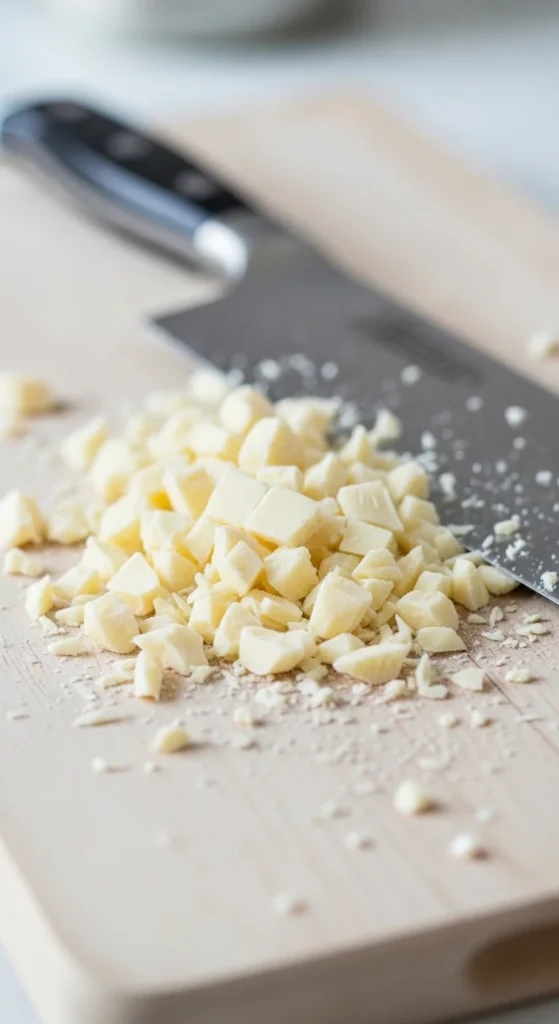
If the pieces are too large, the cream won’t melt them evenly during the resting stage.
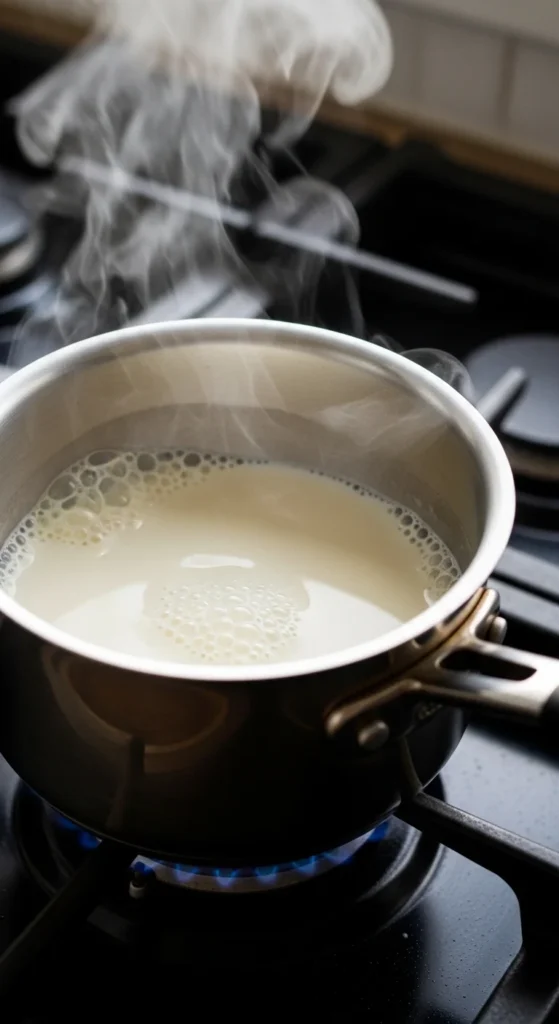
Heat the Cream Gently (Low Heat Only)
White chocolate is extremely sensitive to heat.
Warm your heavy cream (36%+ fat) until just scalded:
- Steam rising
- Tiny bubbles around the edges
- No boiling
Keep it under 110°F if possible.
Best methods:
- Double boiler (most controlled)
- Microwave in short bursts
- Low stovetop heat
Avoid aggressive boiling — that’s the fastest way to break the emulsion.
The 10-Minute Rest (Longer Than Dark Ganache!)
Pour the hot cream over the finely chopped white chocolate.
Now comes the most important step:
Cover and let it rest for 10 full minutes.
White chocolate takes longer to melt than dark chocolate, and stirring too soon can cause separation.
The extended rest allows gentle, even melting without overheating.
Stir Slowly With a Silicone Spatula
After resting, begin stirring gently from the center outward.
Use a silicone spatula, not a metal whisk. Metal can conduct heat too quickly and introduce air bubbles.
Slow, smooth circles will create a glossy, unified emulsion.
If it looks slightly separated at first, keep stirring gently — it usually comes together.
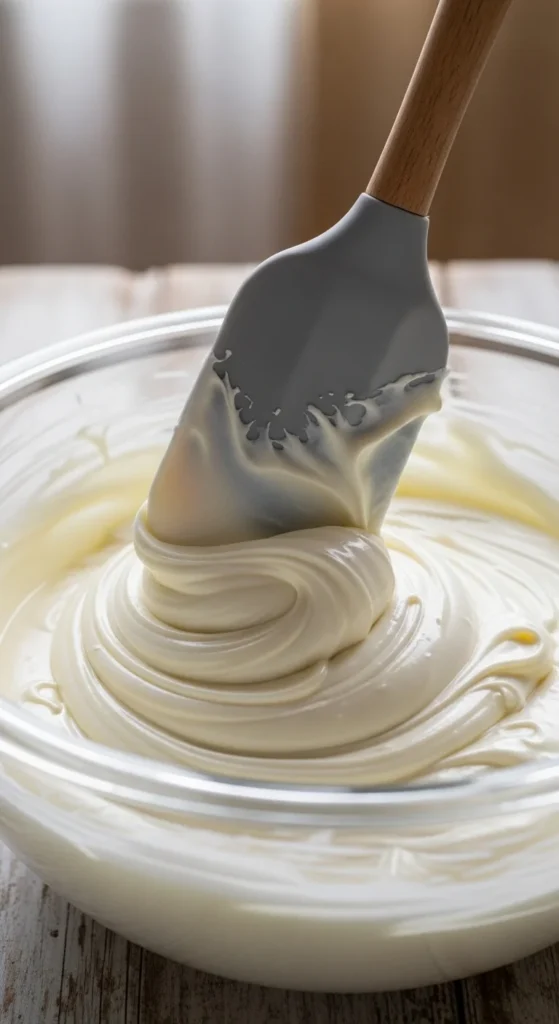
If the ganache fully splits, an immersion blender can rescue it. Blend briefly at low speed until smooth again.
Adjust for Climate and Stability
White chocolate ganache is surprisingly excellent in humid climates — when you use the correct ratio.
- 3:1 ratio works beautifully indoors or in moderate climates.
- 4:1 ratio is ideal for hot areas like Florida or Texas.
If your ganache isn’t firming up:
- Chill for 30 minutes
- Or add more melted white chocolate
For extra stability, you can add:
- 1 teaspoon light corn syrup (prevents crystallization)
This helps reduce sweating and keeps the finish smooth.
Adding Color Safely (Gel Only!)
Want pastel pink, blue, or vibrant colors?
Never use liquid food coloring — even a small amount of water can seize white chocolate instantly.
Use gel food coloring only, and add it after the ganache has fully emulsified.
Mix gently until evenly colored.
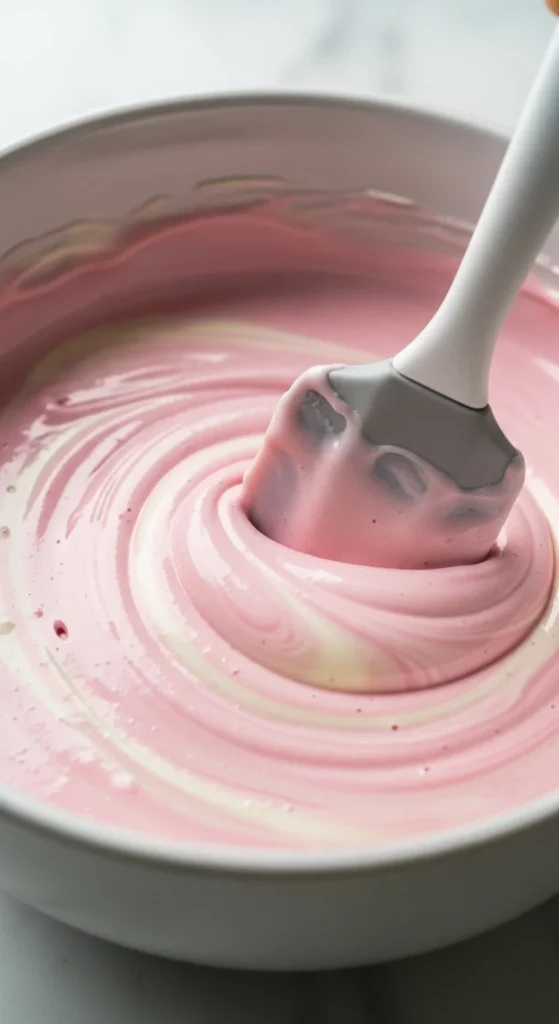
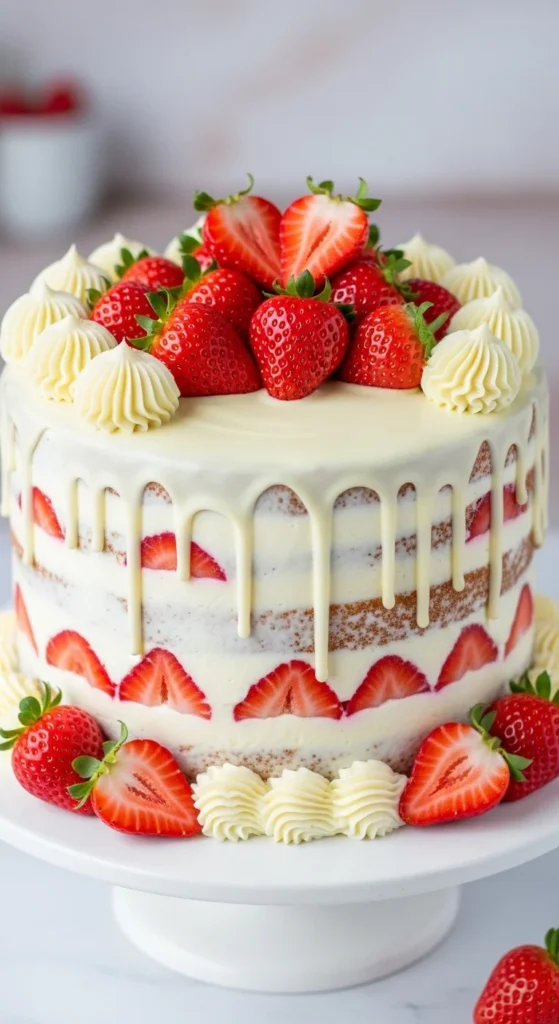
White chocolate takes color beautifully, making it perfect for wedding cakes and themed desserts.
Texture Timeline: Pourable, Spreadable, Whipped
White chocolate ganache changes as it cools.
- 85–95°F → Perfect for drip cakes
- Room temperature → Spreadable frosting
- 30 minutes in fridge → Thick filling
- Fully chilled → Firm, pipeable
To make whipped white chocolate ganache:
- Chill 3:1 ganache until firm but not rock solid.
- Whip 5–10 minutes until fluffy.
It becomes light, creamy, and ideal for frosting cupcakes or layered cakes.
Troubleshooting Common Issues
Grainy or Seized
- Heat too high
- Stirred too early
- Liquid coloring added
Fix: Gently warm over double boiler and stir slowly.
Won’t Firm Up
- Ratio too low
- Too much cream
Fix: Add melted white chocolate and re-emulsify.
Melts in Heat
- Use 4:1 ratio
- Chill cake before serving
Burnt Taste
- Cream overheated
- Chocolate scorched
Always keep heat low and controlled.
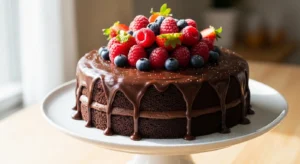
Creative Ways to Use White Chocolate Ganache
Once you master it, you can use white ganache for:
- Wedding cake frosting
- Drip cakes in custom colors
- Macaron fillings
- Tart glazes
- Layer cake fillings
- Decorative piping
Its stability and “no-sweat” finish make it ideal for summer events.
Final Takeaway
To make white chocolate ganache smooth and silky every time:
- ✔ Use a 3:1 ratio (or 4:1 in hot climates)
- ✔ Chop chocolate ultra-fine
- ✔ Heat cream gently — never boil
- ✔ Rest 10 minutes before stirring
- ✔ Use gel coloring only
White chocolate may be delicate, but with low heat and the right ratio, it becomes one of the most versatile frostings in your kitchen.
Save this guide for later — because once you master white chocolate ganache, your cakes will look polished, professional, and perfectly smooth every time. 🍰✨