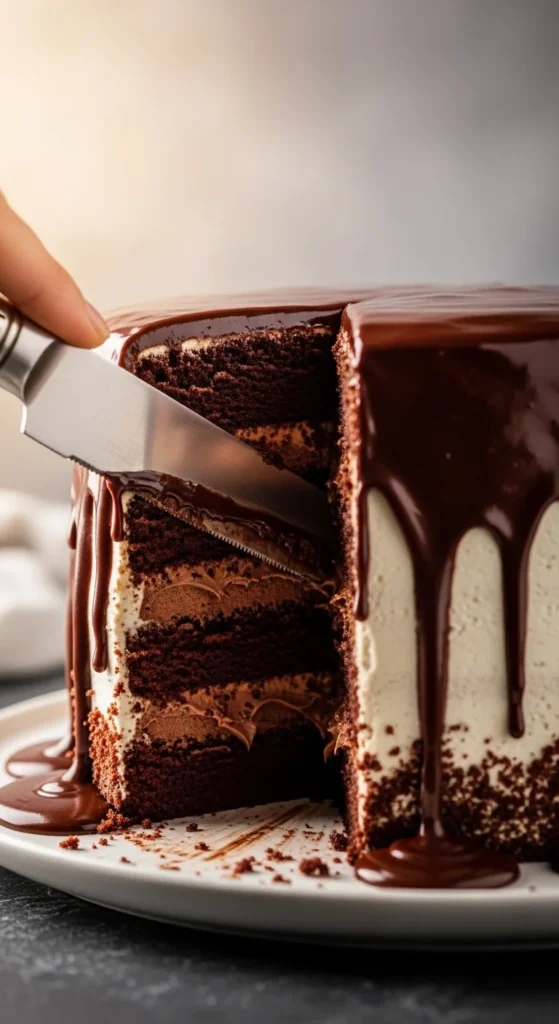
There’s nothing quite as elegant as a chocolate ganache drip cascading down the sides of a cake. It’s the perfect finishing touch that instantly elevates any dessert—from birthday cakes to special occasion creations. While it may look tricky, creating a flawless ganache drip is easier than it seems once you understand the right ratios, temperatures, and techniques. Get ready to impress with shiny, smooth, and perfectly controlled drips every time.
Ingredients You’ll Need
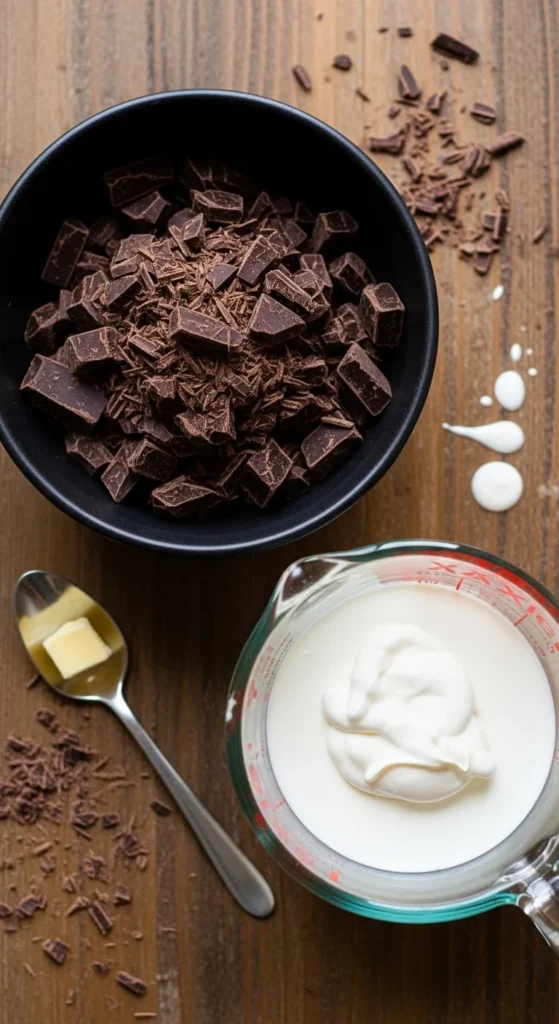
The key to perfect ganache drips is simple, high-quality ingredients:
- 8 oz (225 g) semisweet or dark chocolate, finely chopped
- ½ cup (120 ml) heavy cream
- 1 tsp unsalted butter (optional, for extra shine)
Tip: Using finely chopped chocolate ensures smooth melting and prevents lumps.
Step 1: Heat the Cream
Pour the cream into a small saucepan and heat over medium until it just begins to simmer. Do not let it boil.
Why: Overheating can cause the ganache to separate or become grainy.
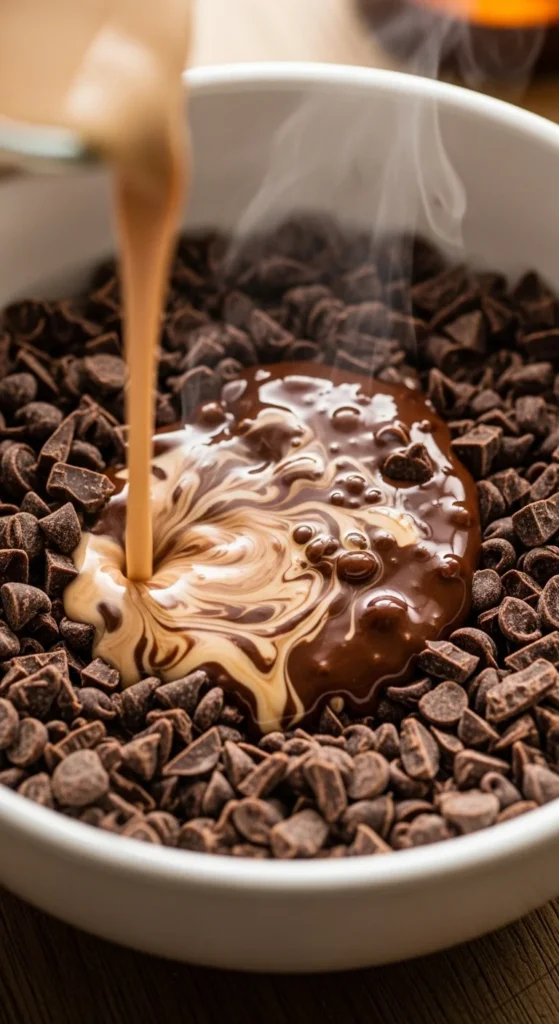
Step 2: Combine Chocolate and Cream
Place the chopped chocolate in a heatproof bowl. Pour the hot cream over the chocolate and let it sit for 1–2 minutes to soften the chocolate. Then stir gently until smooth and fully combined.
Optional: Stir in 1 teaspoon of butter for a glossy, luxurious finish.
Step 3: Cool to the Right Consistency
Allow the ganache to cool slightly to reach a pourable but not runny consistency. This is usually around 90–95°F (32–35°C).
Tip: If the ganache is too warm, it will run too far down the cake. Too cold, and it won’t drip at all.
Step 4: Prepare Your Cake
Ensure your cake is frosted and chilled. A cold cake helps control the drips and prevents the ganache from sliding off entirely. You can use buttercream, cream cheese frosting, or even a smooth fondant base.
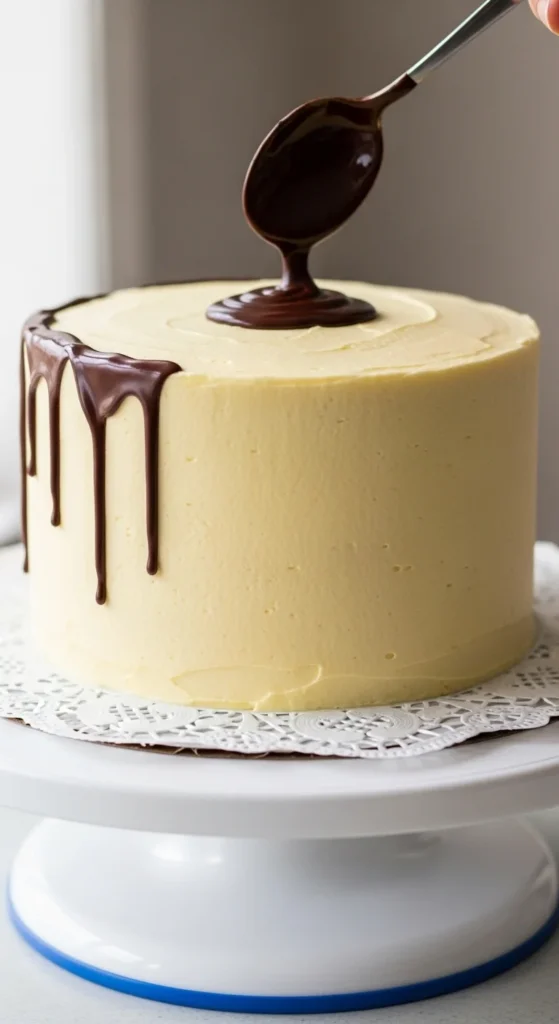
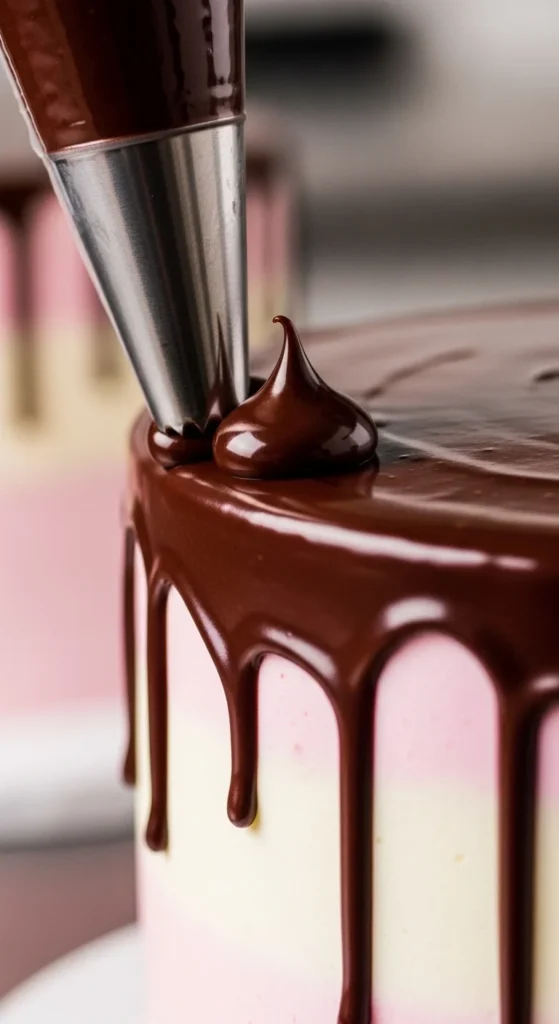
Step 5: Apply the Ganache Drip
- Fill a small spoon or piping bag with the ganache.
- Slowly pour or pipe small amounts at the edge of the cake, letting it drip naturally down the sides.
- Adjust drip length as desired—more ganache creates longer drips, less gives a subtle effect.
Tip: Rotate the cake on a turntable for even distribution and smoother drips.
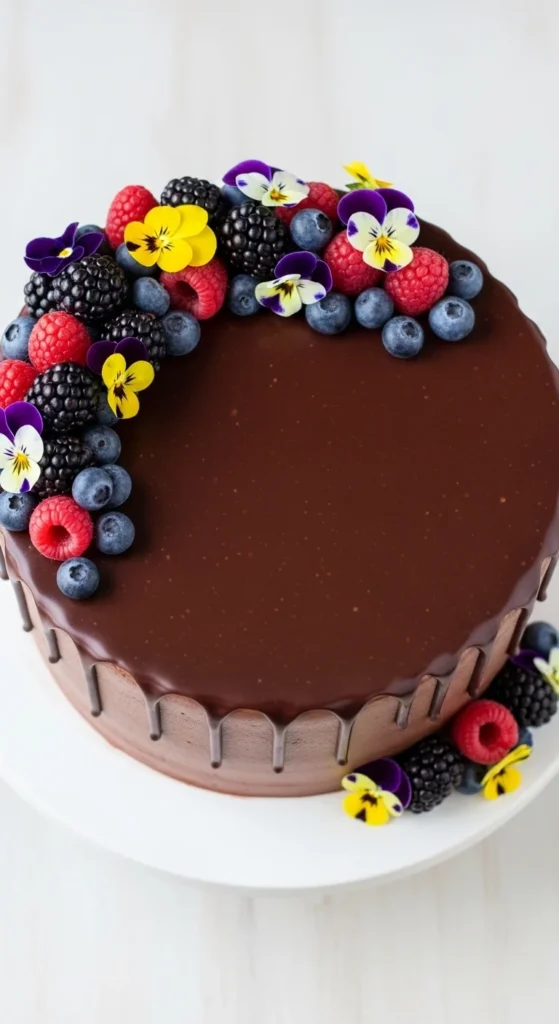
Step 6: Top the Cake
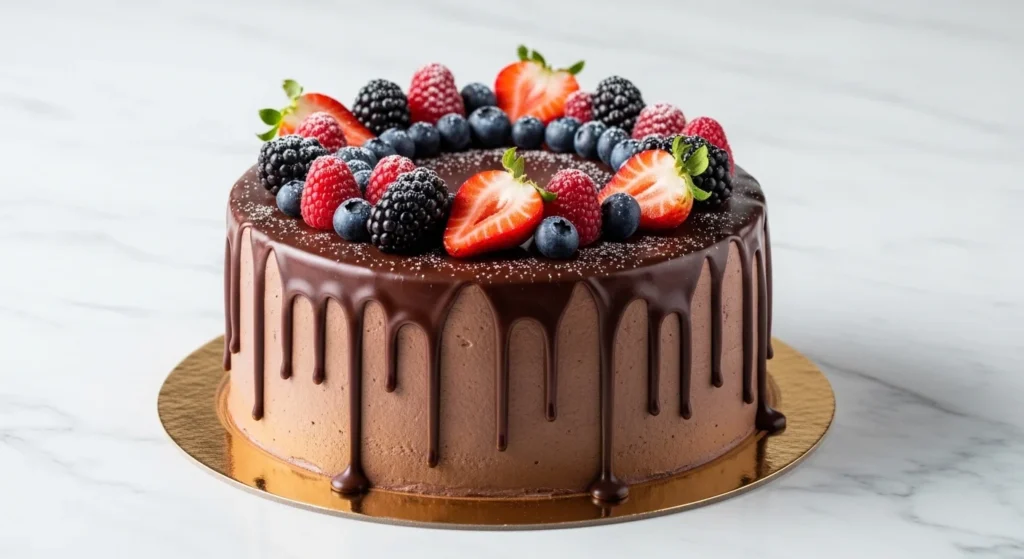
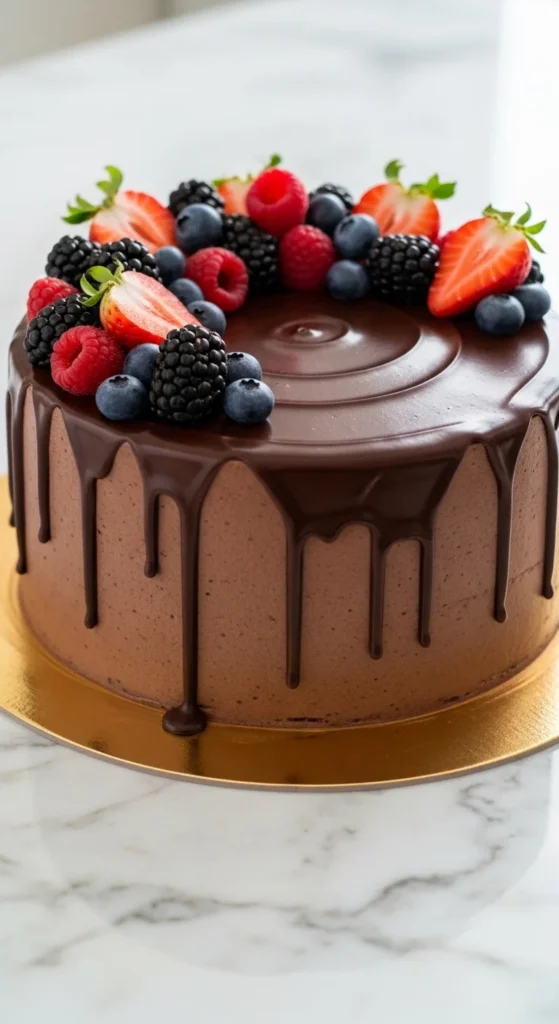
After completing the drips, pour remaining ganache on top of the cake and smooth it gently with an offset spatula. Decorate with berries, chocolate shavings, or sprinkles as desired.
Tips for Perfect Ganache Drips
- Chocolate quality matters: Use high-quality chocolate for best flavor and sheen.
- Temperature control: Let ganache cool slightly; don’t pour it piping hot.
- Chill the cake: Ensures controlled drips and prevents melting.
- Practice makes perfect: Try a few test drips on parchment paper before applying to the cake.
- Adjust consistency: Add more cream to thin, or let it cool longer to thicken.
Final Thoughts
A ganache drip turns a simple cake into a showstopper with minimal effort. With the right chocolate, cream, and a bit of patience, you can achieve smooth, glossy drips that impress at every celebration.
Save this guide for your next cake adventure and create a dessert that’s as beautiful as it is delicious!